If you’re a RW&D follower, it’s likely you have heard me talk about using only natural and organic products as part of my skincare routine. I made the switch about 2 years ago and haven’t looked back. I LOVE the products I use so much that I’m not very open to trying anything new (I turn down 90% of the skincare collaborations that come my way.) I’m sharing this because I want you to know how passionate I am about all natural beauty and using clean products on your skin. Not only are they better for your health, the results I’ve seen are much more dramatic than with any other products I’ve tried.
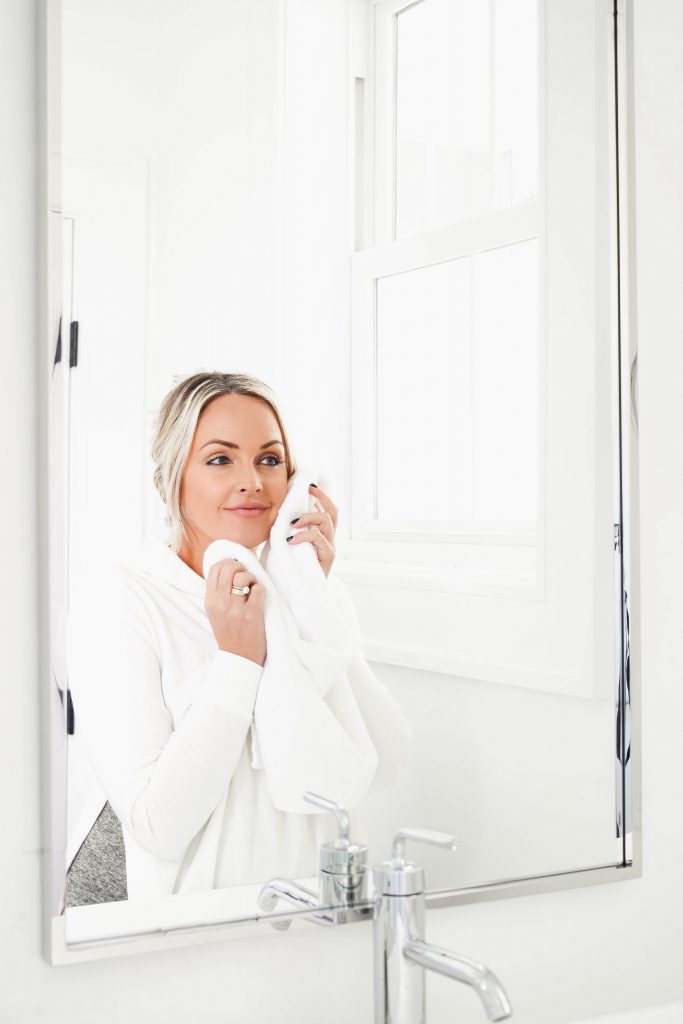
I believe there are 2 main mistakes people make when it comes to skincare routines. 1. Using toxic products. Don’t be fooled by all the anti-aging products on the market filled with toxic chemicals…many times they’re actually damaging your skin rather than helping it. Instead, invest in clean products formulated to address all your skincare concerns in the most natural way possible. 2. Using more products than what your skin actually needs. When it comes to skincare, less is better. Be mindful about the products you choose and select high quality formulas that target your biggest skin concerns. You don’t need to use 5 serums to make your skin look younger and healthier!
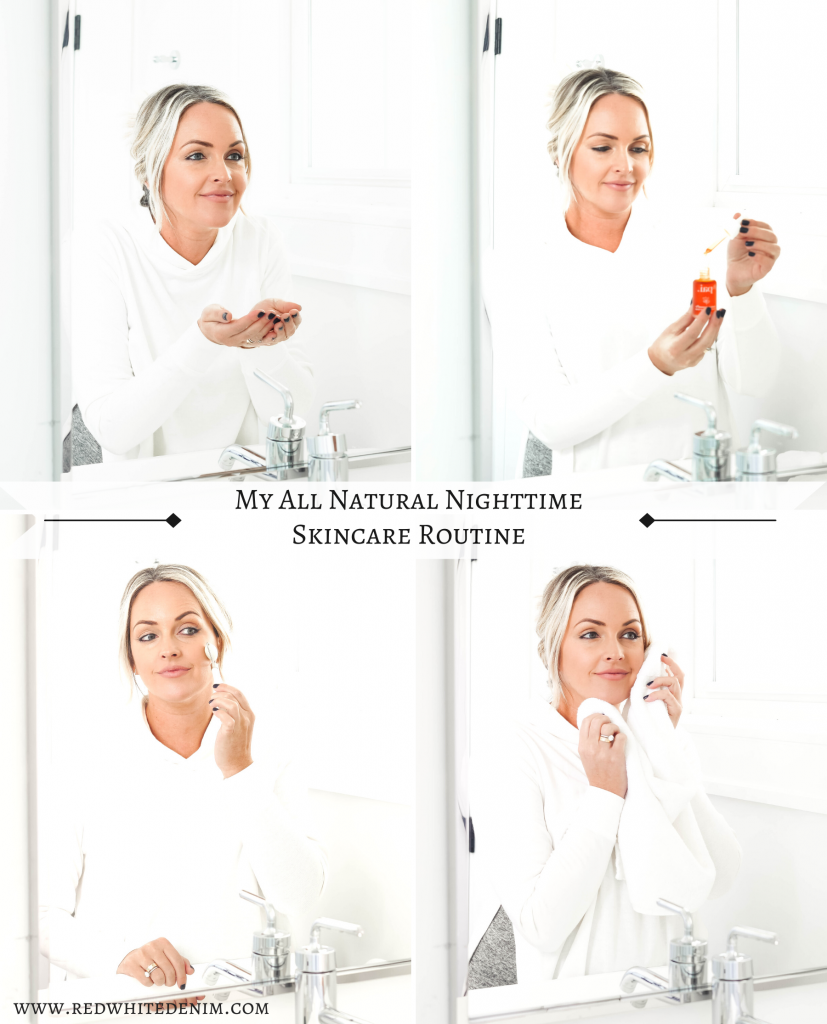
Since changing my skincare routine to all natural, my skin has COMPLETELY changed. My nighttime routine is simple. It’s a 6 step process and only 4 steps include actual skincare products. I look forward to every night! The products I use leave my face feeling clean, refreshed and supple. Keep scrolling to learn more about my simple, all-natural nighttime skincare routine. I also uploaded a video tutorial on my Instagram page @redwhiteanddenim (saved to my ‘Skin’ highlight!)
MY SKIN TYPE: For reference, I would classify my skin as dry and sensitive. I also suffer from mild rosacea. However, most the products I recommend below are suitable for all skin types.
STEP 1: REMOVE MAKEUP
Terry Cloth Headband
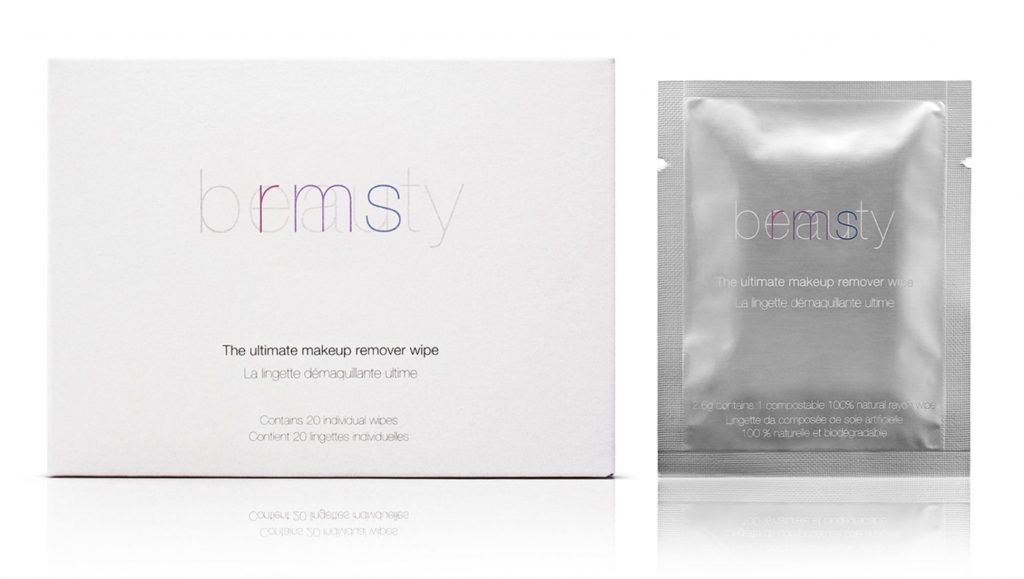
The Ultimate Makeup Remover Wipes
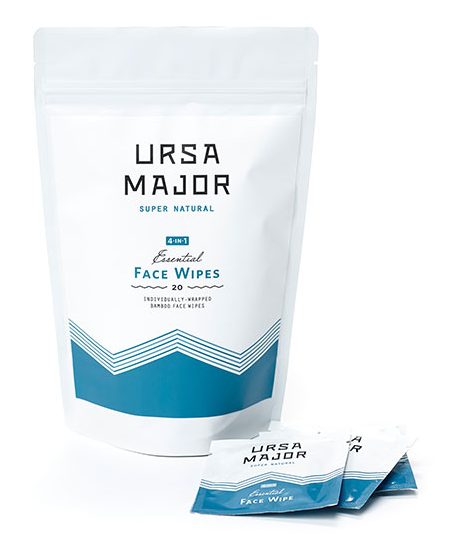
Essential Facial Wipes
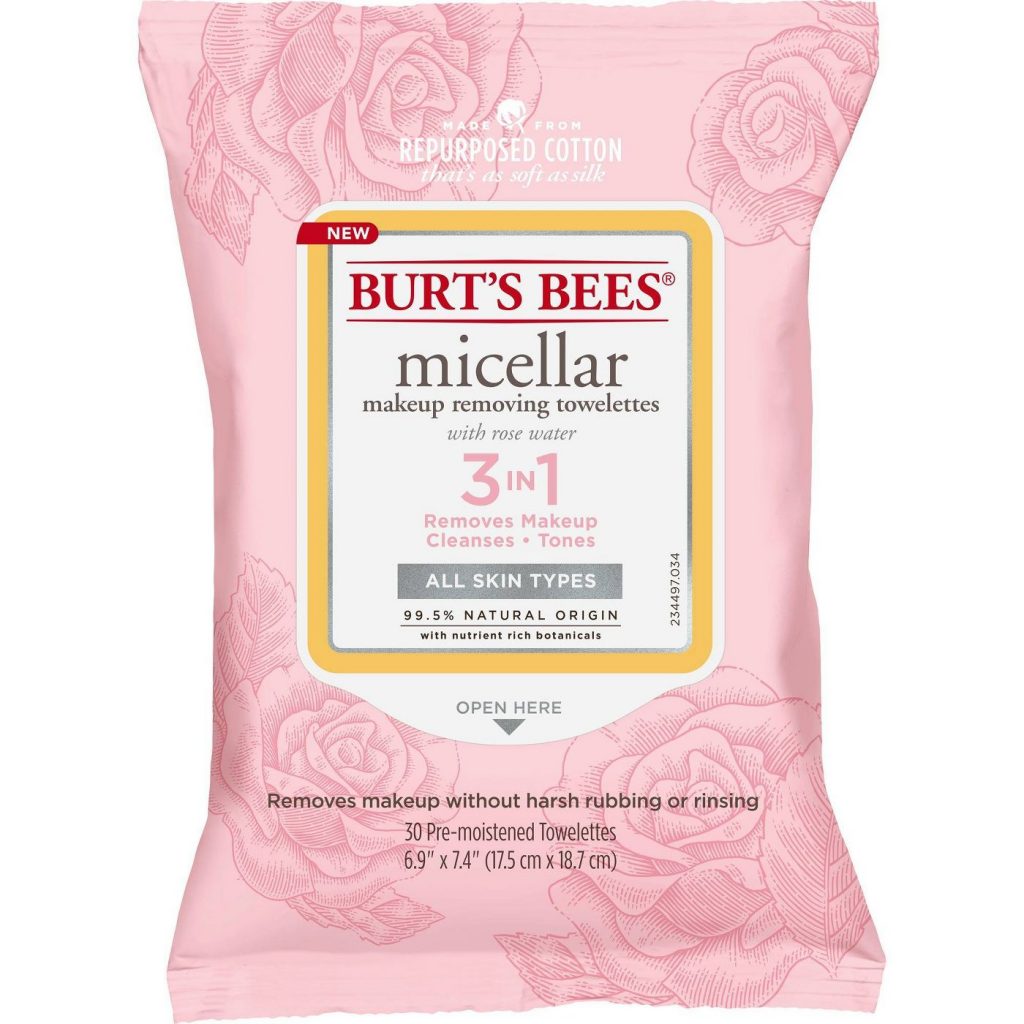
Micellar Makeup Removing Wipes
First things first, grab a great headband! I use this terry cloth style to help keep my hair dry and out of my face. It’s comfortable and doesn’t mess up my hair. For makeup removing wipes, there are three brands I recommend.
My favorite makeup removing wipes of all time are RMS Beauty Makeup Remover Wipes. They are infused with coconut oil – the only ingredient – to gently melt away your makeup. Keep in mind coconut oil solidifies in colder temperatures so hold the makeup wipe between your hands for a few seconds to warm it up before using.
When I have eyelash extensions, I use either Ursa Major Essential Face Wipes or Burts Bees Micellar Makeup Removing Towelettes (unfortunately I can’t use the RMS wipes because coconut oil can breakdown lash glue and cause your lashes to fall out faster.) My preference between these two are the Ursa Major but the Burt’s Bees are easier to find and more affordable. The Burts Bee’s wipes are not quite as ‘clean’ as the other two options, but are formulated without parabens, phthalates, petrolatum or SLS. However, if there is one step in this routine where you’re looking to save vs. splurge, let it be here and grab the Burts Bees.
I’ve also heard this Makeup Eraser is amazing – I just ordered it and will report back soon!
STEP 2: CLEANSE
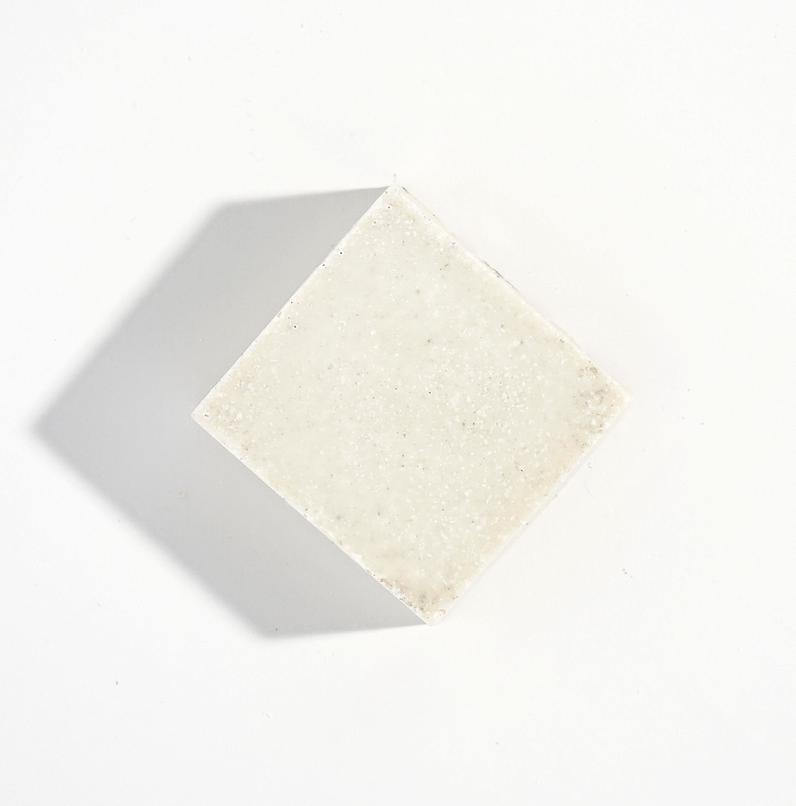
Unscented Bar Soap
Facial Cleansing Brush
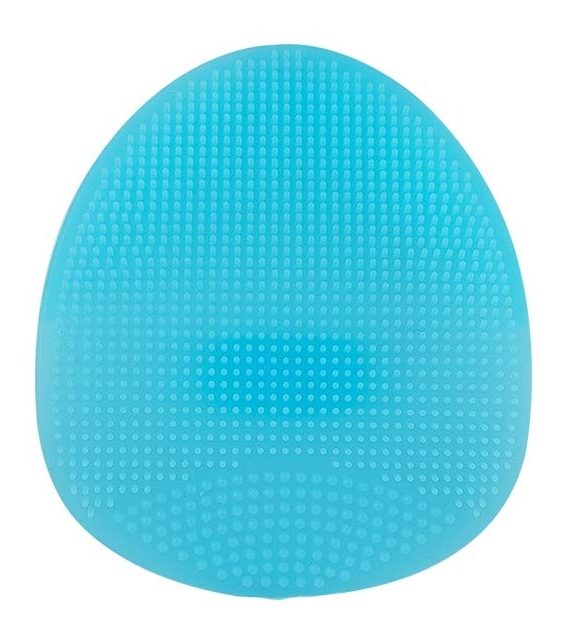
Silicone Cleansing Pad
Many people skip this step or assume your makeup removing wipes are enough to clean your face. Not true! It’s so important to use a facial cleanser to remove all the dirt and leftover makeup from the day (you’ll be surprised how much your makeup removing wipes miss!) After removing as much as I can with wipes, I cleanse with Shore Soap Co. Unscented Bar Soap. This is a pretty simple soap but is completely natural and leaves your face feeling squeaky clean (my face actually squeaks!) If you have oily skin, try the Tea Tree & Charcoal Bar.
While cleansing, I also recommend using some type of exfoliating tool – I use either an electric facial cleansing brush or a silicone cleansing pad. Both are great ways to deep clean by buffing away rough dead skin cells, making your skin softer and better prepped to absorb your serums, oils and lotions. An electric facial brush is great for use 1-2 times a week. The silicone cleansing pads can be used daily and are very affordable. They come in a pack of 4, so I keep one in my shower, one on my vanity and one in my travel toiletry bag.
HOW TO APPLY: Work bar soap in hands with water to create a nice lather. Apply lather all over face and massage using a facial brush or pad in circular motions. Rinse and pat dry.
STP: 3 TONE
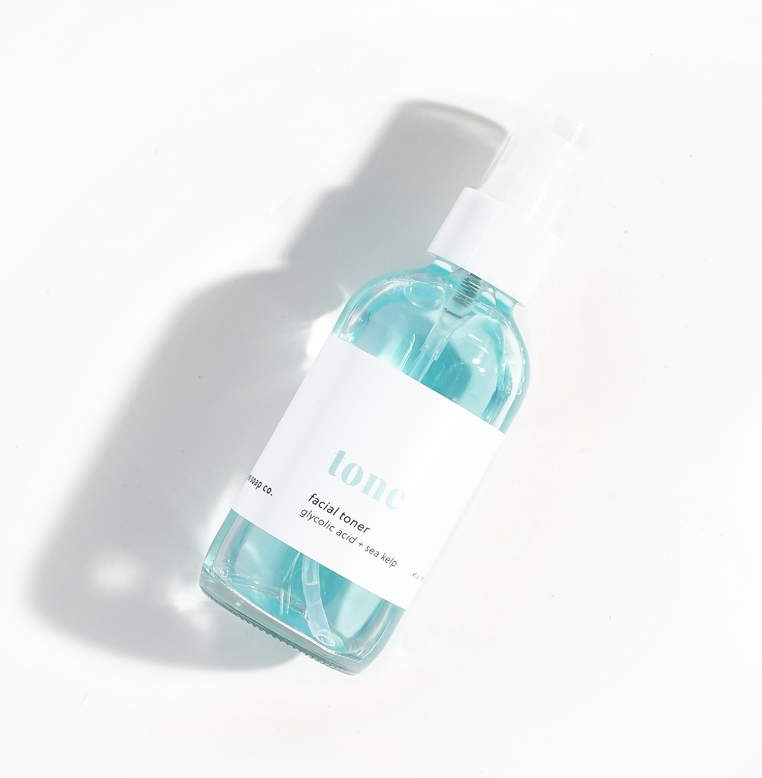
Toner
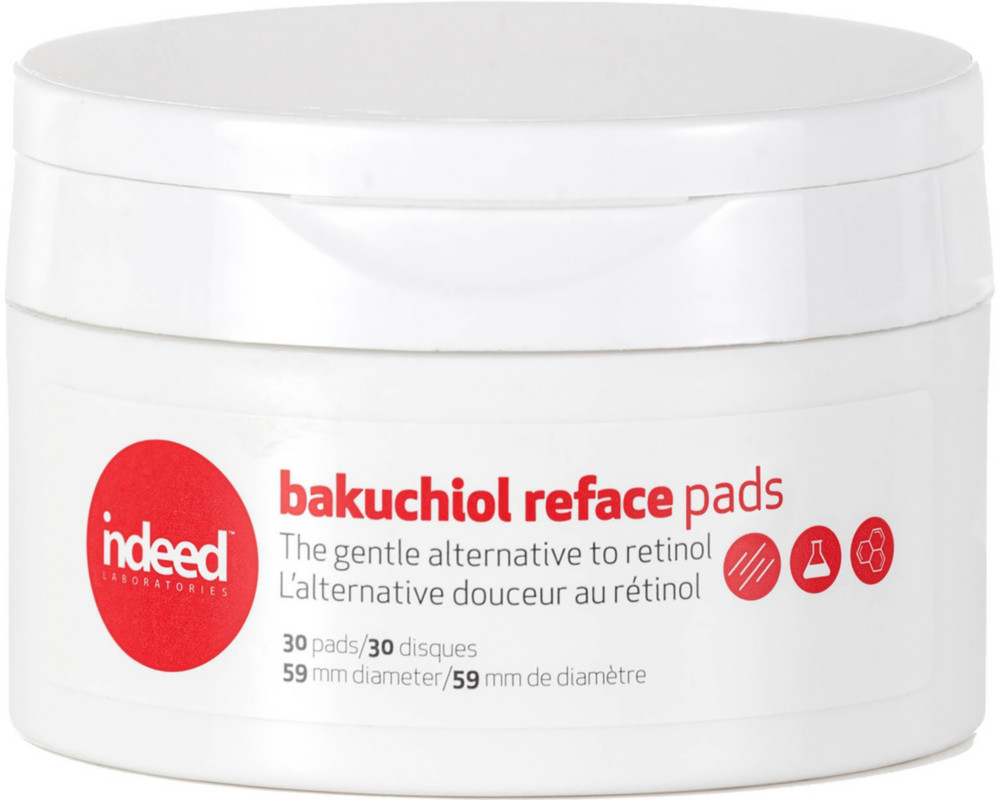
Bakuchiol Reface Pads
This is one step I could never eliminate from my routine. My skin just doesn’t feel right if I don’t tone it! It’s the last step needed to prep your face before applying serums/moisturizers. Shore Soap Co. Facial Toner helps to rejuvenate tired dull skin and soften wrinkles and fine lines. The natural ingredients used in this toner help to reverse cell damage and restoring cells to their healthy state.
A new product I just started using is Indeed Bakuchiol Reface Pads, which is a gentle alternative to retinol. I’ve always been hesitant about using retinol considering how sensitive my skin is, so I was very excited to find much more gentle alternative. Bakuchiol is a plant extract offering all the same skin benefits of retinol, without the harsh side effects. It functions similar to retinol in that it dimities the signs of aging by increasing cell turnover and stimulating collagen production. It’s also known for its antioxidant and anti-inflammatory properties, as well as antibacterial properties.
Based on the reviews, it provides all the same results as retinol does – without irritation. Sounds pretty amazing to me! They come in pad form and are suggested for all skin types, but are particularly beneficial for individuals with sensitive skin. It’s also pregnancy safe!
HOW TO APPLY: Apply to freshly cleansed face with a cotton pad.
STEP 4: MOISTURIZE
Age Confidence Facial Oil
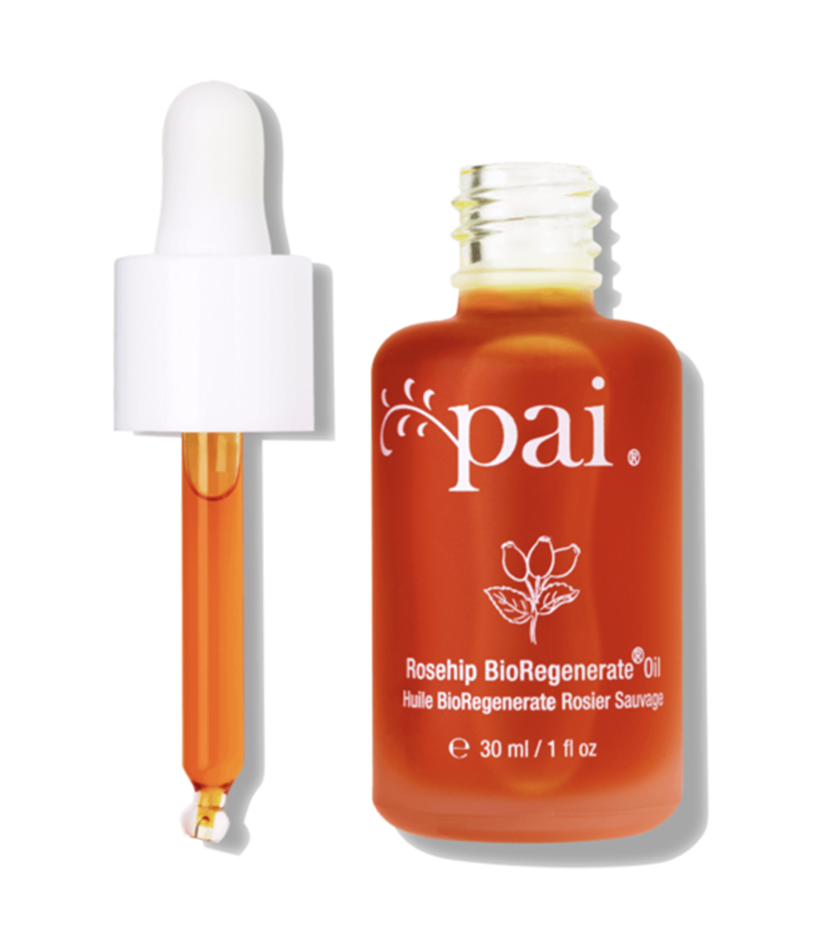
Rosehip BioRegenerate Oil
When it comes to moisturizing your skin, I find that oils work SO much better than lotions or creams. I switch between two different facial oils, which are both great for their hydrating and anti-aging propoerties.
The first oil is Pai Age Confidence Facial Oil. This oil feels so good on my skin and is packed full of powerful anti-inflammatories to protect sensitive skin from irritation. Lipid and collagen work to firm and plump while echium helps to smooth skin and improve the appearance of fine lines. In addition to it’s anti-aging properties, amaranth locks in moisture and enhances suppleness and elasticity.
The second oil I use is the Pai Rosehip Bioregenerate Oil. This may be my favorite all natural skincare product of all time! This oil helps with soothing sensitive skin, improving elasticity and reducing the appearance of fine lines. It contains highly concentrated rosehip known for its repairing properties to help heal and regenerate you skin (it’s the most concentrated Rosehip Oil on the market!) I find that this oil is incredibly moisturizing as well. Pai Rosehip Bioregenerate Oil leaves my skin glowing like no other product I’ve ever tried! It’s liquid gold. I also use this as part of my morning skincare routine which I’ll share with you shortly!
HOW TO APPLY: I dispense 3-4 drops of oil to the tips of my fingers and pat the oil all over my face and neck. I use the Pai Age Confidence Facial Oil 4 nights a week and the Pai Rosehip Bioregenerate Oil 3 nights a week. If you choose to alternate between two different oils (which I recommend!) use one oil for the first few days of the week and the second oil for the reaming few days of the week. It’s important to use each oil on consecutive days (rather than alternating every other day) so not to confuse your skin.
Hydrating Cream
If you feel like you need more moisture (perhaps in the winter) you can follow with a cream. For cream moisturizers, I prefer the Pai Avocado & Jojoba Hydrating Day Cream. This lightweight cream gives you just enough moisture without feeling greasy on your skin. Main ingredients are Jojoba Oil and Avocado Oil to hydrate, condition and soften. Apply cream after oil.
STEP 5: ROLL & SCULPT
Jade Roller
Gua Sha
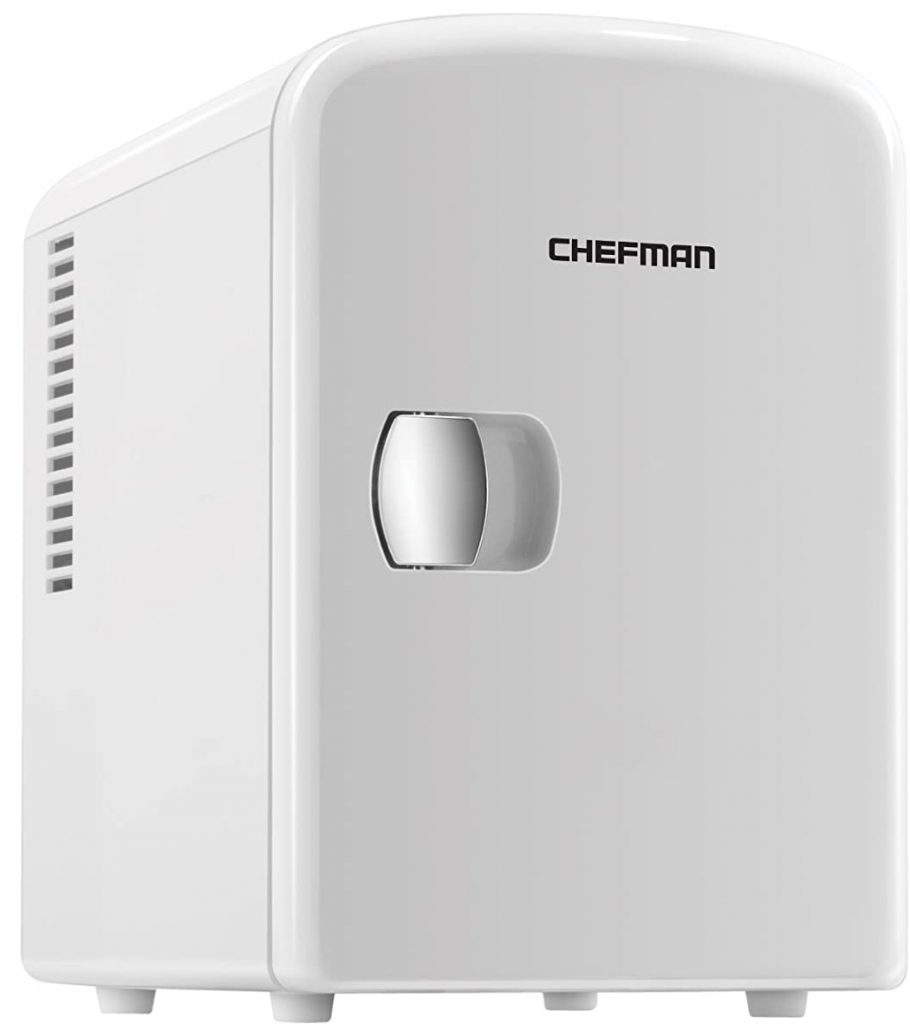
Beauty Fridge
I use my jade roller to help work my facial oil into my skin for maximum penetration. Jade Rollers are a great beauty tool to have on hand. They can be used to sculpt, tone, firm, boost circulation, reduce puffiness, detoxify, minimize fine lines and improve skin’s elasticity. Jade stone also feels amazing on your skin!
Another great great tool to use with your facial products is a Gua Sha. This tool has all the same benefits as the jade roller, the main difference being its shape. A Gua Sha is is supposedly better for sculpting your facial features, while a jade roller is best for lymphatic drainage. I just ordered my Gua Sha, so I will report back soon!
I like to keep my beauty tools in a mini fridge so they feel extra cool and refreshing on my skin. I purchased this Chefman Fridge to keep in my master bathroom for easy access. I keep many of my skincare products in this fridge too!
HOW TO USE: Both tools should be used with facial products such as serums, oils or moisturizers – as long as the product allows the tool to glide easily. Use each tool by rolling or sculpting with upward and outward strokes. I would recommend watching a video tutorial your first time.
STEP 5: SLEEP ON SILK
Natural Silk Pillowcase
Believe it or not, the pillow case you sleep on could be aging your skin! The more soft and gentle the material you sleep on the better, which is why silk is a preferred choice. Silk pillowcases act as an anti-aging tool by creating the smoothest surface for your face to prevent wrinkles and fine lines from forming while you sleep. There’s no need to spend a lot of money, I get my silk pillowcases on Amazon! I would suggest purchasing the chemical-free, naturally died color option listed as “Ivory (natural white)”. This pillow will feel so nice on your skin! It’s smooth, hypoallergenic, breathable and cool to the touch. In addition to preventing wrinkles, it also helps keep your hair in check – no more bed head!
LIKE THIS POST? PIN IT!
SAVE IT ON PINTEREST BY CLICKING THE ‘SAVE’ BUTTON ON THE PHOTO BELOW!








I love your skincare routine and definitely learned so much about my own skin and what it needs. This post is well written, thank you.
This is so helpful. Thank you for sharing your views.. feel free to visit http://flawlessmania.com/ for good beauty tips
Love your blog! Your advice on night skincare routine for skin has been a lifesaver. Keep sharing your expertise!
From the first use, I could feel the difference in my skin’s texture. This product is worth every penny. click here to discover the secret to flawless skin!
Your blog post was thought-provoking and opened my eyes to new possibilities. I appreciated the way you challenged conventional wisdom and presented alternative perspectives. To explore more, click here.