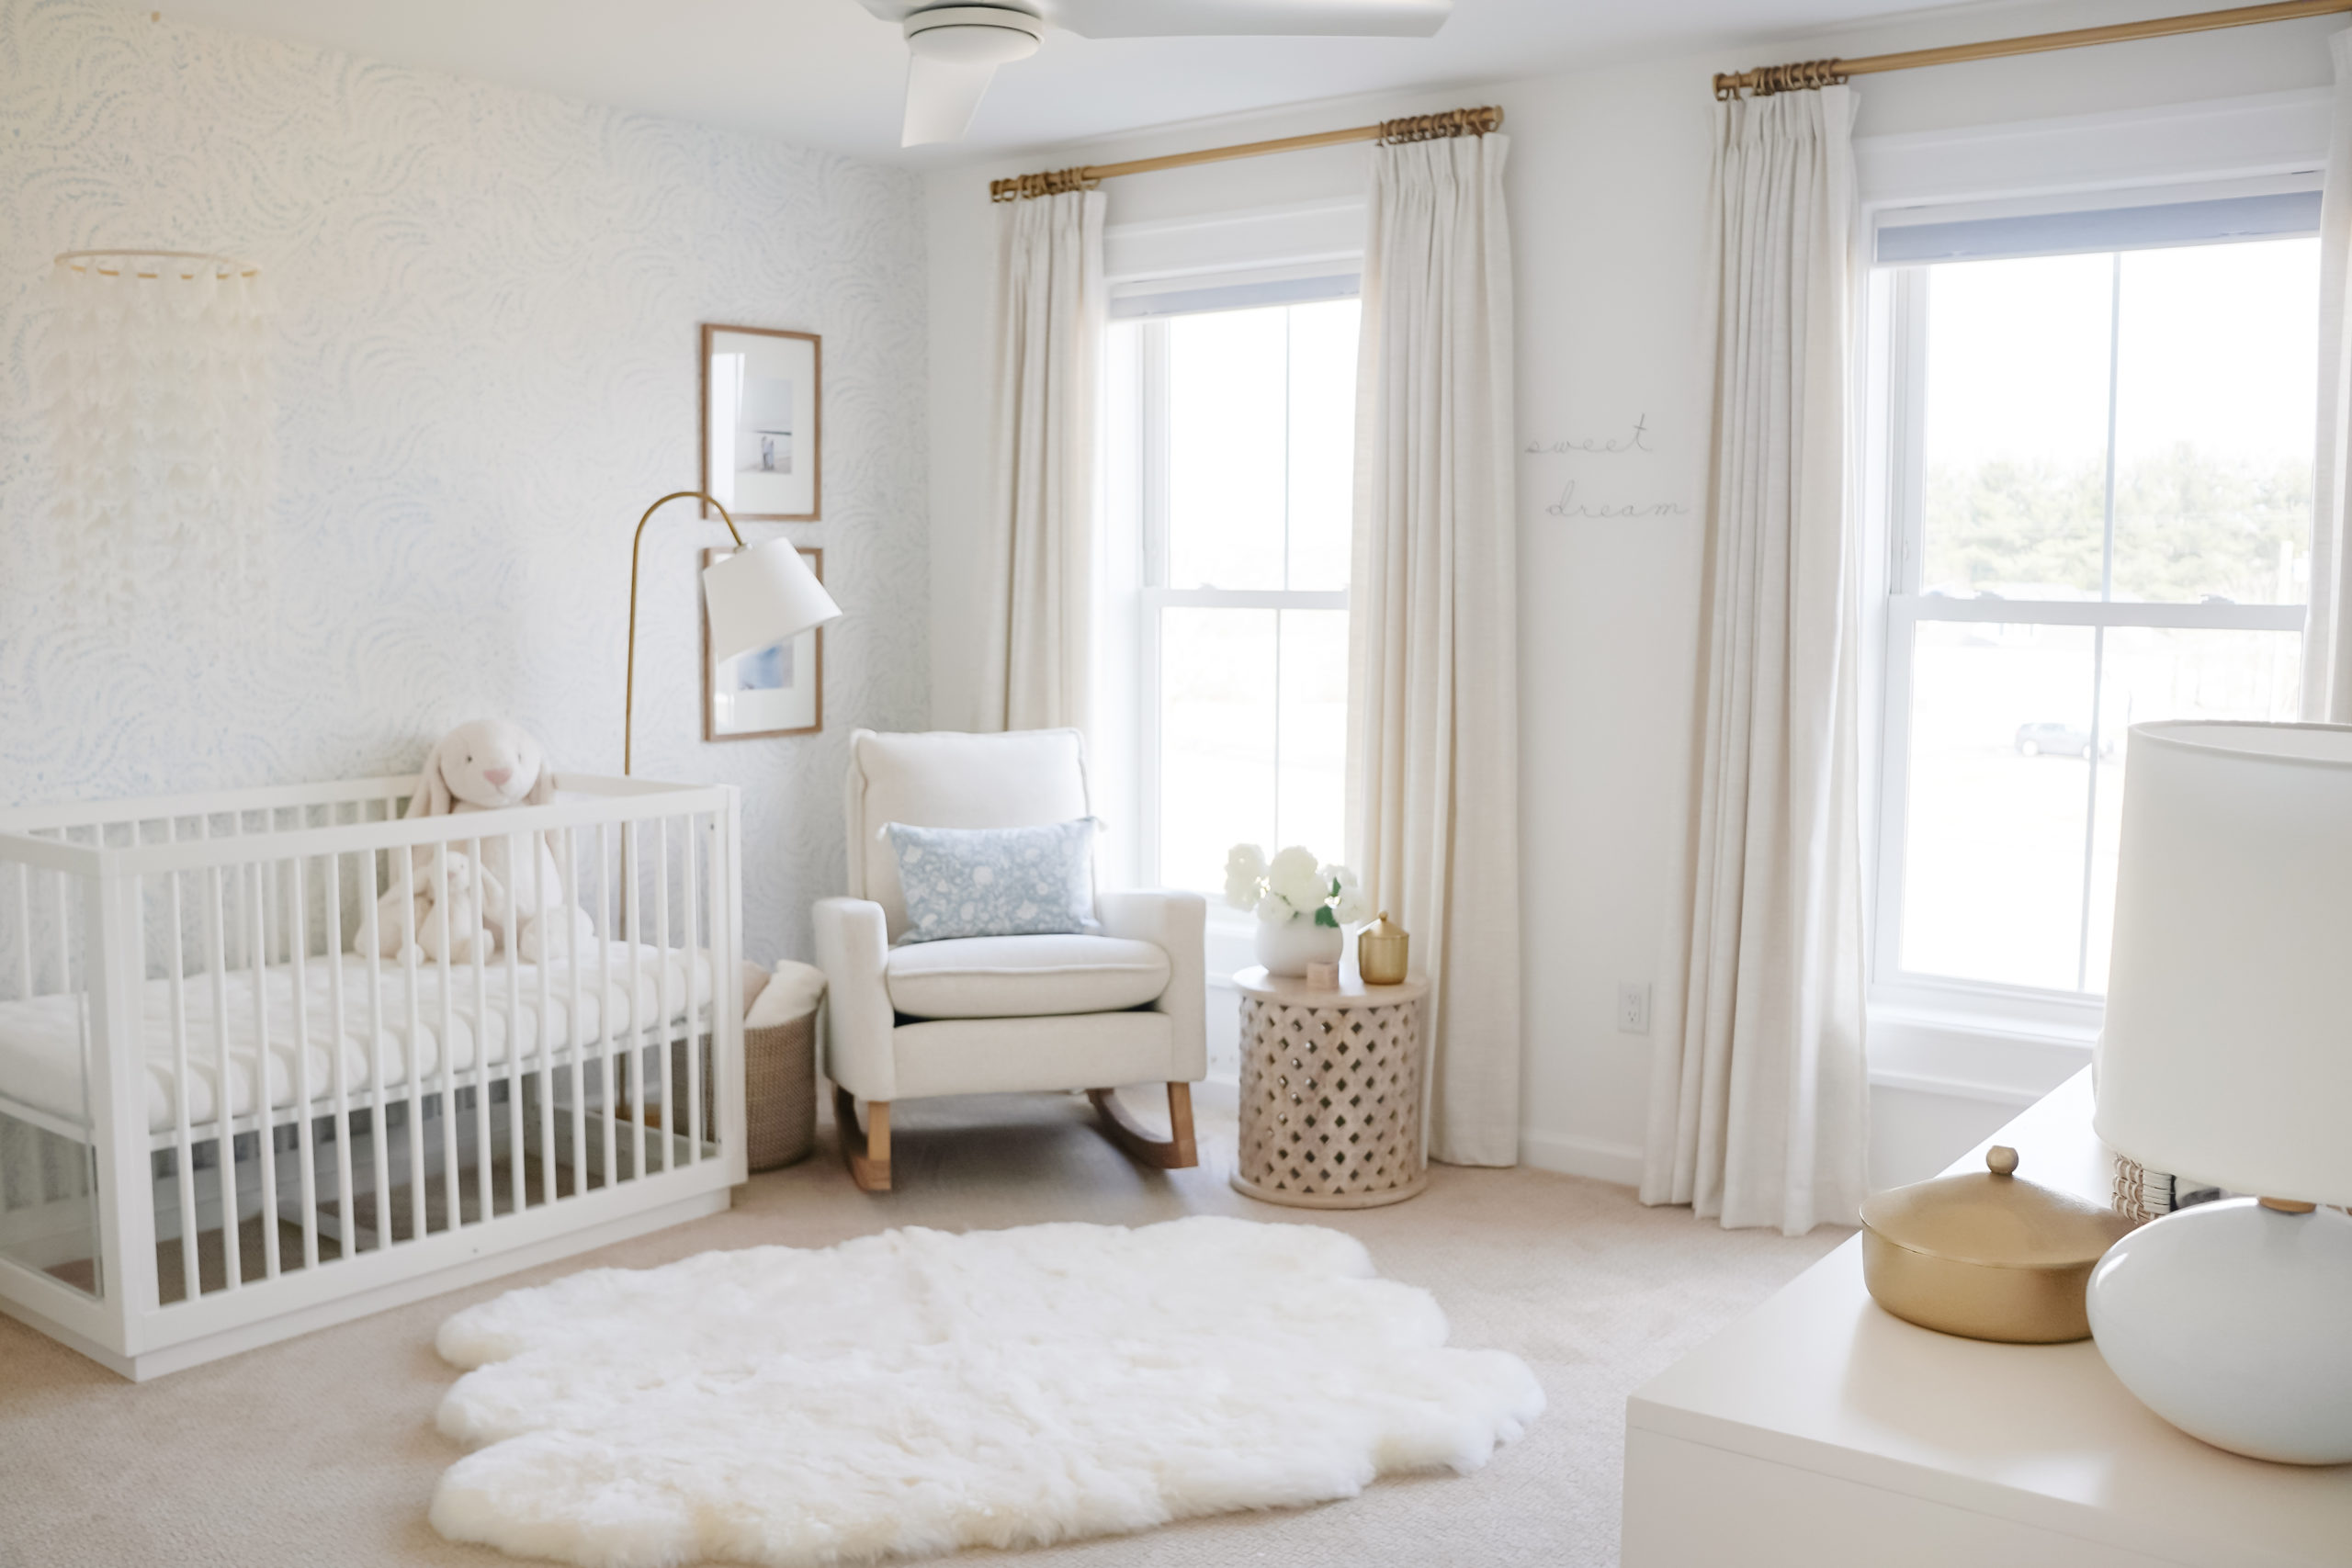
Liliana’s nursery is finally complete! It’s been so much fun decorating both my girl’s nurseries – CLICK HERE to see my older daughter Emilia’s NEUTRAL NURSERY REVEAL. The girl’s rooms are right next to one another, connected by a shared bathroom. It was important for me to keep the rooms cohesive but unique in their own way. To do this, I kept several elements in each room the same – gold hardware, acrylic accents, white furniture and sheepskin rug. Both spaces are the same size and shape, so the furniture layout is also similar (they basically mirror one another.)
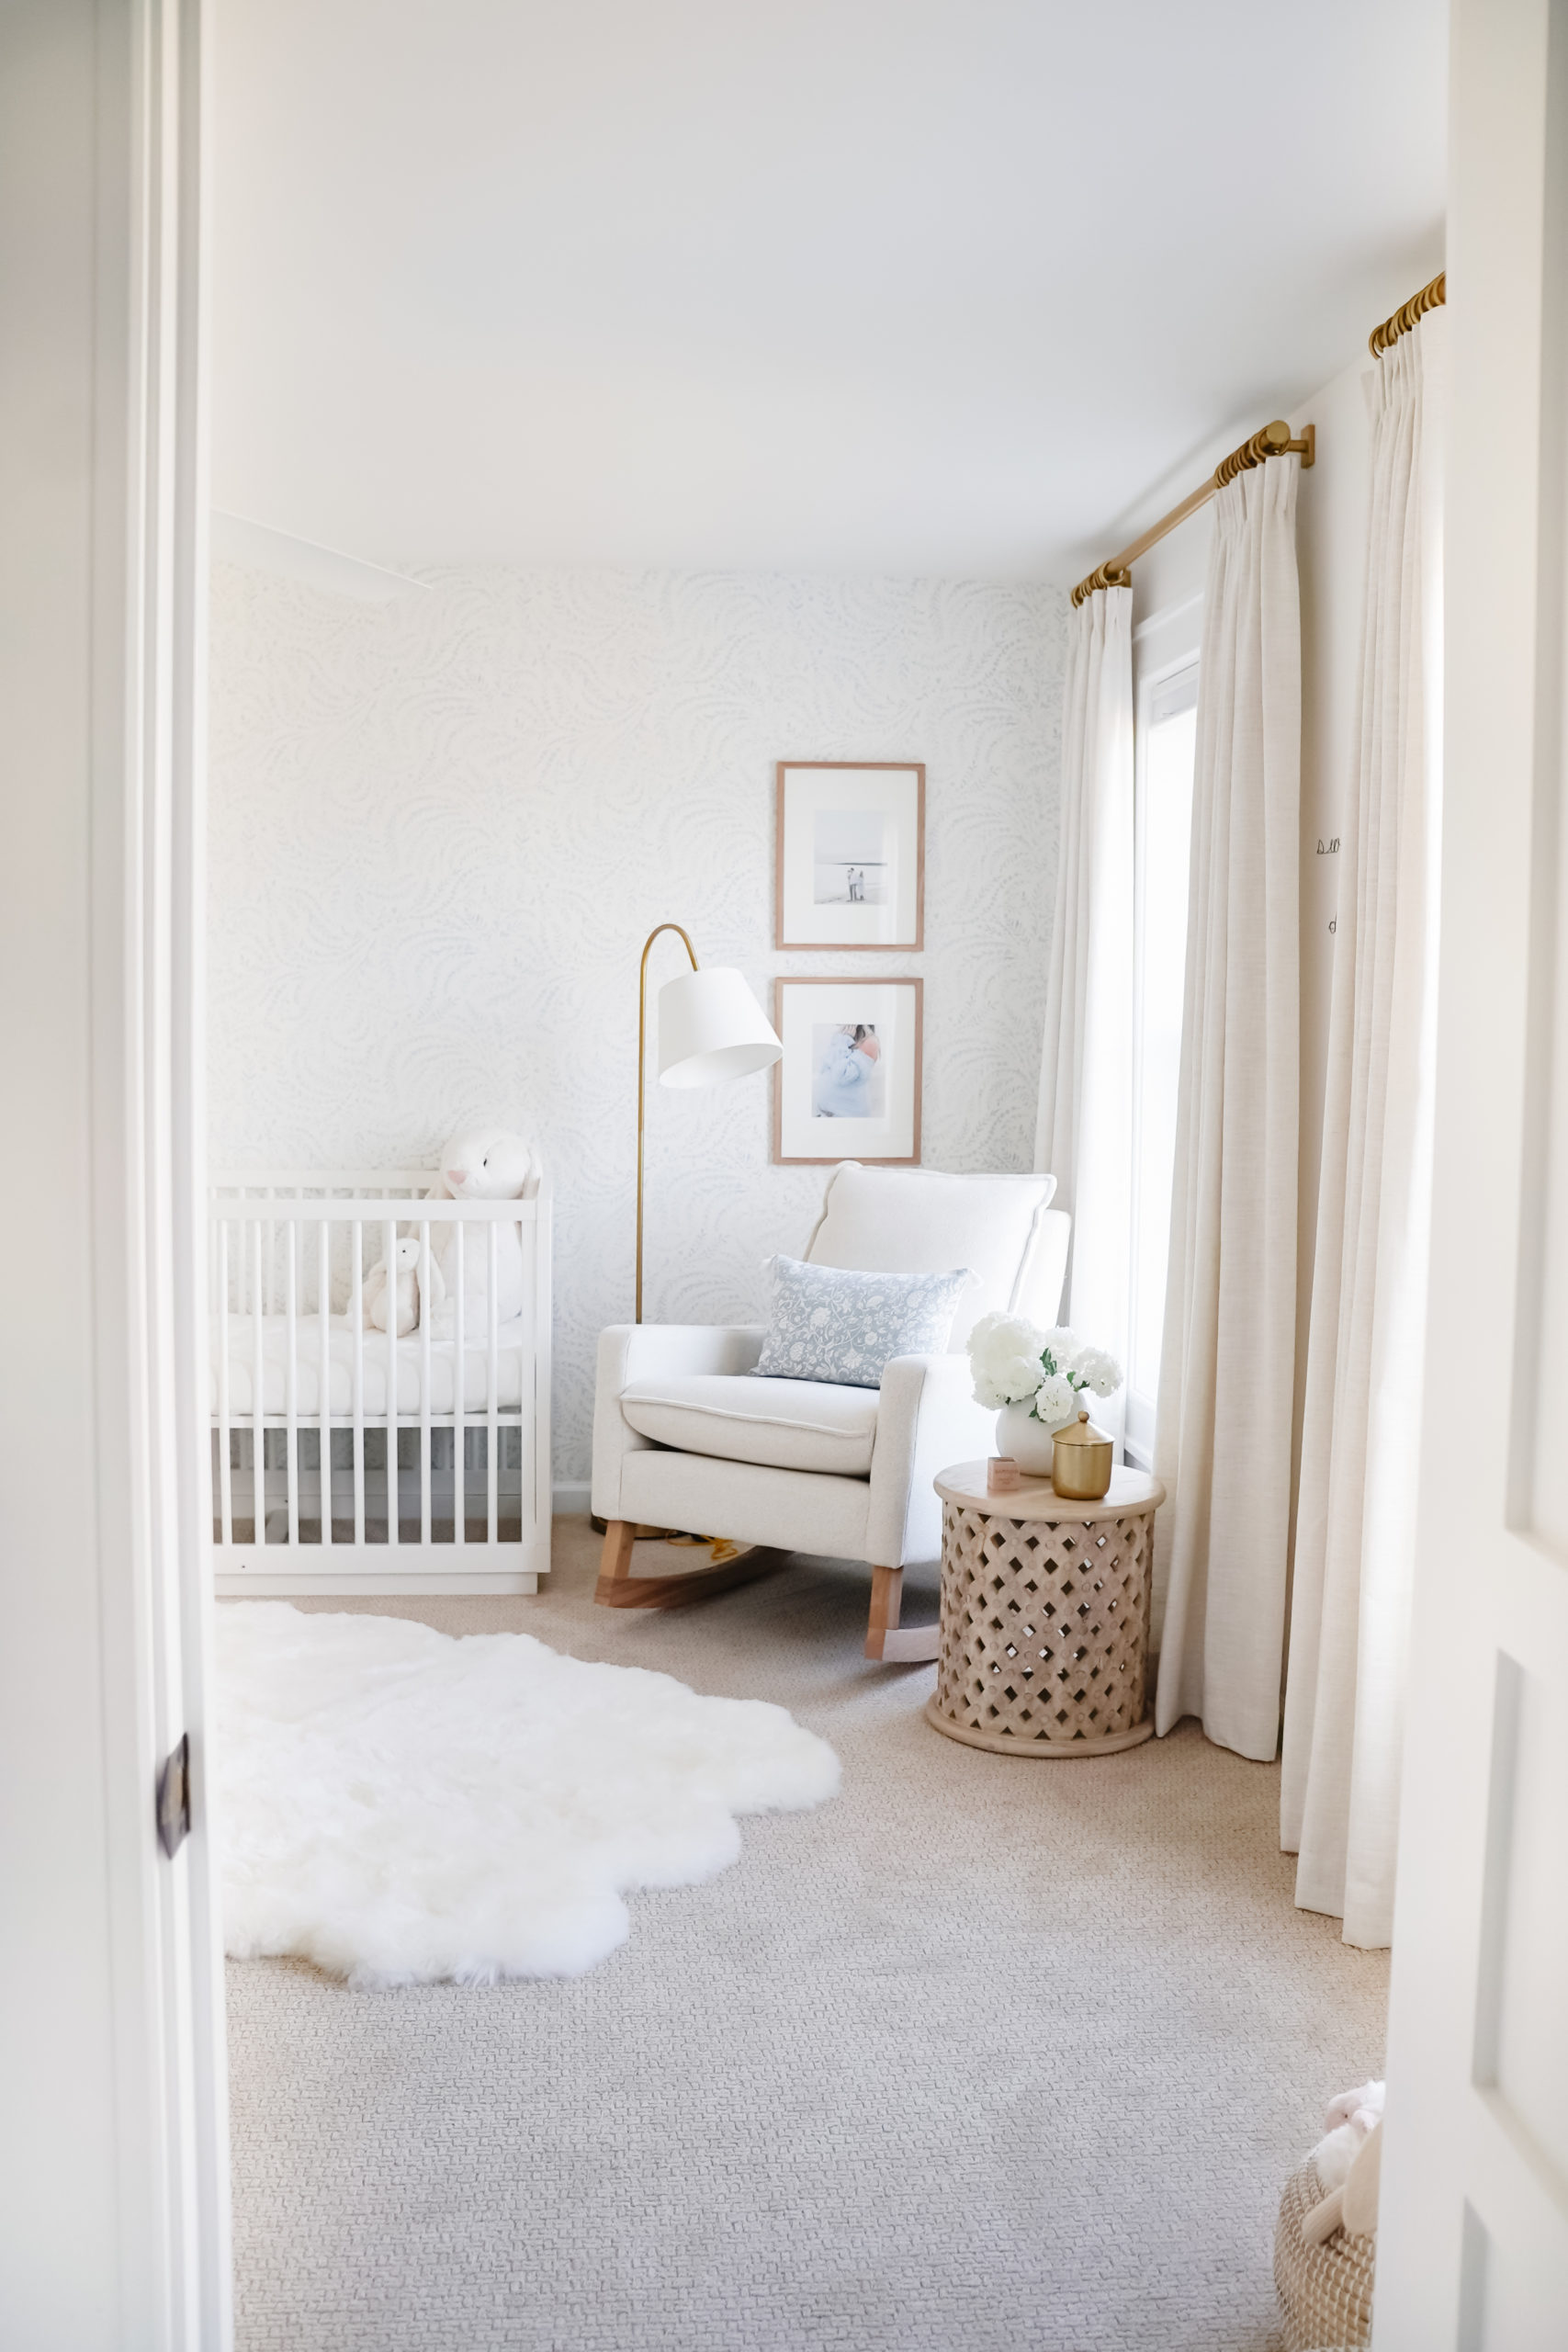
There are several details that make Lili’s room unique – most notably the powdery blue color palette. I wanted to try something different in this room so I challenged myself with a not-so-traditional color-way for a girls nursery. To make it work for Lili’s room, I chose a soft blue wallpaper with flowing vines and added some feminine, floral accent pillows. Light walls and window coverings combined with warm toned decor and hardware, helped to create a calm, serene and relaxing atmosphere in the room. I love the way everything came together!
Keep scrolling for photos and links to everything used to design my baby girl’s blue nursery! Be sure to follow me INSTAGRAM for more home decor, style and motherhood content!
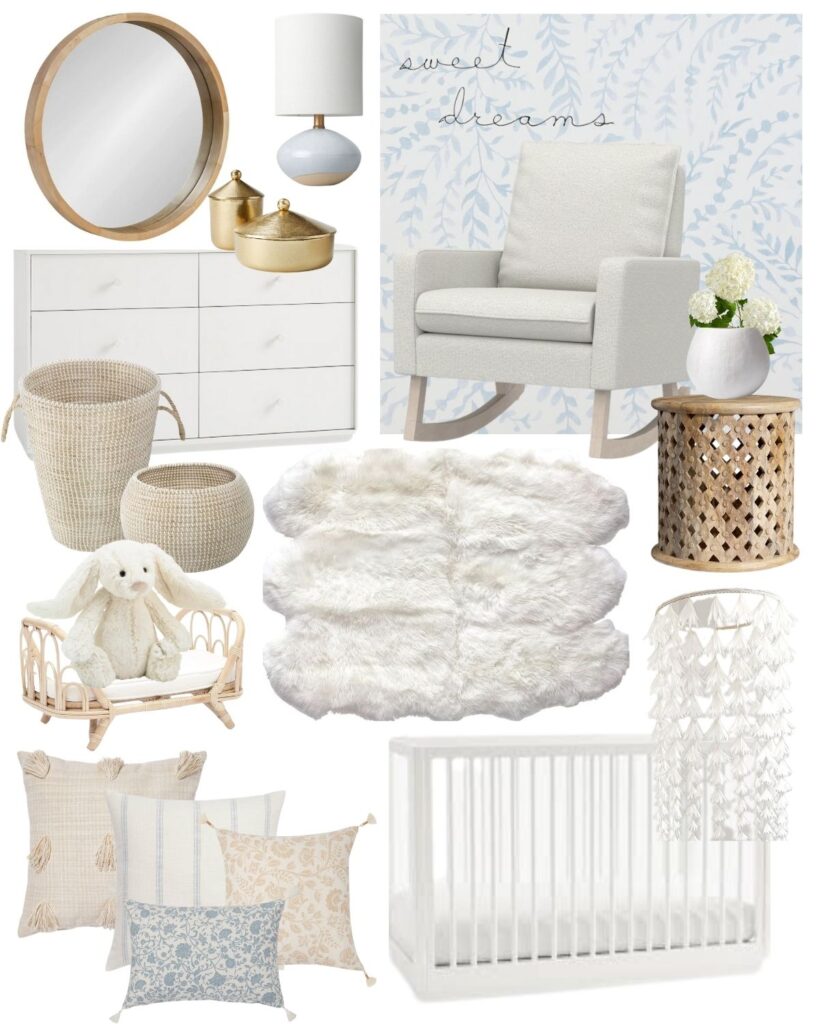
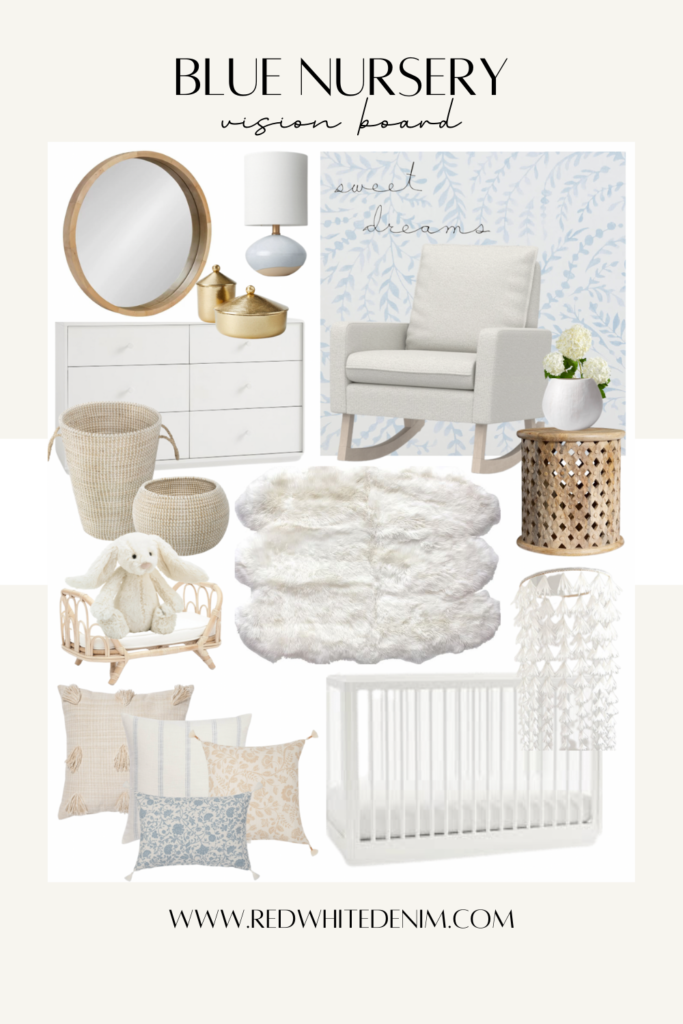
BLUE NURSERY VISION BOARD
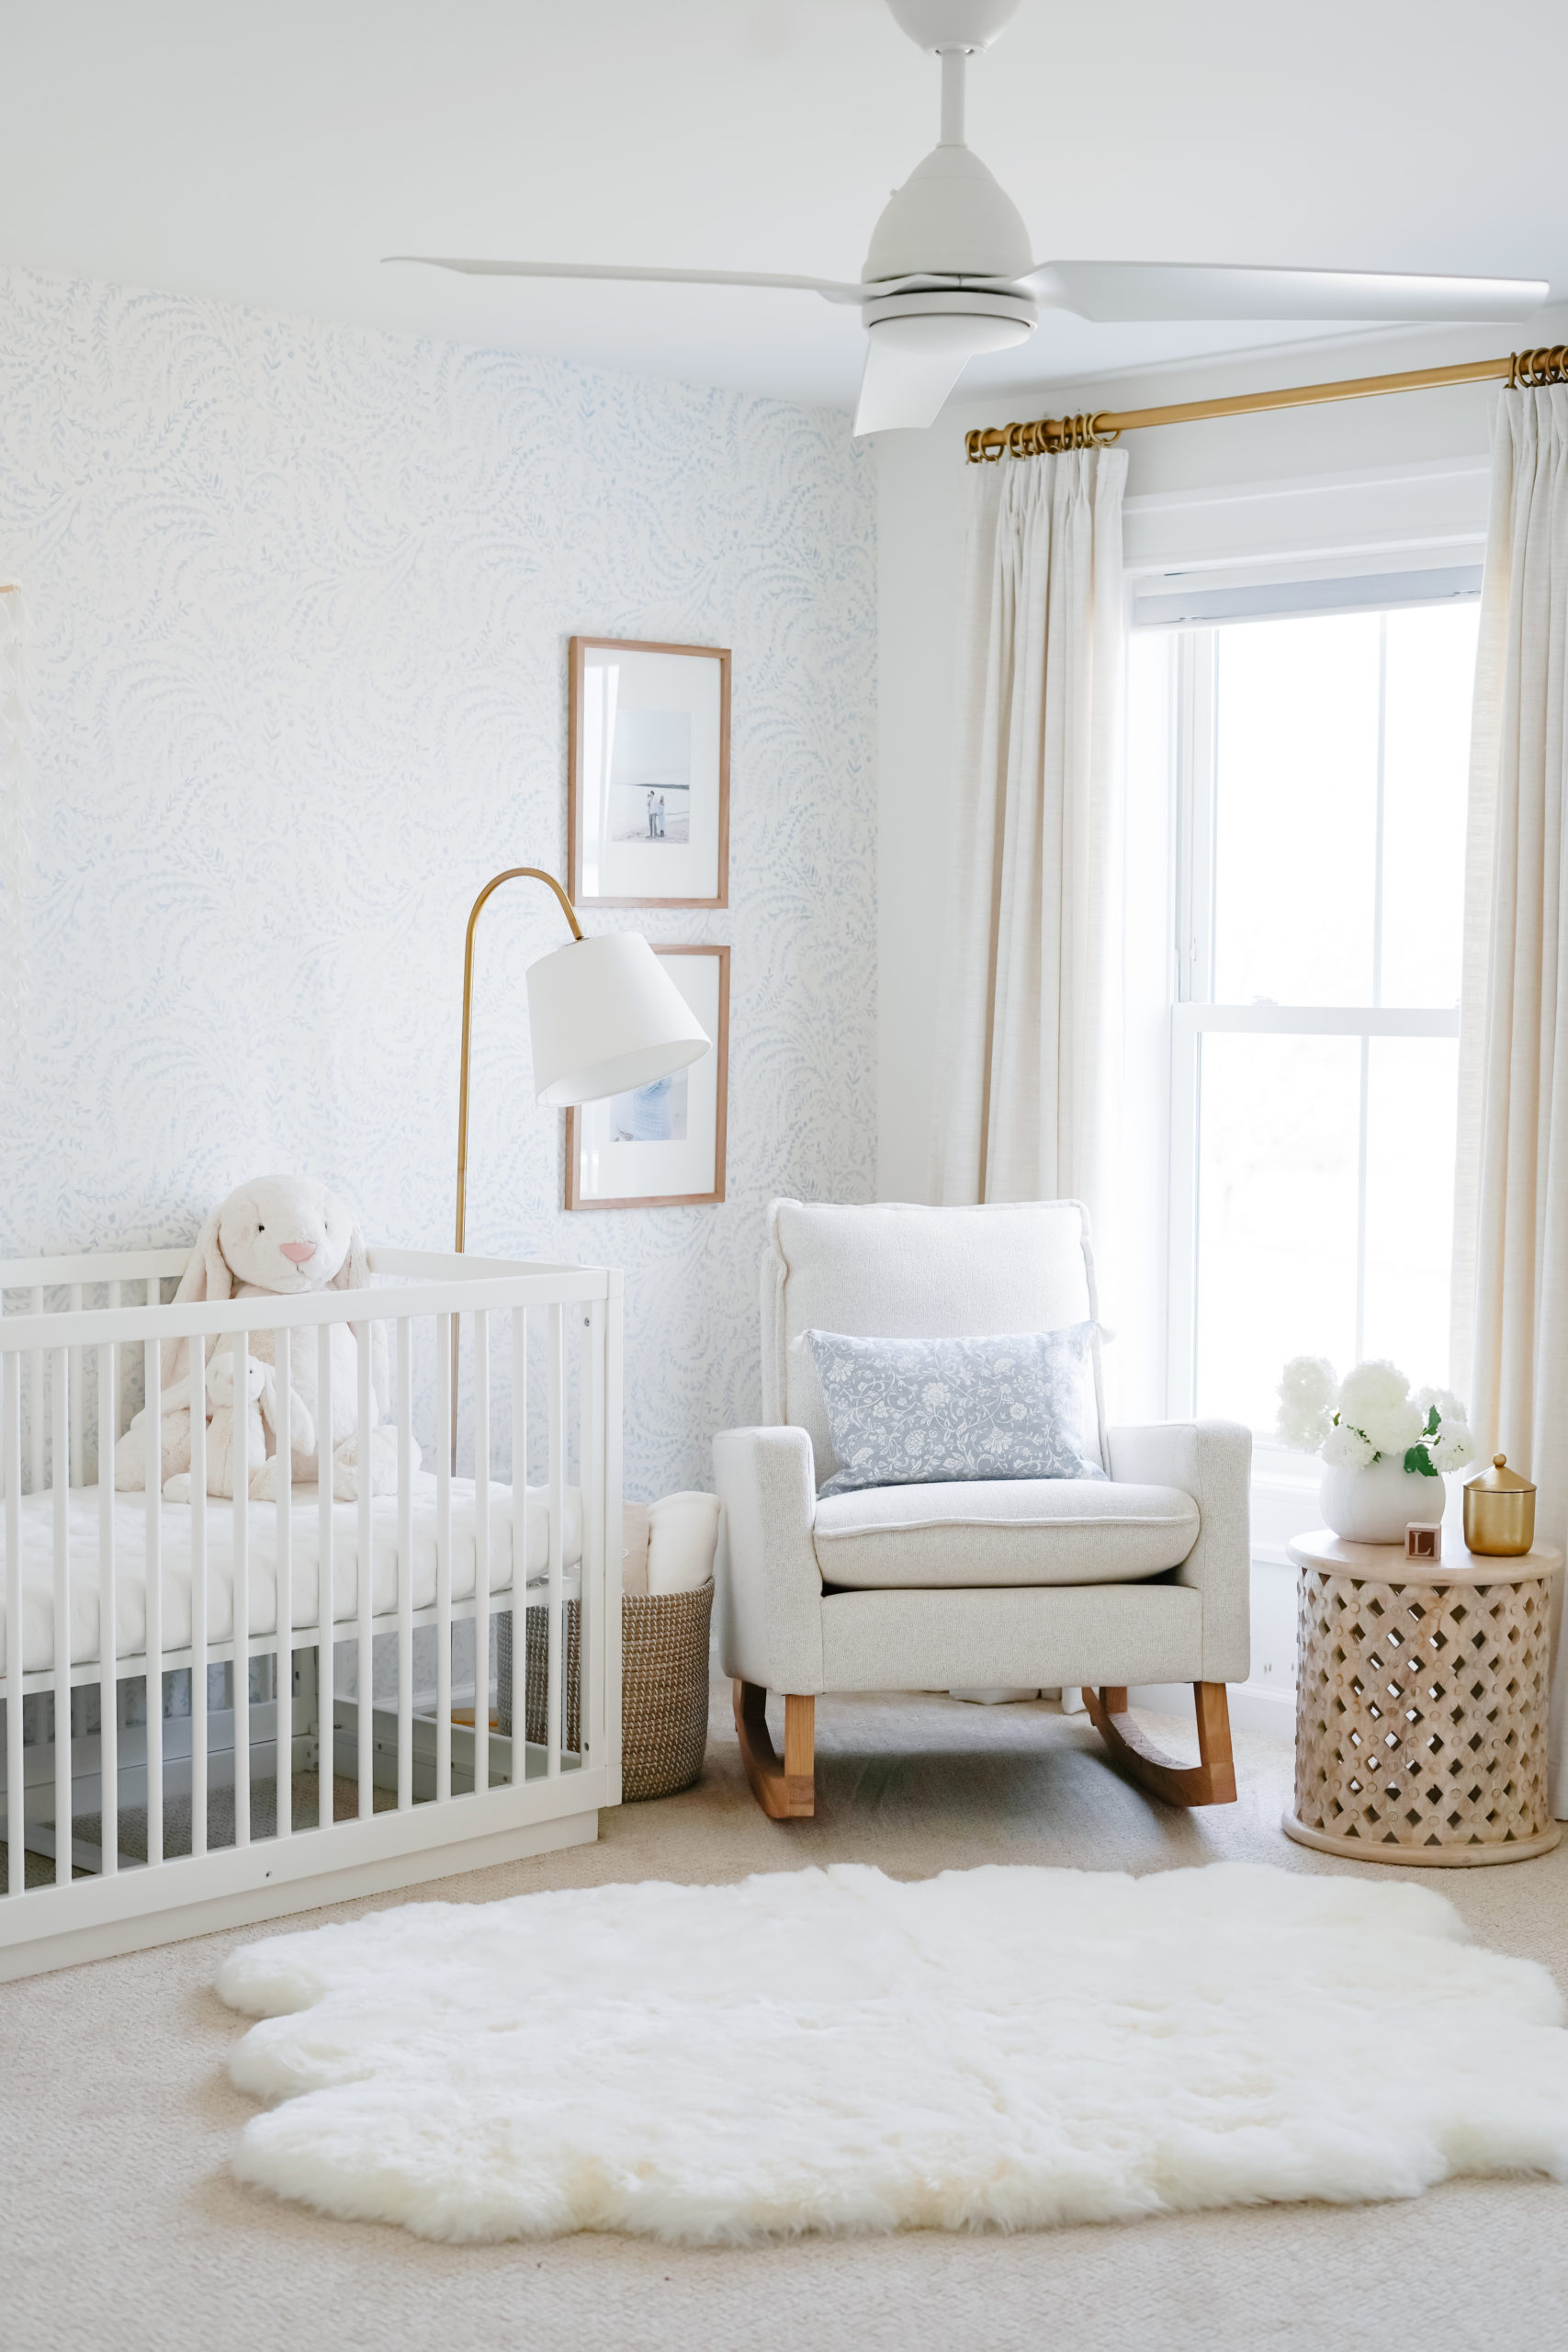
WALLPAPER
I love a pretty accent wall in a nursery. It’s a great way to add some color/pattern while still keeping the room light and bright. This gorgeous wallpaper comes in several different colors. The powdery blue color is my favorite and I love how it can work for both a boy or a girl. All the other walls are Benjamin Moore Chantilly Lace.
If you’re looking for a more affordable way to incorporate an accent wall, take a look at what I did in my other daughter’s NEUTRAL NURSERY. In Emilia’s room, I used an easy and inexpensive DIY HERRINGBONE SPONGE PAINT technique and it came out so cute! Let me know if you try it.
Here’s a link to the wallpaper, we used the color SKY. It comes in several different color ways.
SITTING AREA
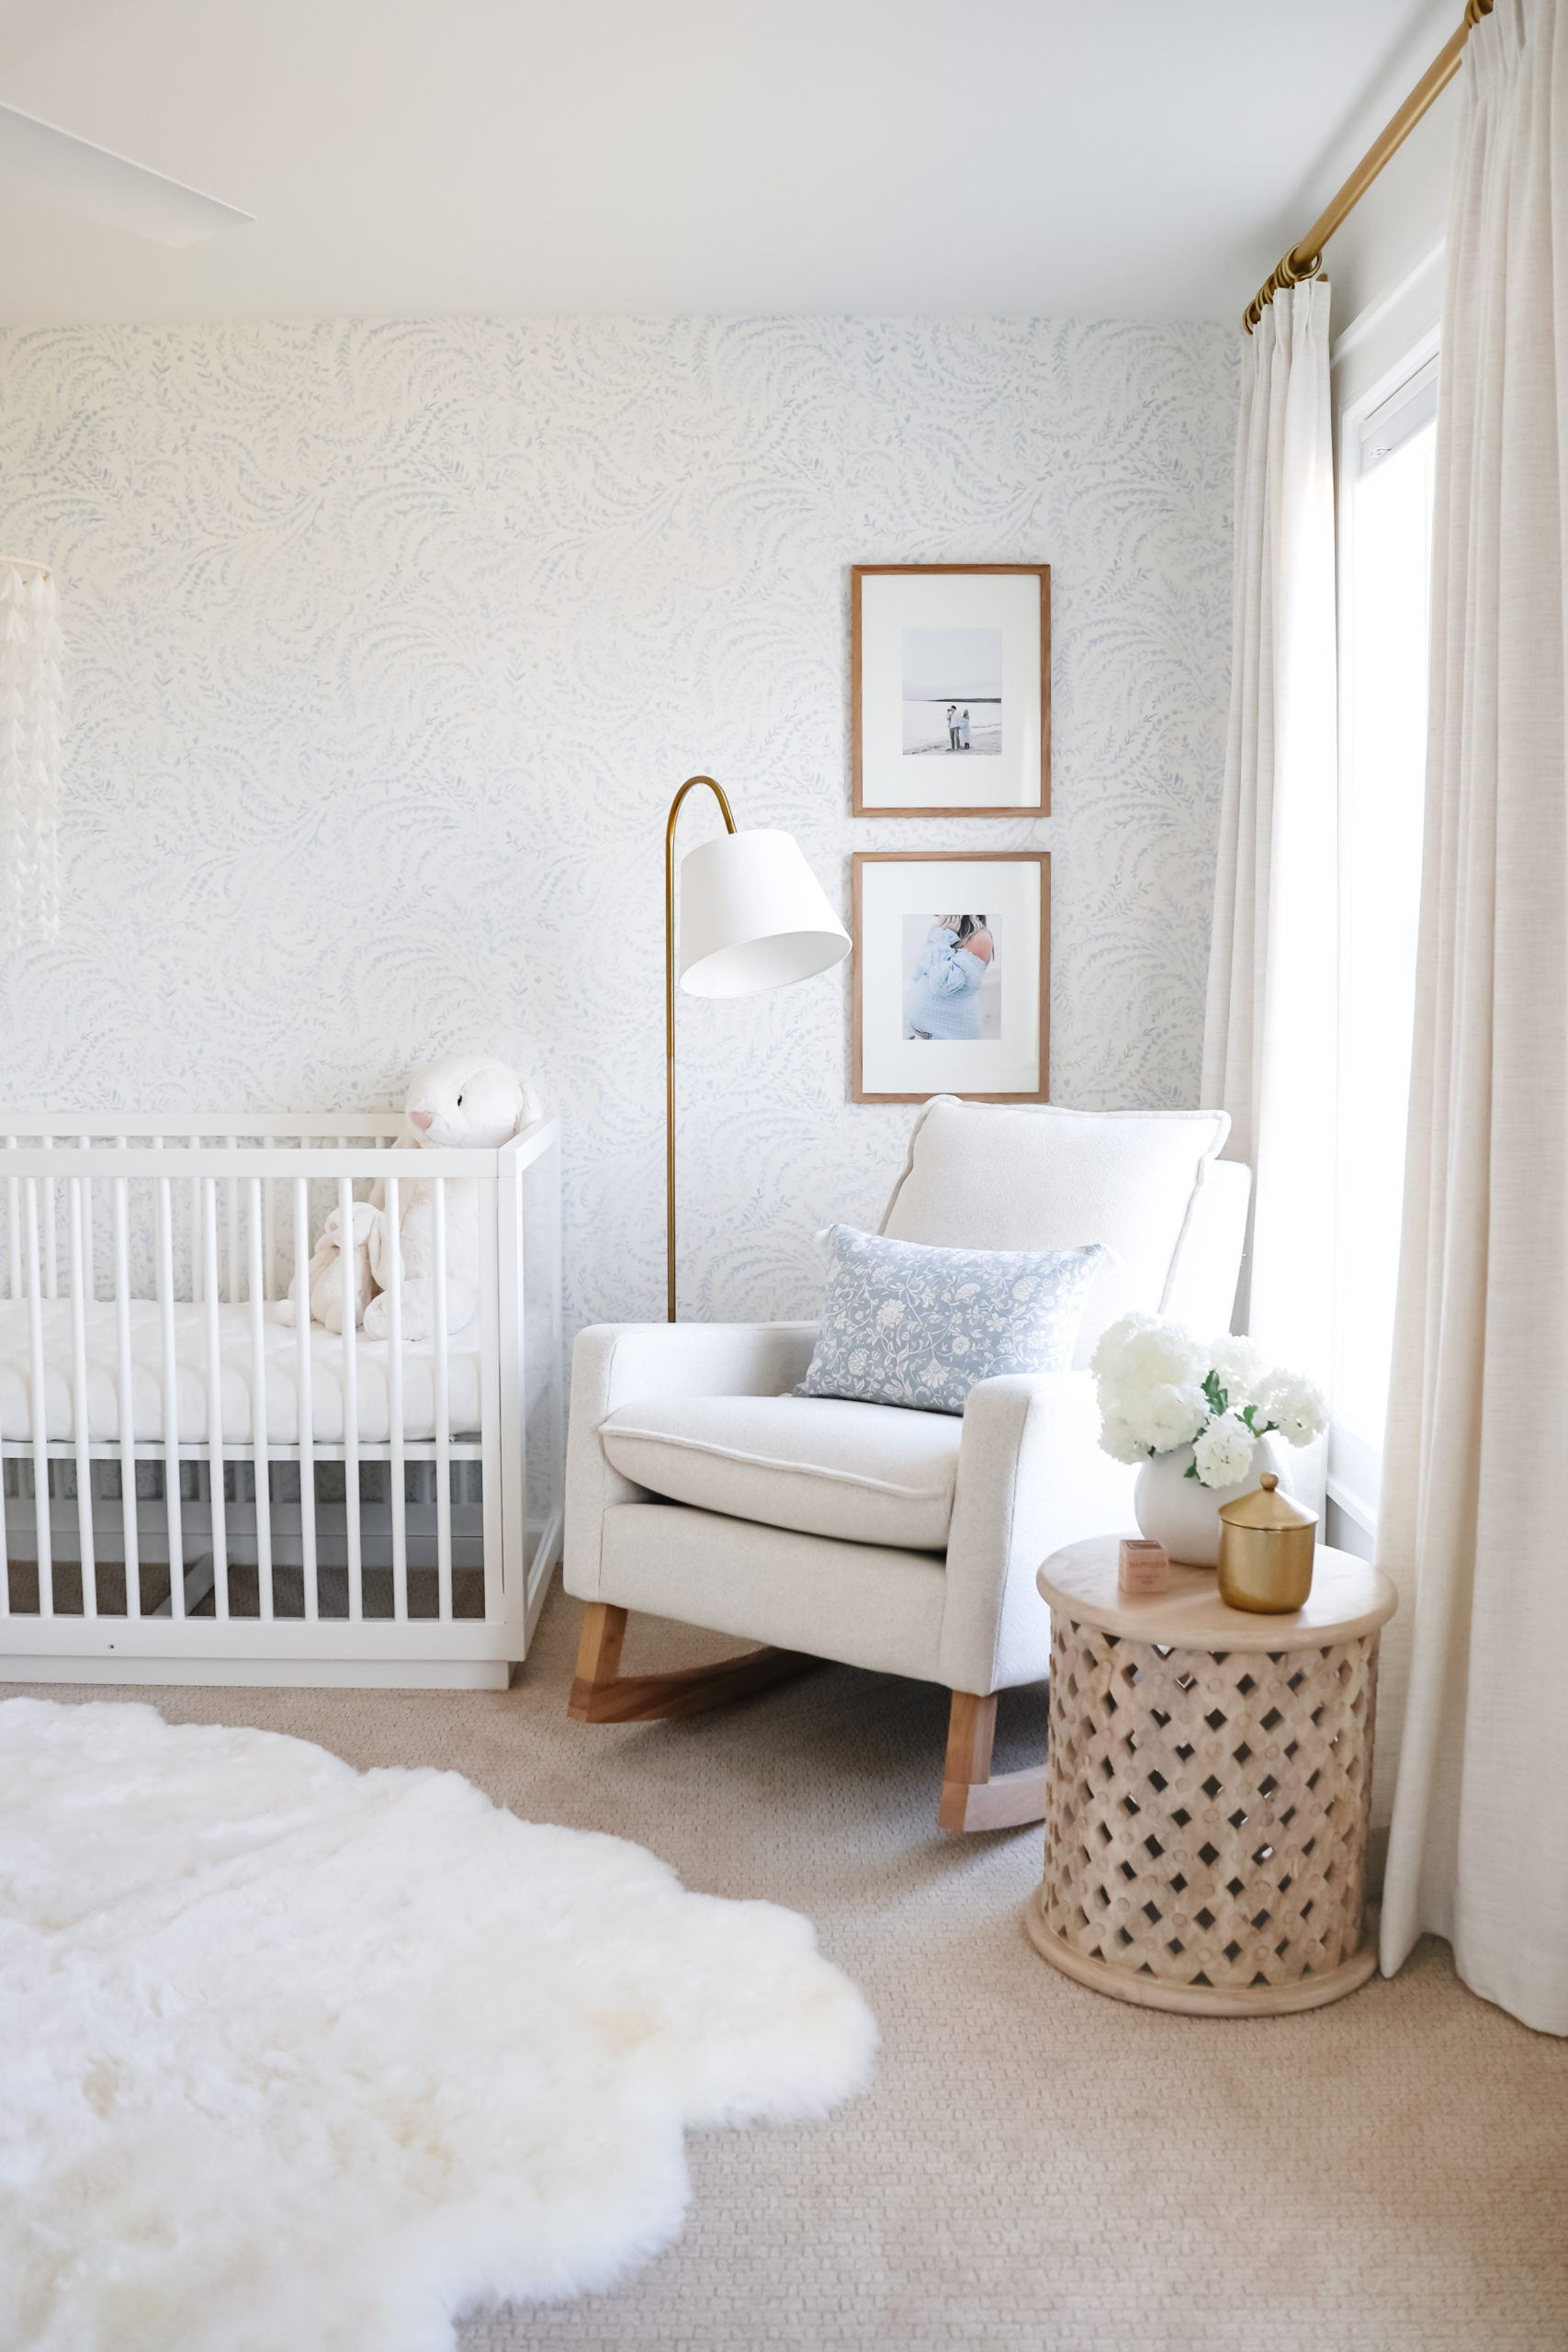
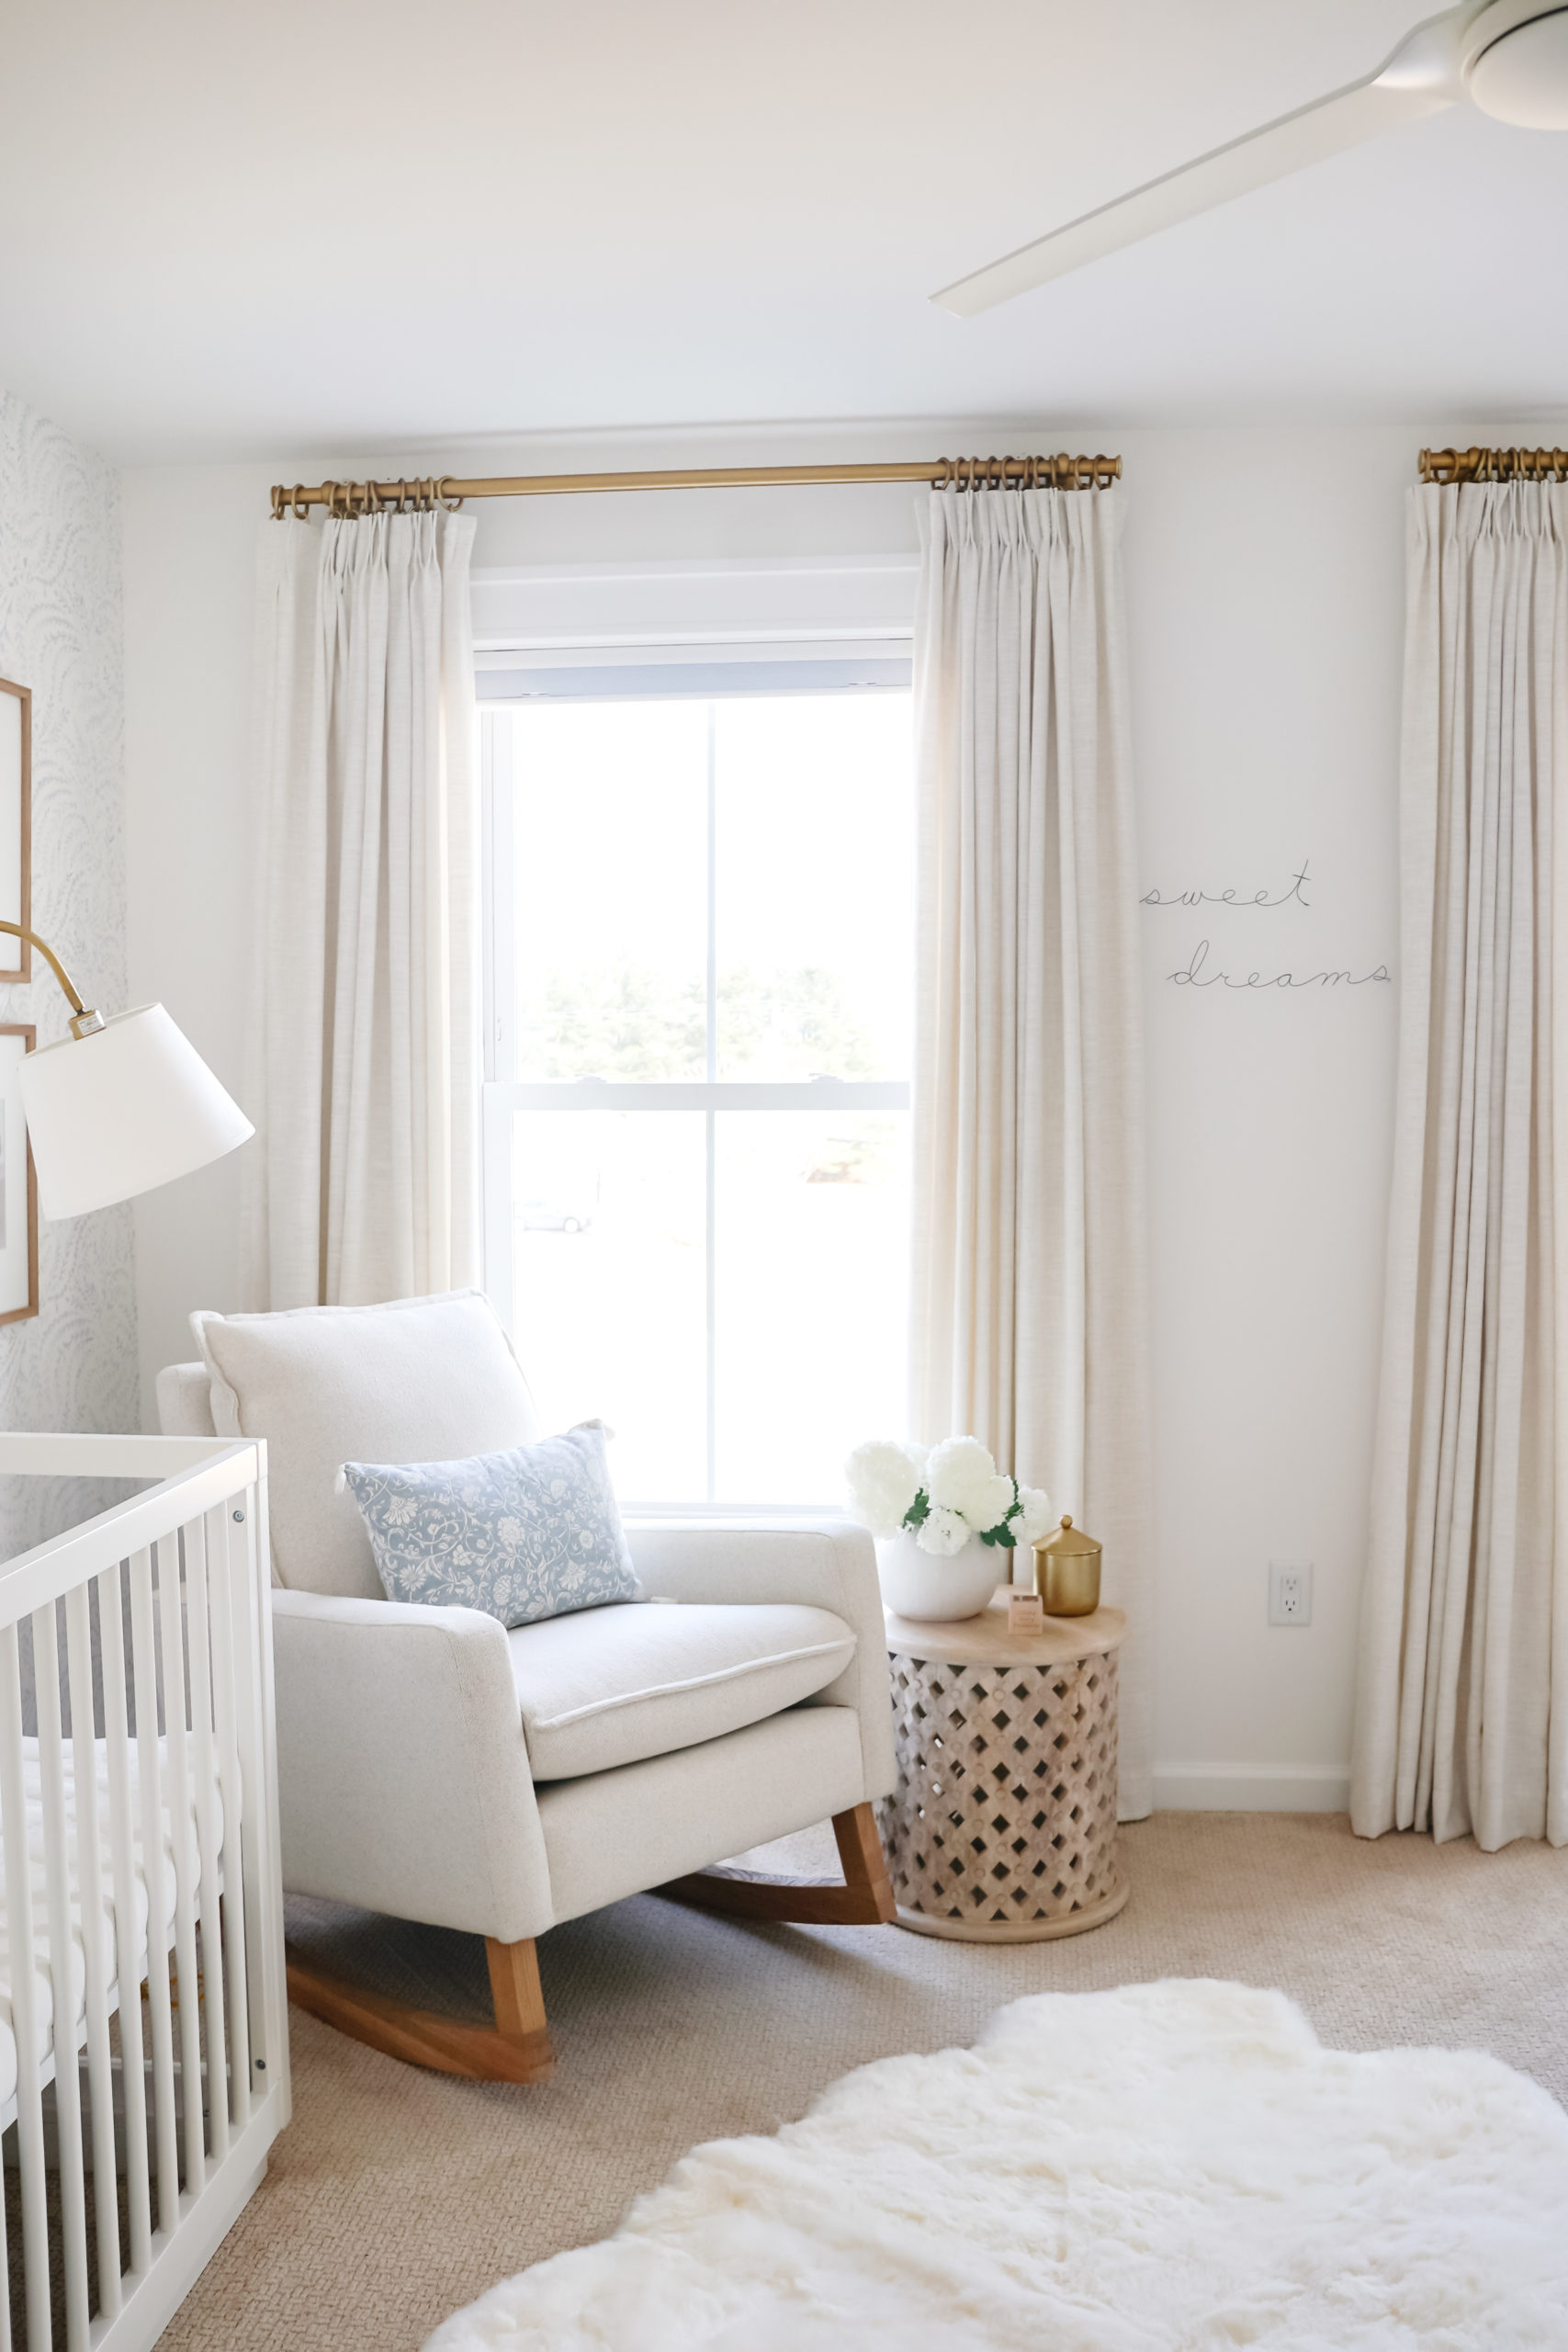
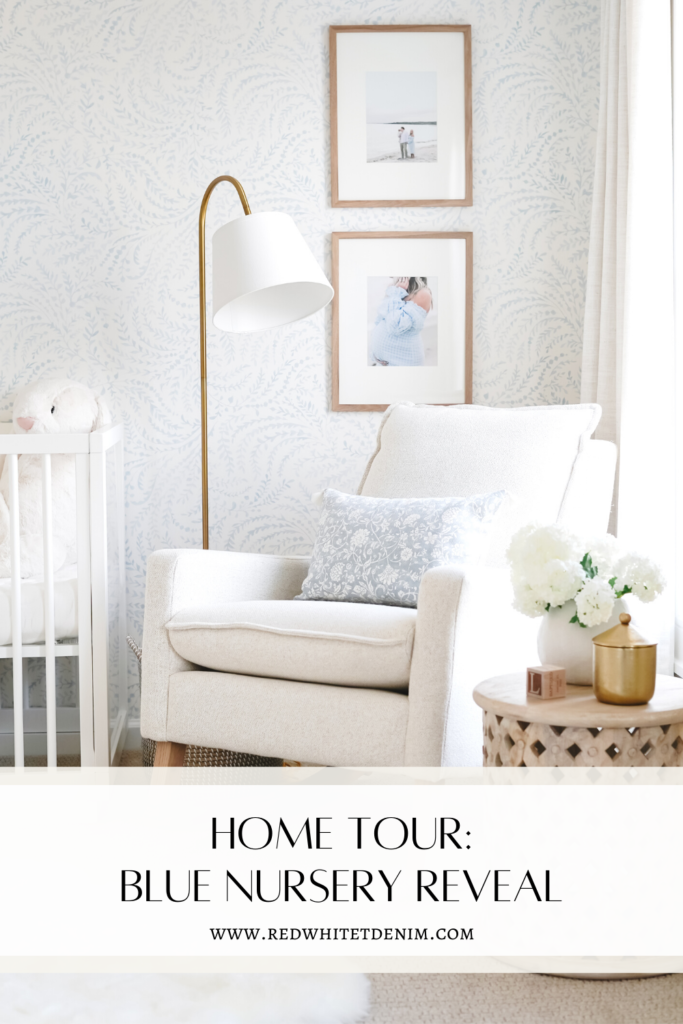
One of the most important spaces to design in a nursery is a cozy sitting area. I love the way this little corner turned out, complete with a rocker, floor lamp, accent table and framed maternity photos.
CLICK/TAP TO SHOP
For seating, we chose the ROCKER version of the GLIDER we already own and love in Emila’s NEUTRAL NURSERY. It’s the same style chair, but with a different base. Despite being the same style, we found the glider version of this chair to be MUCH more comfortable and functional. It swivels, rocks and reclines effortlessly – all key features when you’re trying to calm a fussy baby! So although I prefer the look of the rocker, my recommendation would definitely be the GLIDER. We chose to have it upholstered in PERFORMANCE BOUCLE fabric in the color OATMEAL.
Another thing I love about the glider/recliner version linked below is the size. It’s super wide, allowing me to sit side by side with my now 4 year old. We spend SO much time in this chair and cannot recommend it enough!!
CLICK/TAP TO SHOP
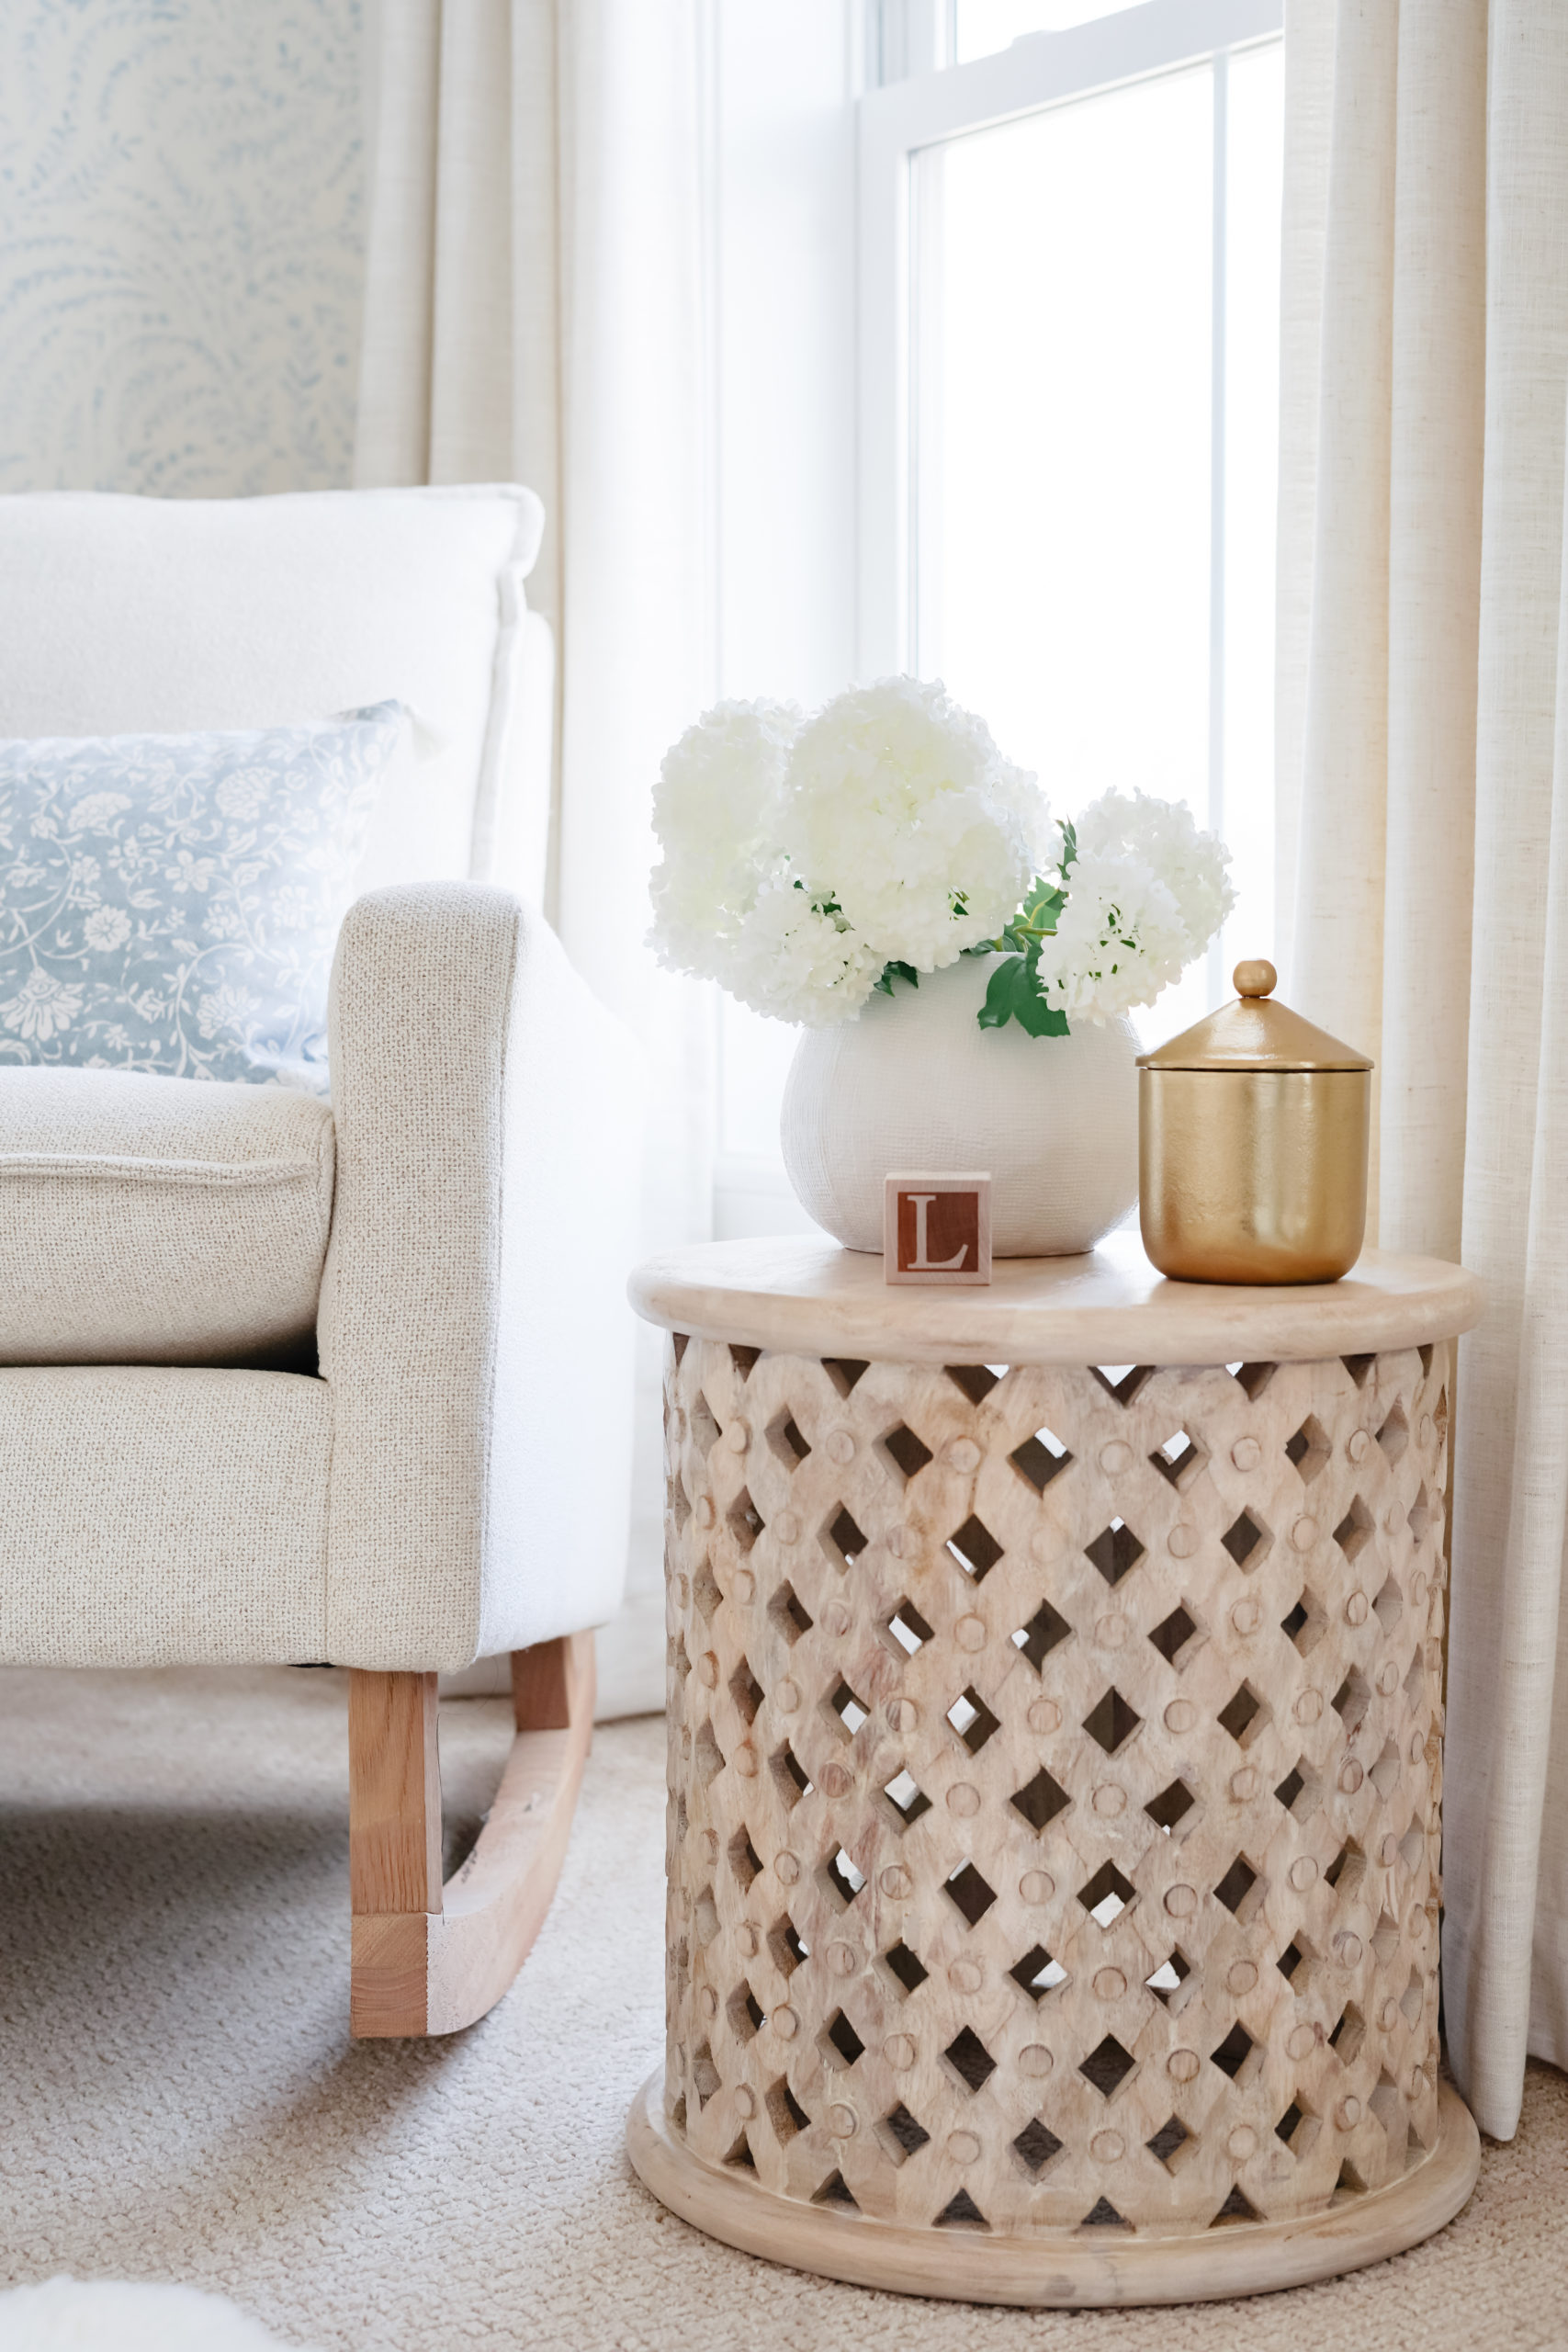
I highly recommend adding an accent table to your sitting area. It’s nice to have a spot to rest bottles, pacifiers, burp cloths, nursing essentials, etc. This beautifully carved side table doubles as a drum seat. The details are beautiful and I love the distressed natural wood finish.
CLICK/TAP TO SHOP
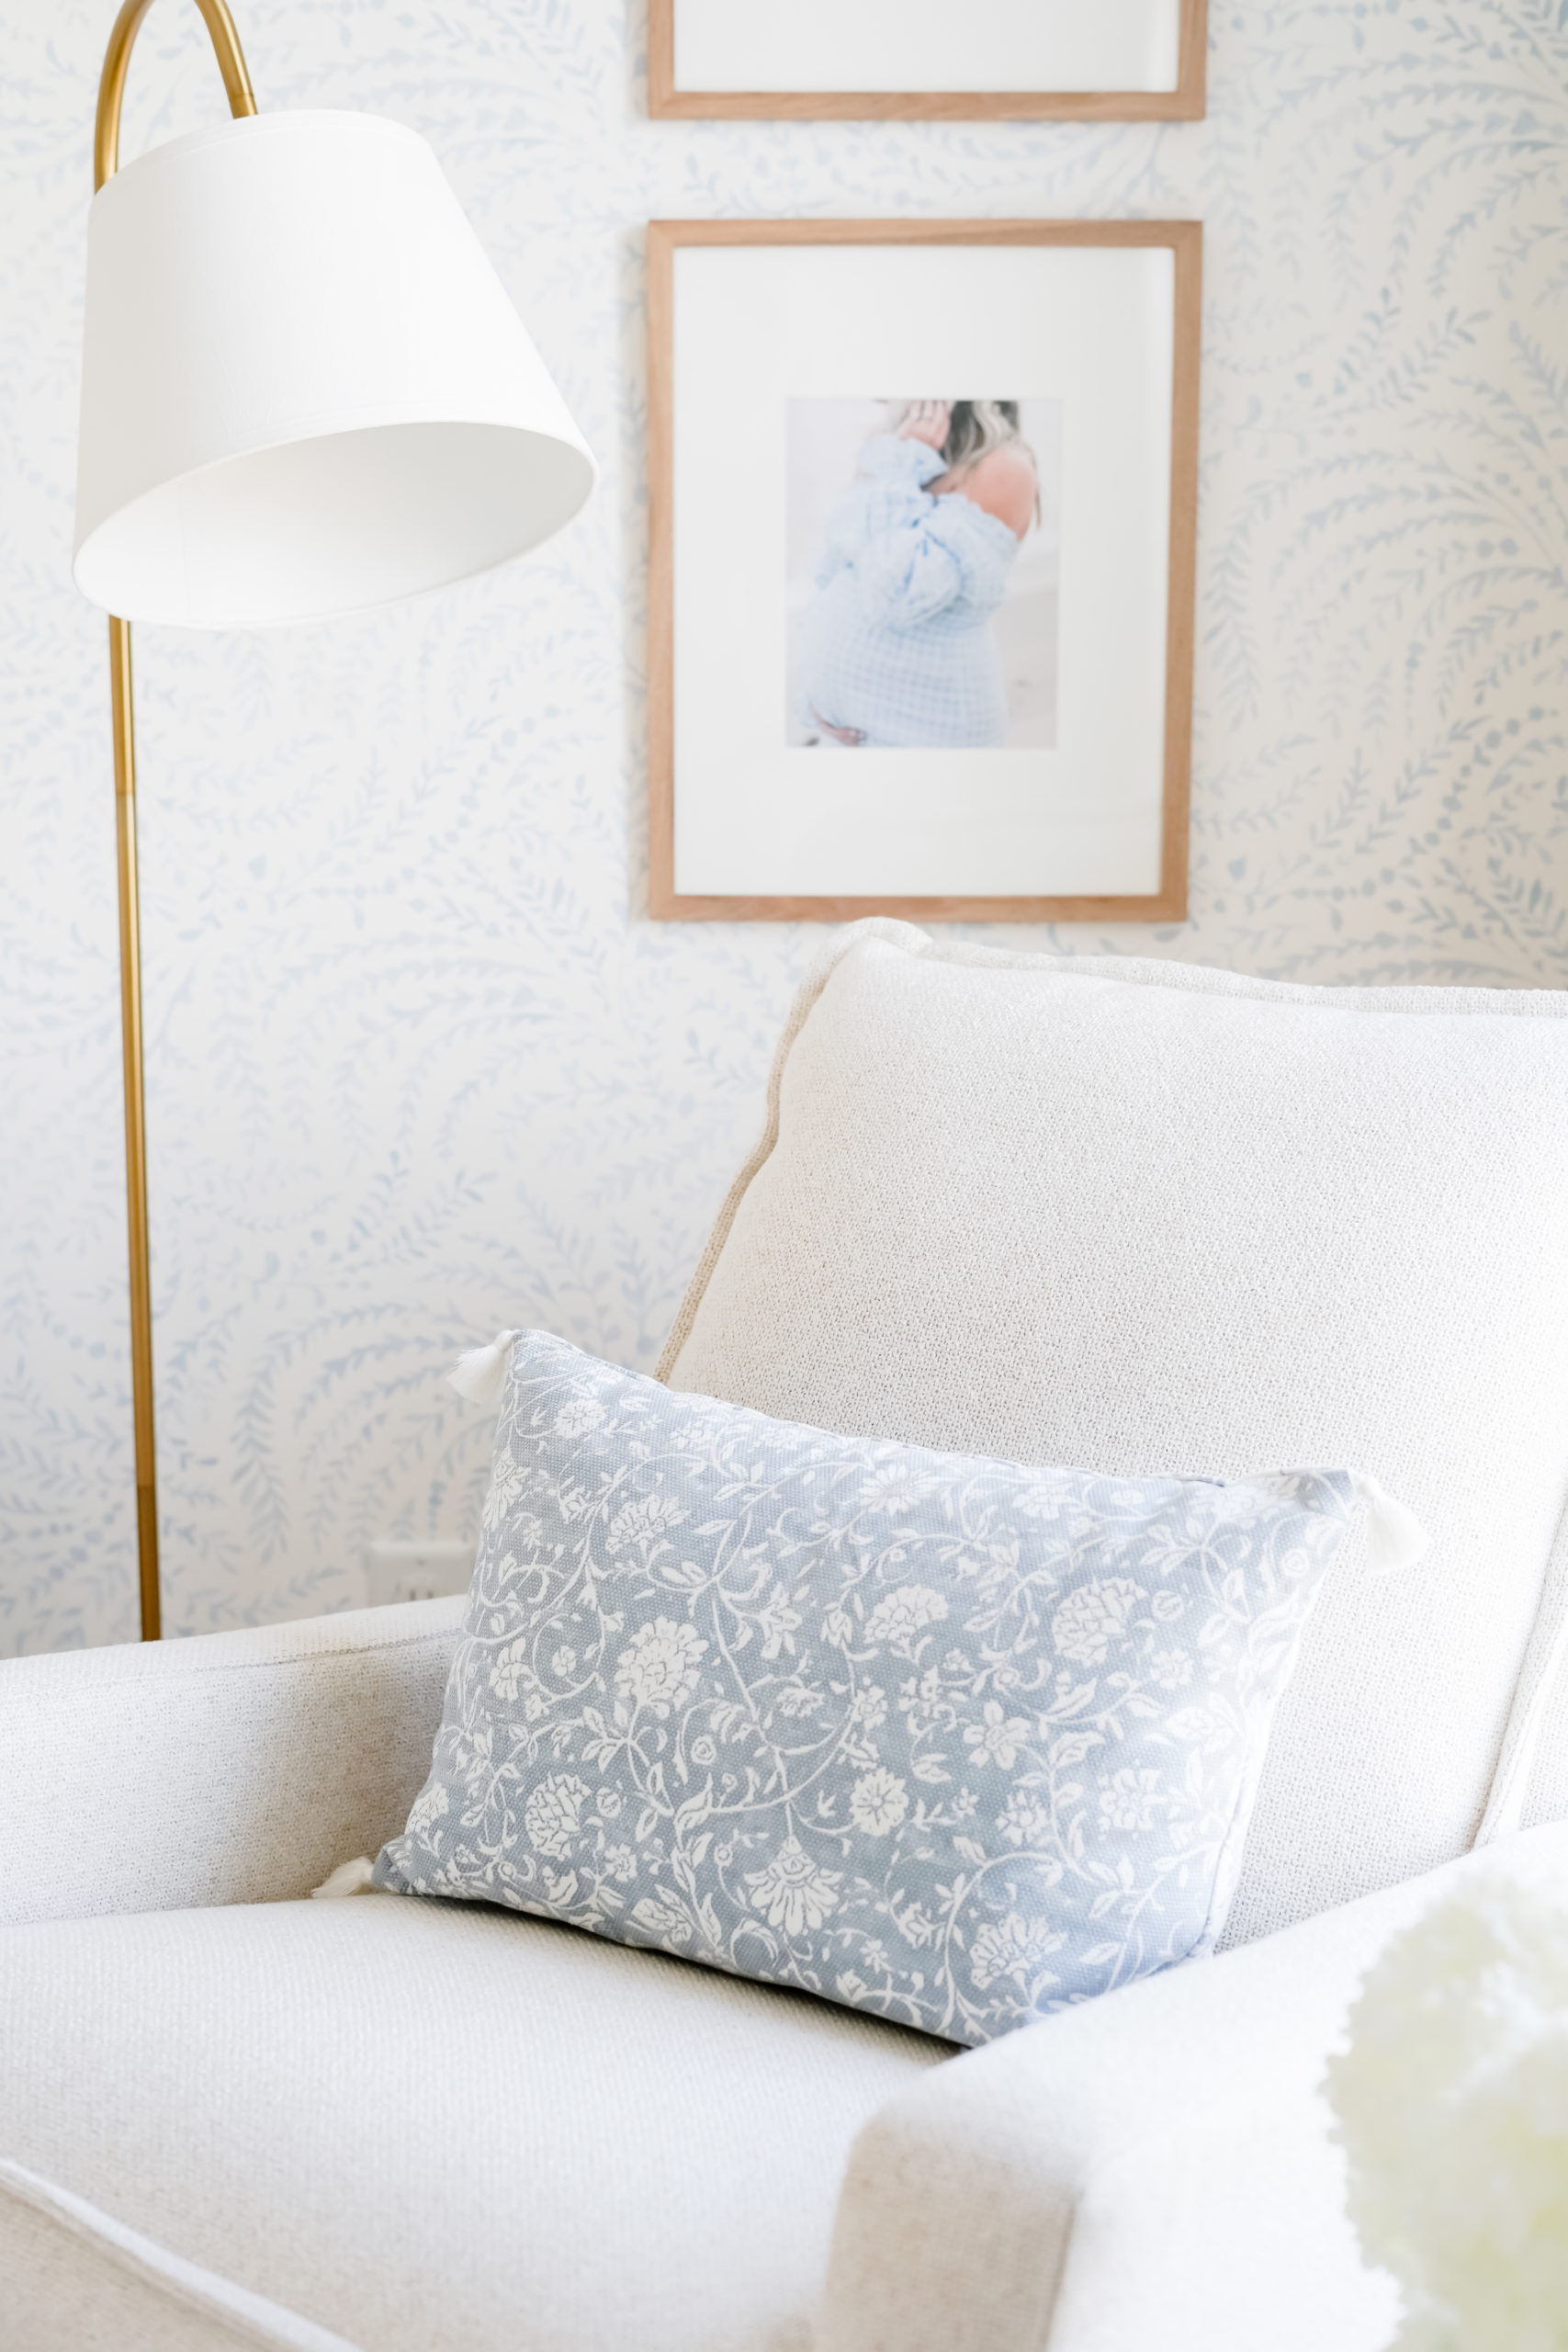
This pretty little floral lumbar pillow matches the blue wallpaper perfectly and really pops against the neutral rocker. I was happy to discover that the pillow is printed on both sides – the opposite side is the same pattern with the colors inverted. It comes in pink too!
CLICK/TAP TO SHOP
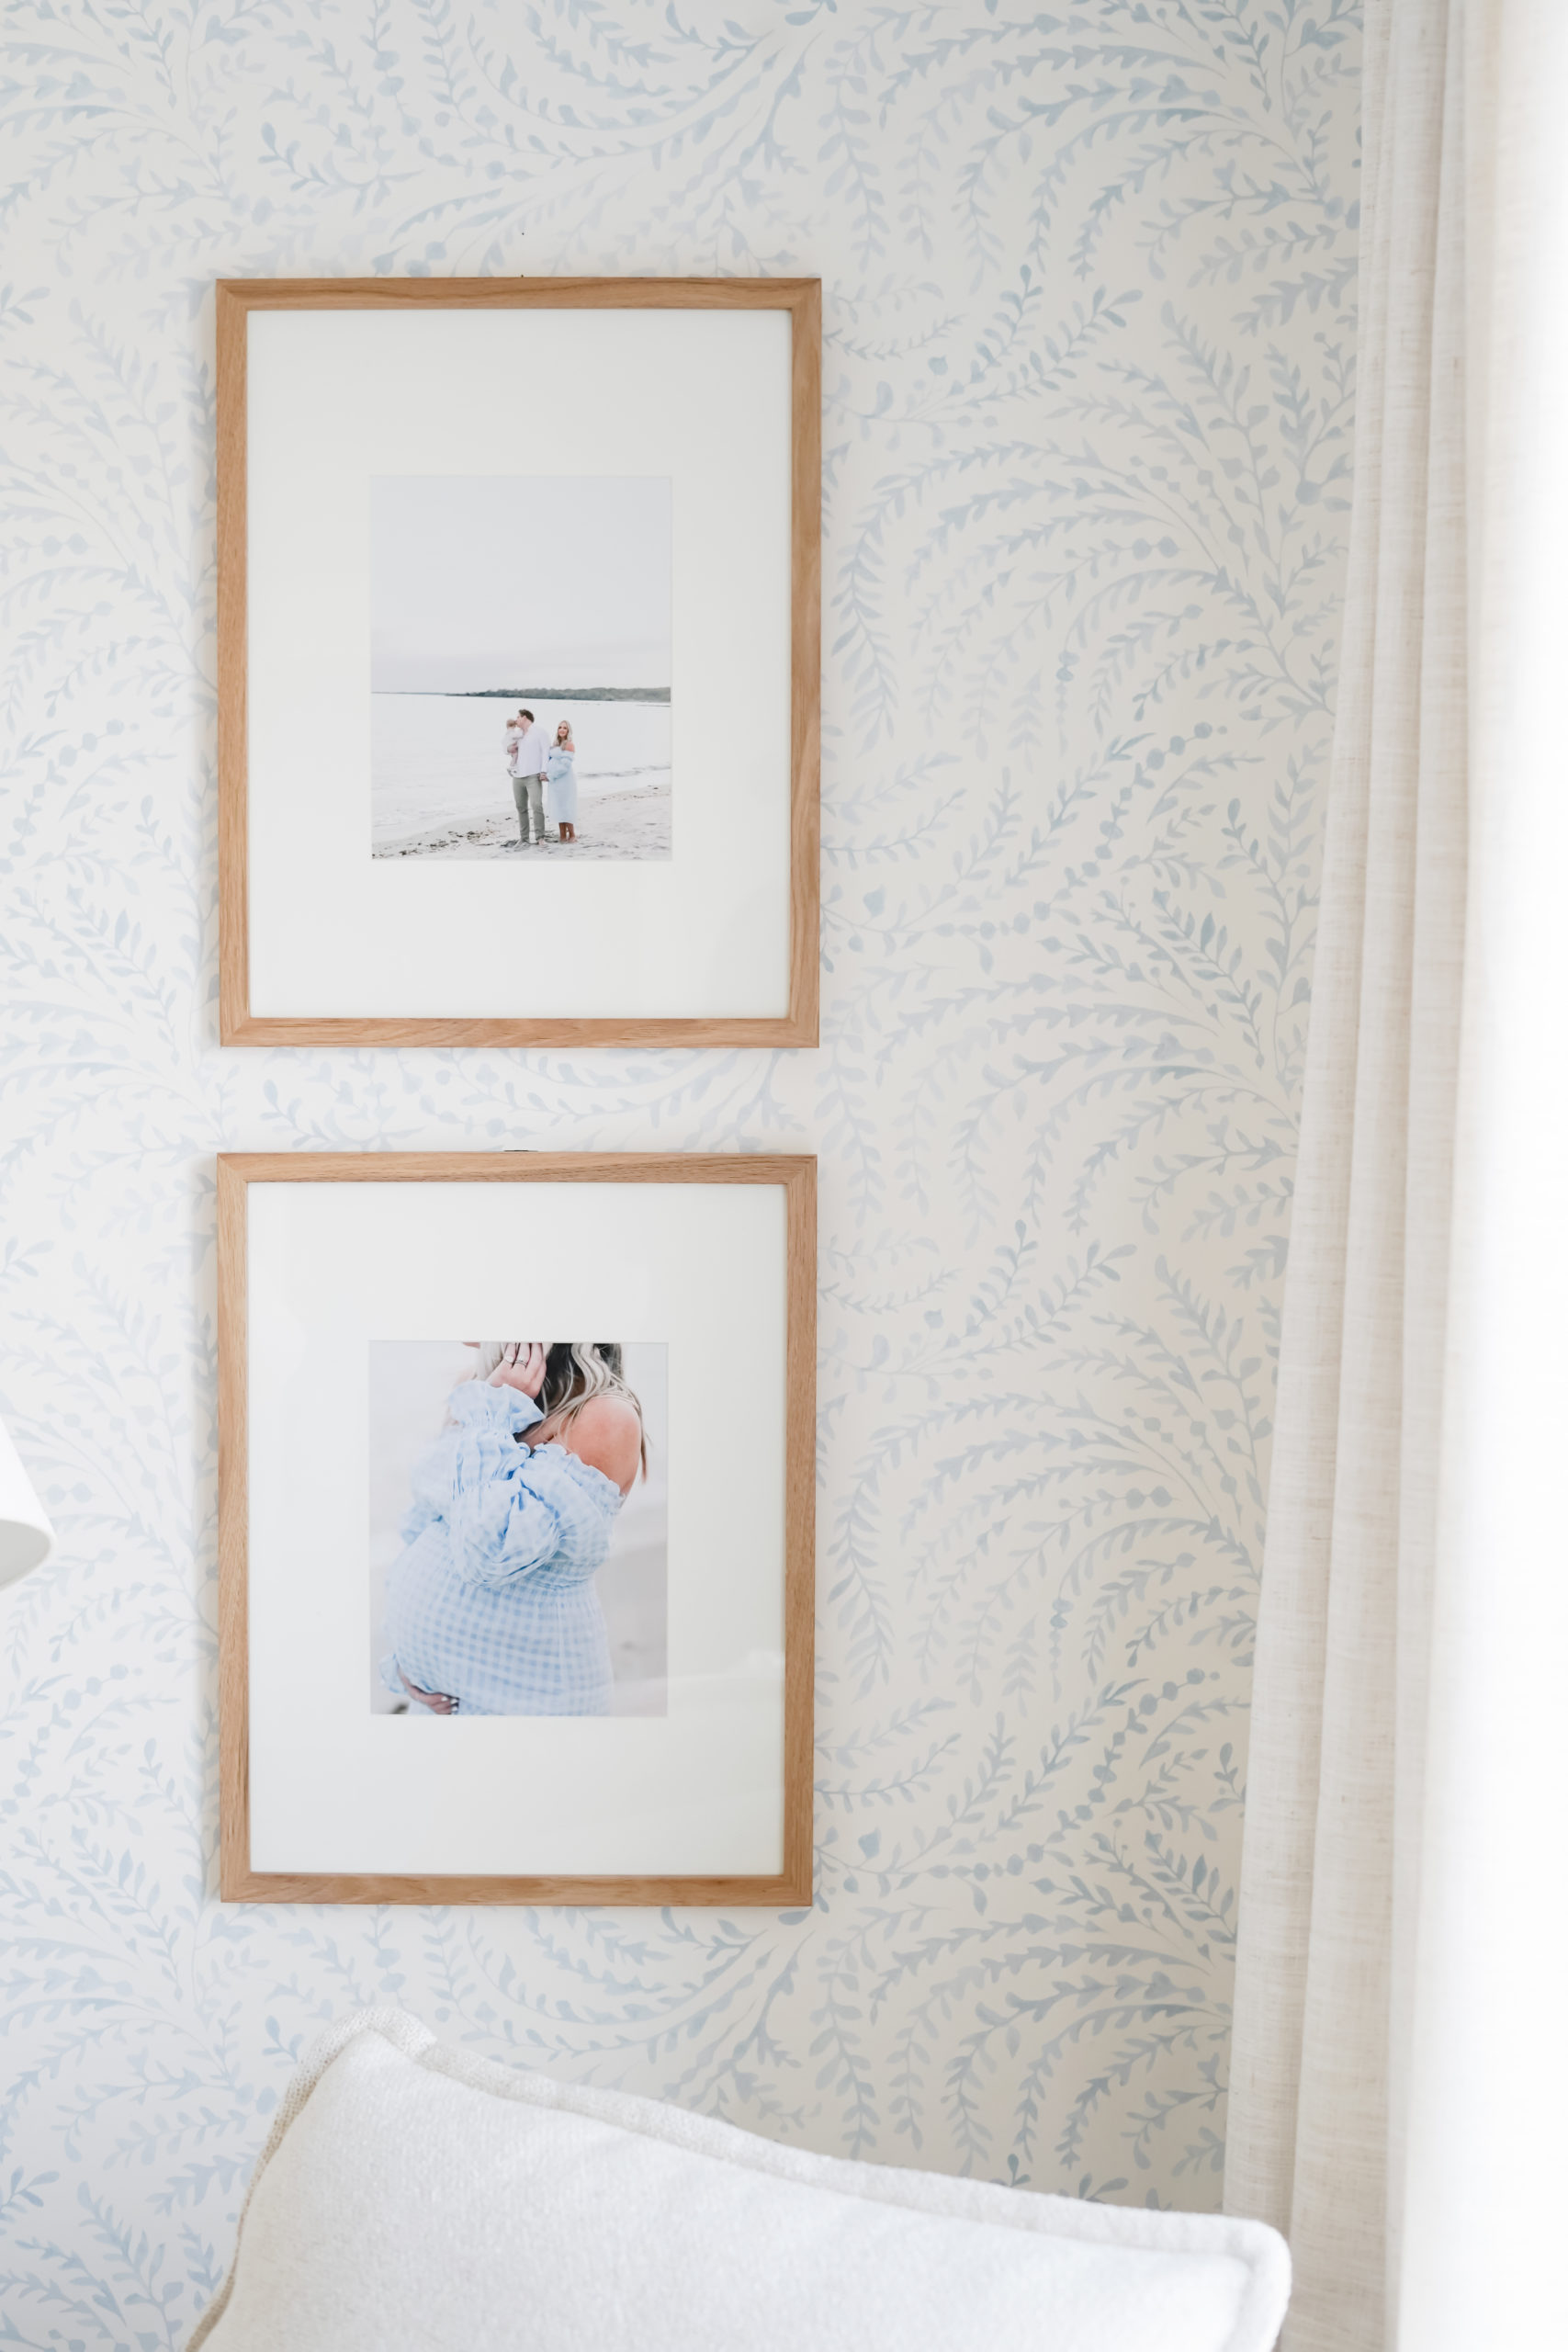
I knew the day we took these maternity photos that I would one day display them in Liliana’s nursery. It was one of my favorite family photoshoots to date. I love having this little reminder of my pregnancy to look back at when I’m in her room, now holding her in my arms. These natural wood frames come in several different sizes – I used the 14″ x 18″ which holds an 8″ x 10″ photo.
CLICK/TAP TO SHOP
WINDOW TREATMENTS
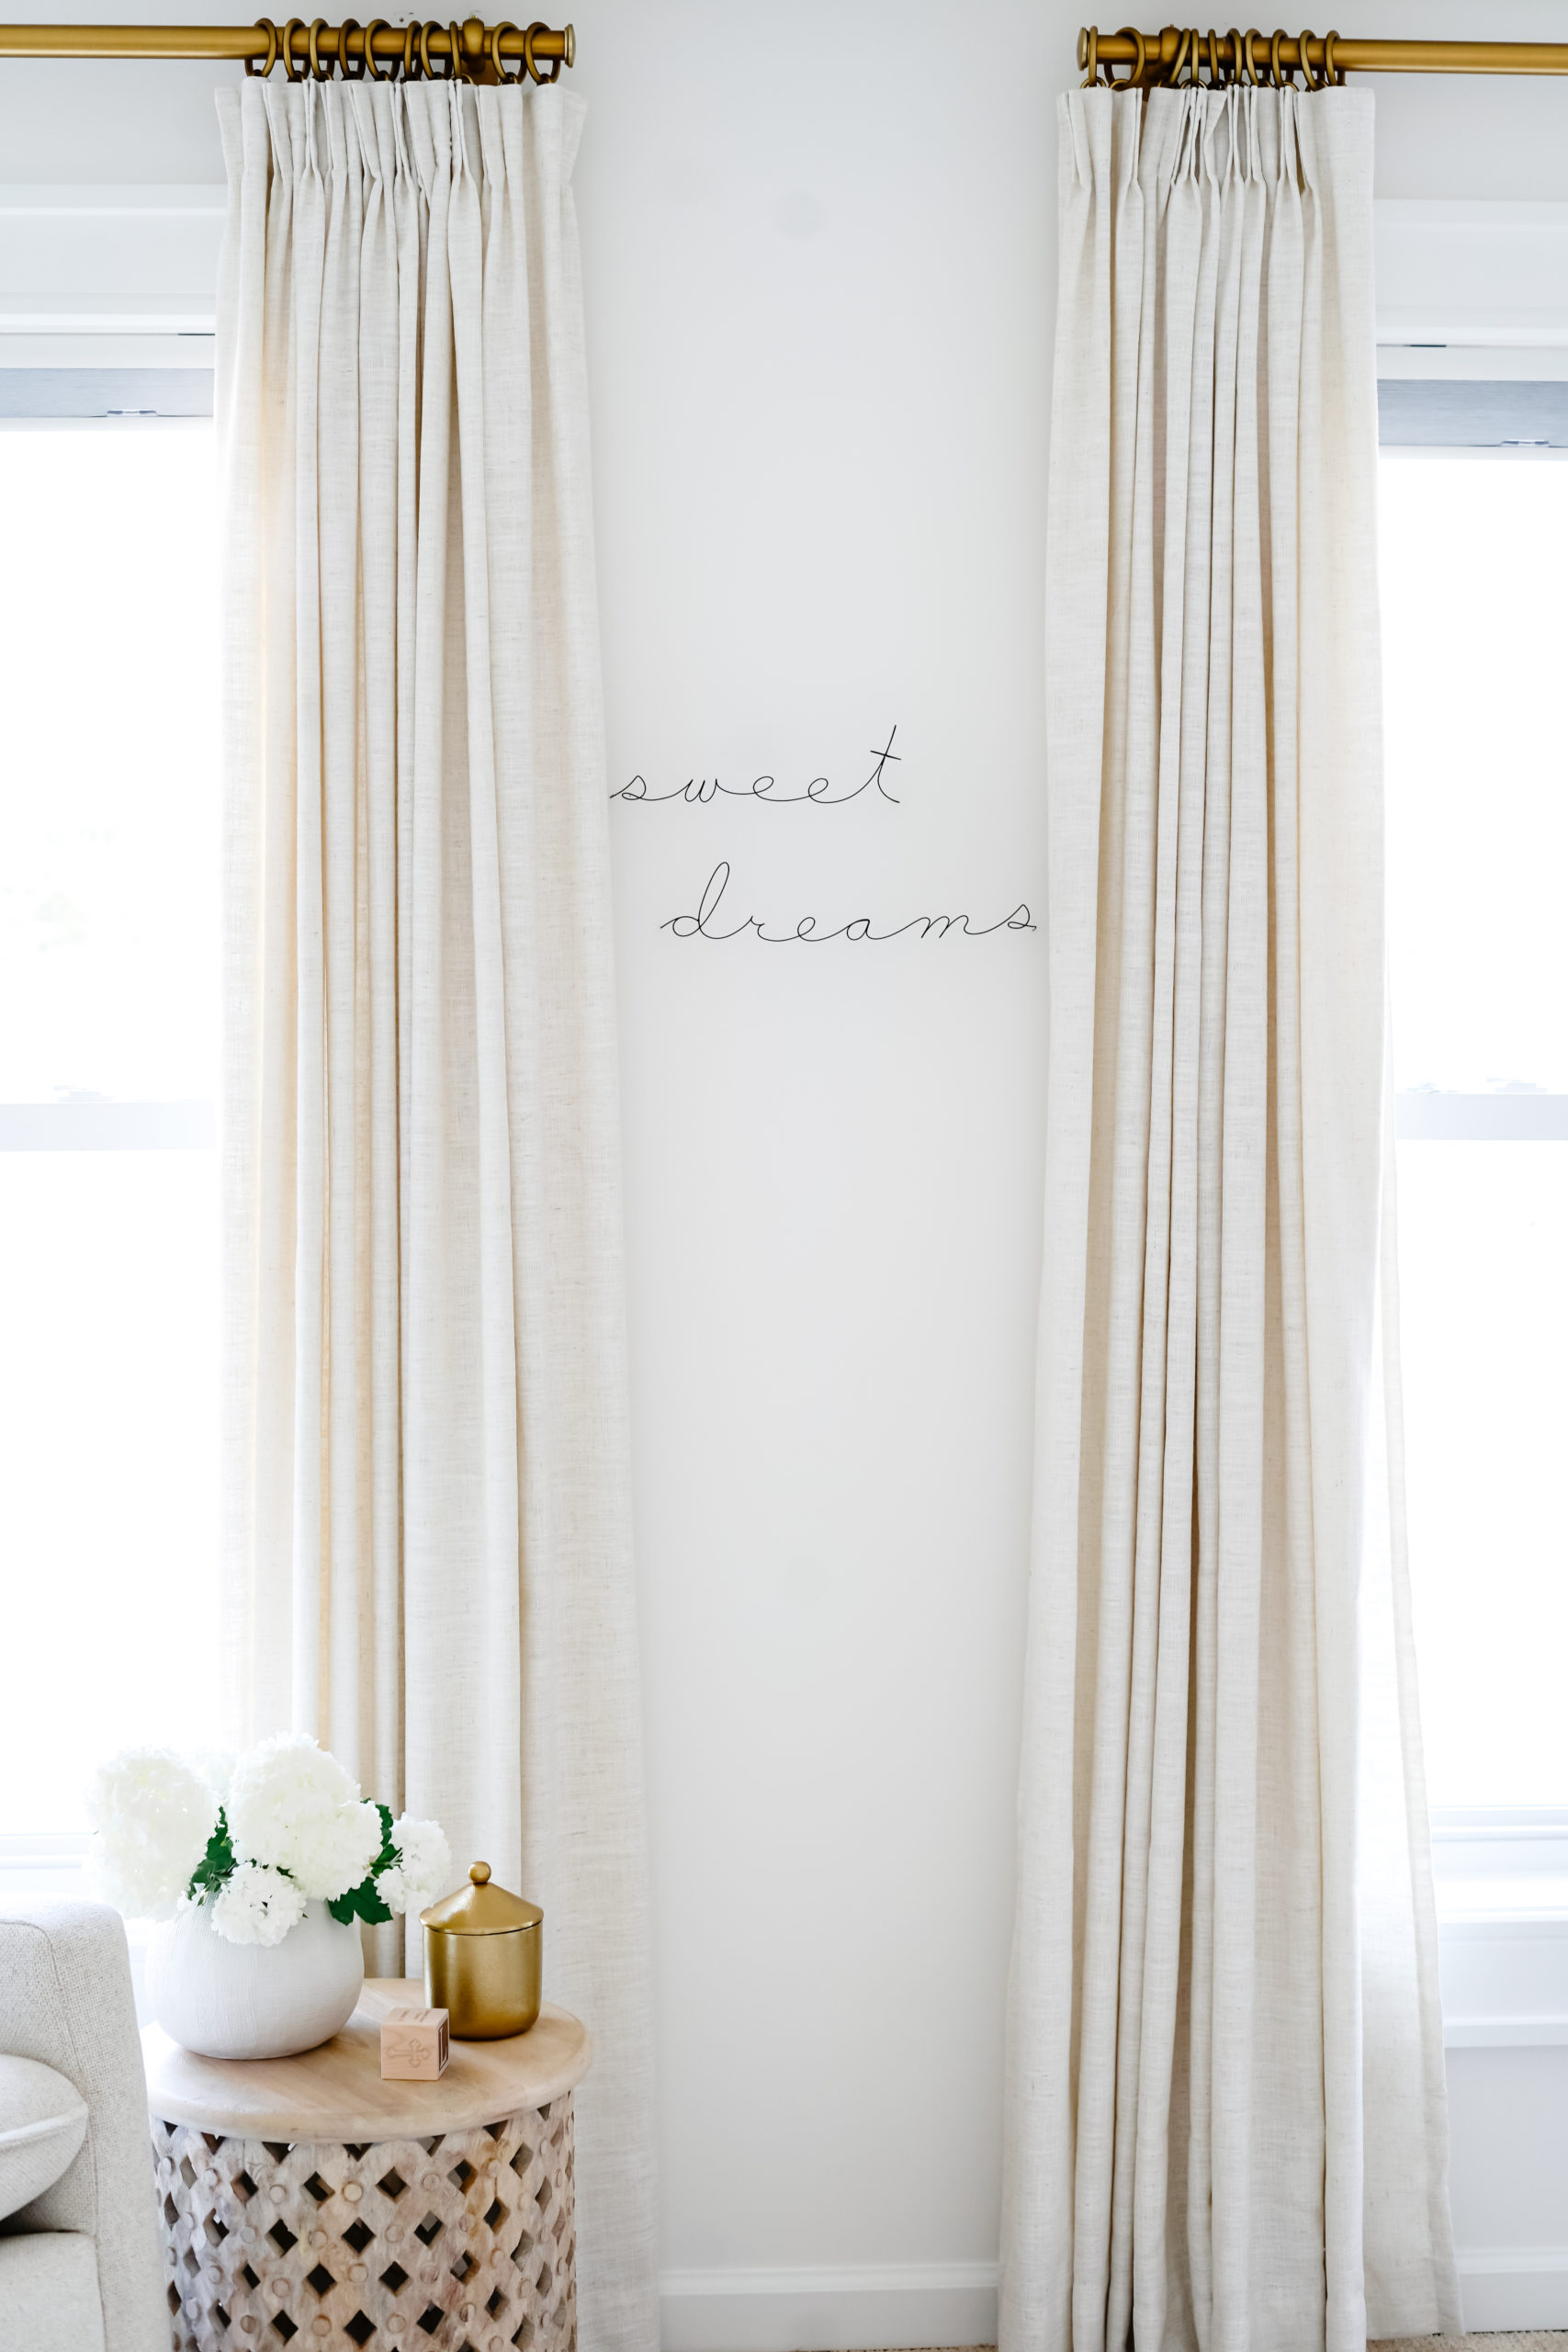
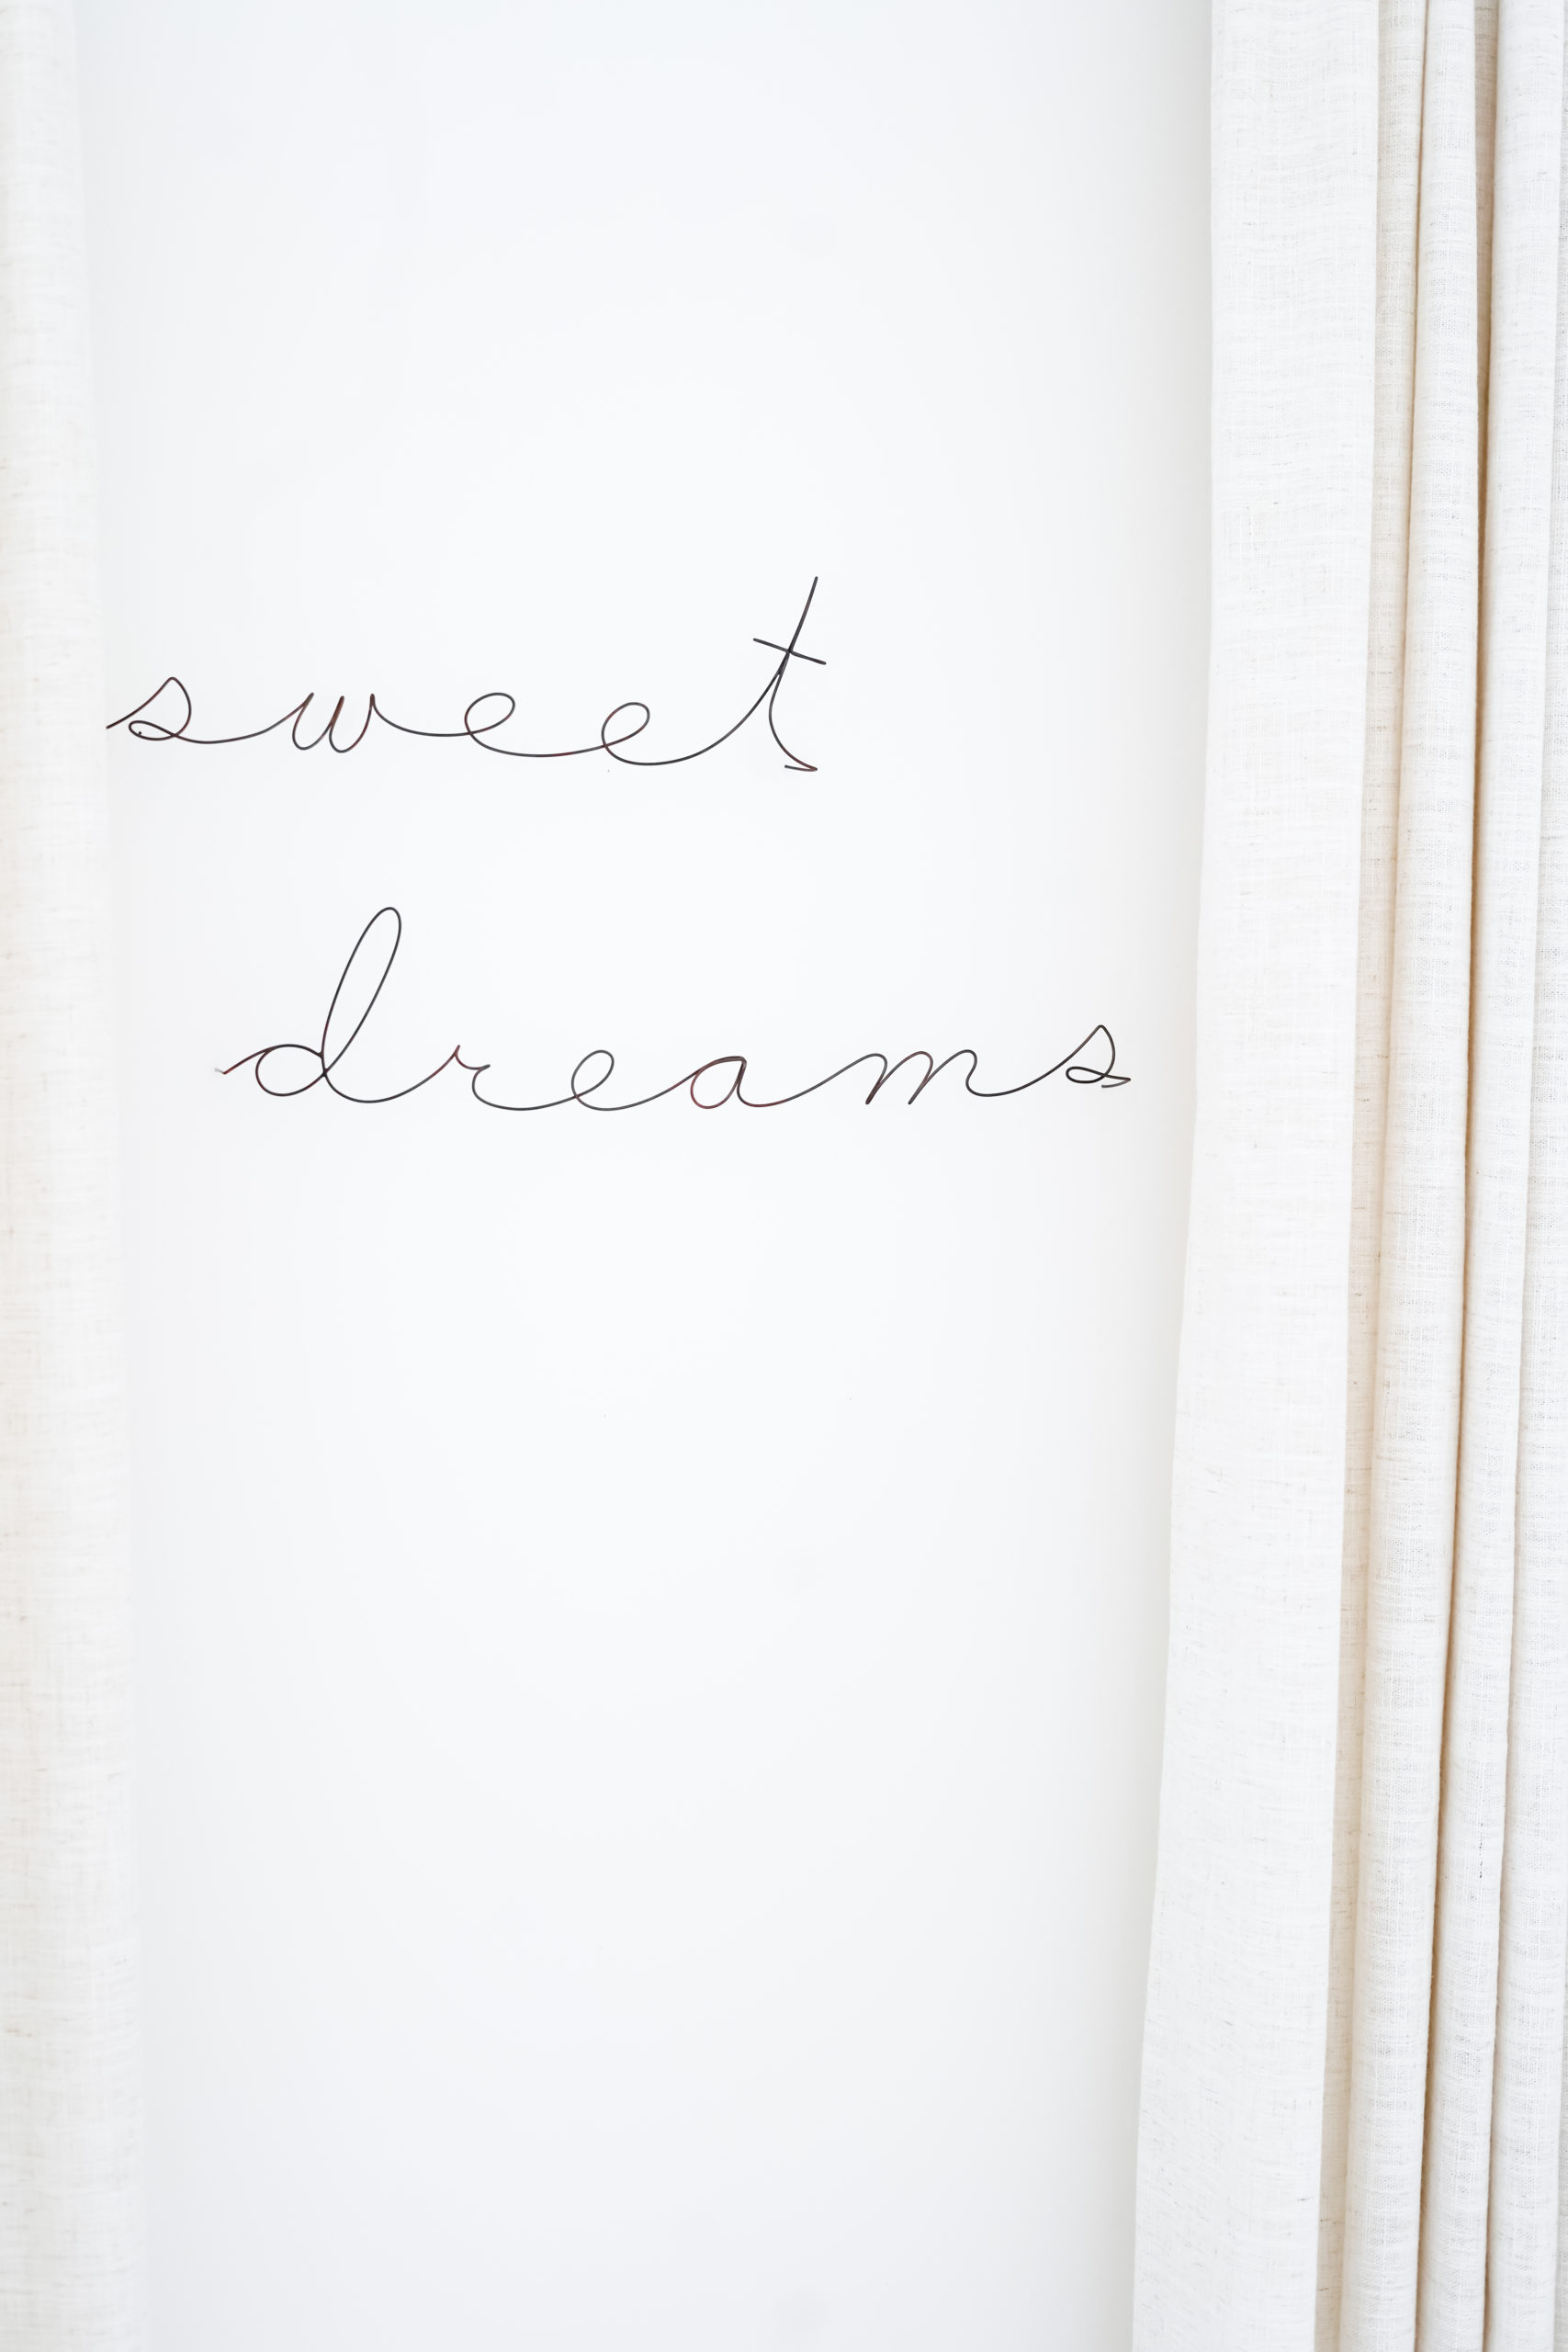
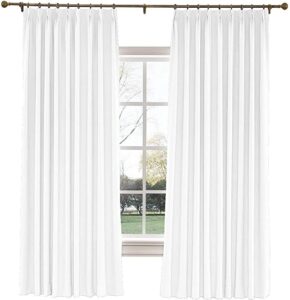
These are the famous AMAZON DRAPES that I’ve shared so many times! I have them in every room of my house. It’s amazing how you can achieve a custom look at such an affordable price. These drapes are custom and can be purchased in any length/width. If the size you need is not available for purchase in THIS LISTING, choose the measurement closest to what you need and just message the seller with your specific measurements and they’ll be made-to-order at no extra charge. Shipping time says 1-3 weeks, but I’ve always received mine right around a week! The seller is very accommodating and a pleasure to work with. Very responsive too!
CLICK/TAP TO SHOP
COLOR
I decided to go with the color IVORY WHITE for the nursery. It’s a warm white/tan with just enough color to stand out against the white walls. I would recommend purchasing a COLOR SAMPLE BOOK prior too ordering, to make sure you get the perfect color for your room.
NOTE: If you’re wanting WHITE drapes, I would consider the BEIGE WHITE (cooler) or the IVORY WHITE (warmer). Reason being, the solid white offered by this brand has changed slightly over the years. I have the white in my GUEST SUITE and they are beautiful. However I ordered another set of white drapes about a year later and the white I received was much different, more of a cool almost fluorescent white. Not the pretty warm white I originally received. I’m sure he color lots change from time to time, but just a heads up!
LINING
These drapes are sold with two lining options: UNLINED or BLACKOUT. The drapes you see photographed here are unlined – they do not have the blackout liner. Depending on what color you choose, the unlined drapes claim to block about 75%-85% of the light coming in. In addition to our drapes, we have a BLACKOUT CELLULAR SHADE that completely blocks the light coming through the room (if you look closely you can see it at the top of the window.) It’s low profile and works great. If you’re interested in this style blind, see my exact order detailed below.
If you do choose to add the blackout liner to your drapes, they will look a little thicker and heavier than these do. Dark color shades can reach 95% light blockage, light color shades can reach 85-90% with liner. The blackout liner works really well (I’ve ordered in the past) but the panels don’t look quite as light and airy as these do. Just a few things to think about before you order!
MEASURING
Drapery panels are sold individually – so for 1 window you need to purchase 2 panels. For proper fullness, panels should measure 1-1.5 times the width of your curtain rode width. For example, our windows are 34″ wide, so I ordered 2 panels at 52″ wide ( 2 * 52″ = 104″).
If you haven’t already installed your drapery rod, I recommend doing that first. Once you determine the desired height of your rod, you can then measure for the length of the drapes. I like my drapes to almost touch the floor, leaving enough room for the drapes to move back and forth easily (about 1/2 inch from the ground.) The good news is, if your drapes end up being too short or too long, the drapery hooks (included with the drapes) are adjustable so you can move them up or down on the rings to achieve your desired height. So no need to stress!
HARDWARE
If you’re looking for some nice quality hardware, I have the exact style we used linked below. I went with an antique brass finish. I think its worth splurging on nice hardware, it makes a big difference (especially if you’re using a gold tone!) If you choose this hardware, note that everything needs to be purchased separately – the RODS, RINGS and FINALS. I used the 1.25″ RODS and 1.875″ ROUND RINGS.
The width of your curtain will determine how many rings you need. For example, if you have a standard size window and order the 52″ width panel, you’ll have 10 pleats and need 10 rings.
CLICK/TAP TO SHOP
INSTALLING
I recommend hanging the drapery rod as high as you can above the window (rather than the top of the window), it will make your windows look larger and your ceiling higher! These drapes are sold with plastic hooks that slide into each pinch pleat and then hang on your drapery rings (see my BLUE NURSERY INSTAGRAM HIGHLIGHT for a closer look). I find it easiest to hang the rod and rings first, then attach your curtains to the rings (rather than hooking the curtains to your rings, and then hanging them on the rod.)
BLACKOUT CELLULAR SHADES
These are the exact BLACKOUT CELLULAR SHADE that we ordered for Liliana’s nursery. Ordering these can be a little tricky. To make this easier for you, I listed our exact order below. Just make sure your measurements are correct (click here for some GUIDANCE ON MEASURING.)
CLICK/TAP TO SHOP
– OUR EXACT ORDER-
- PRODUCT LINK: BLACKOUT CELLULAR SHADE
- Mount: Inside Mount
- Color: Designer Colors Snow 19970199
- Lift Type: Cordless (FYI if I could go back and do it again, I would have chose the motorized option!)
- Light Control:Cordless Bottom Up
- Headrail: Standard
- Advanced Options: No
CLICK/TAP TO SHOP
RUG
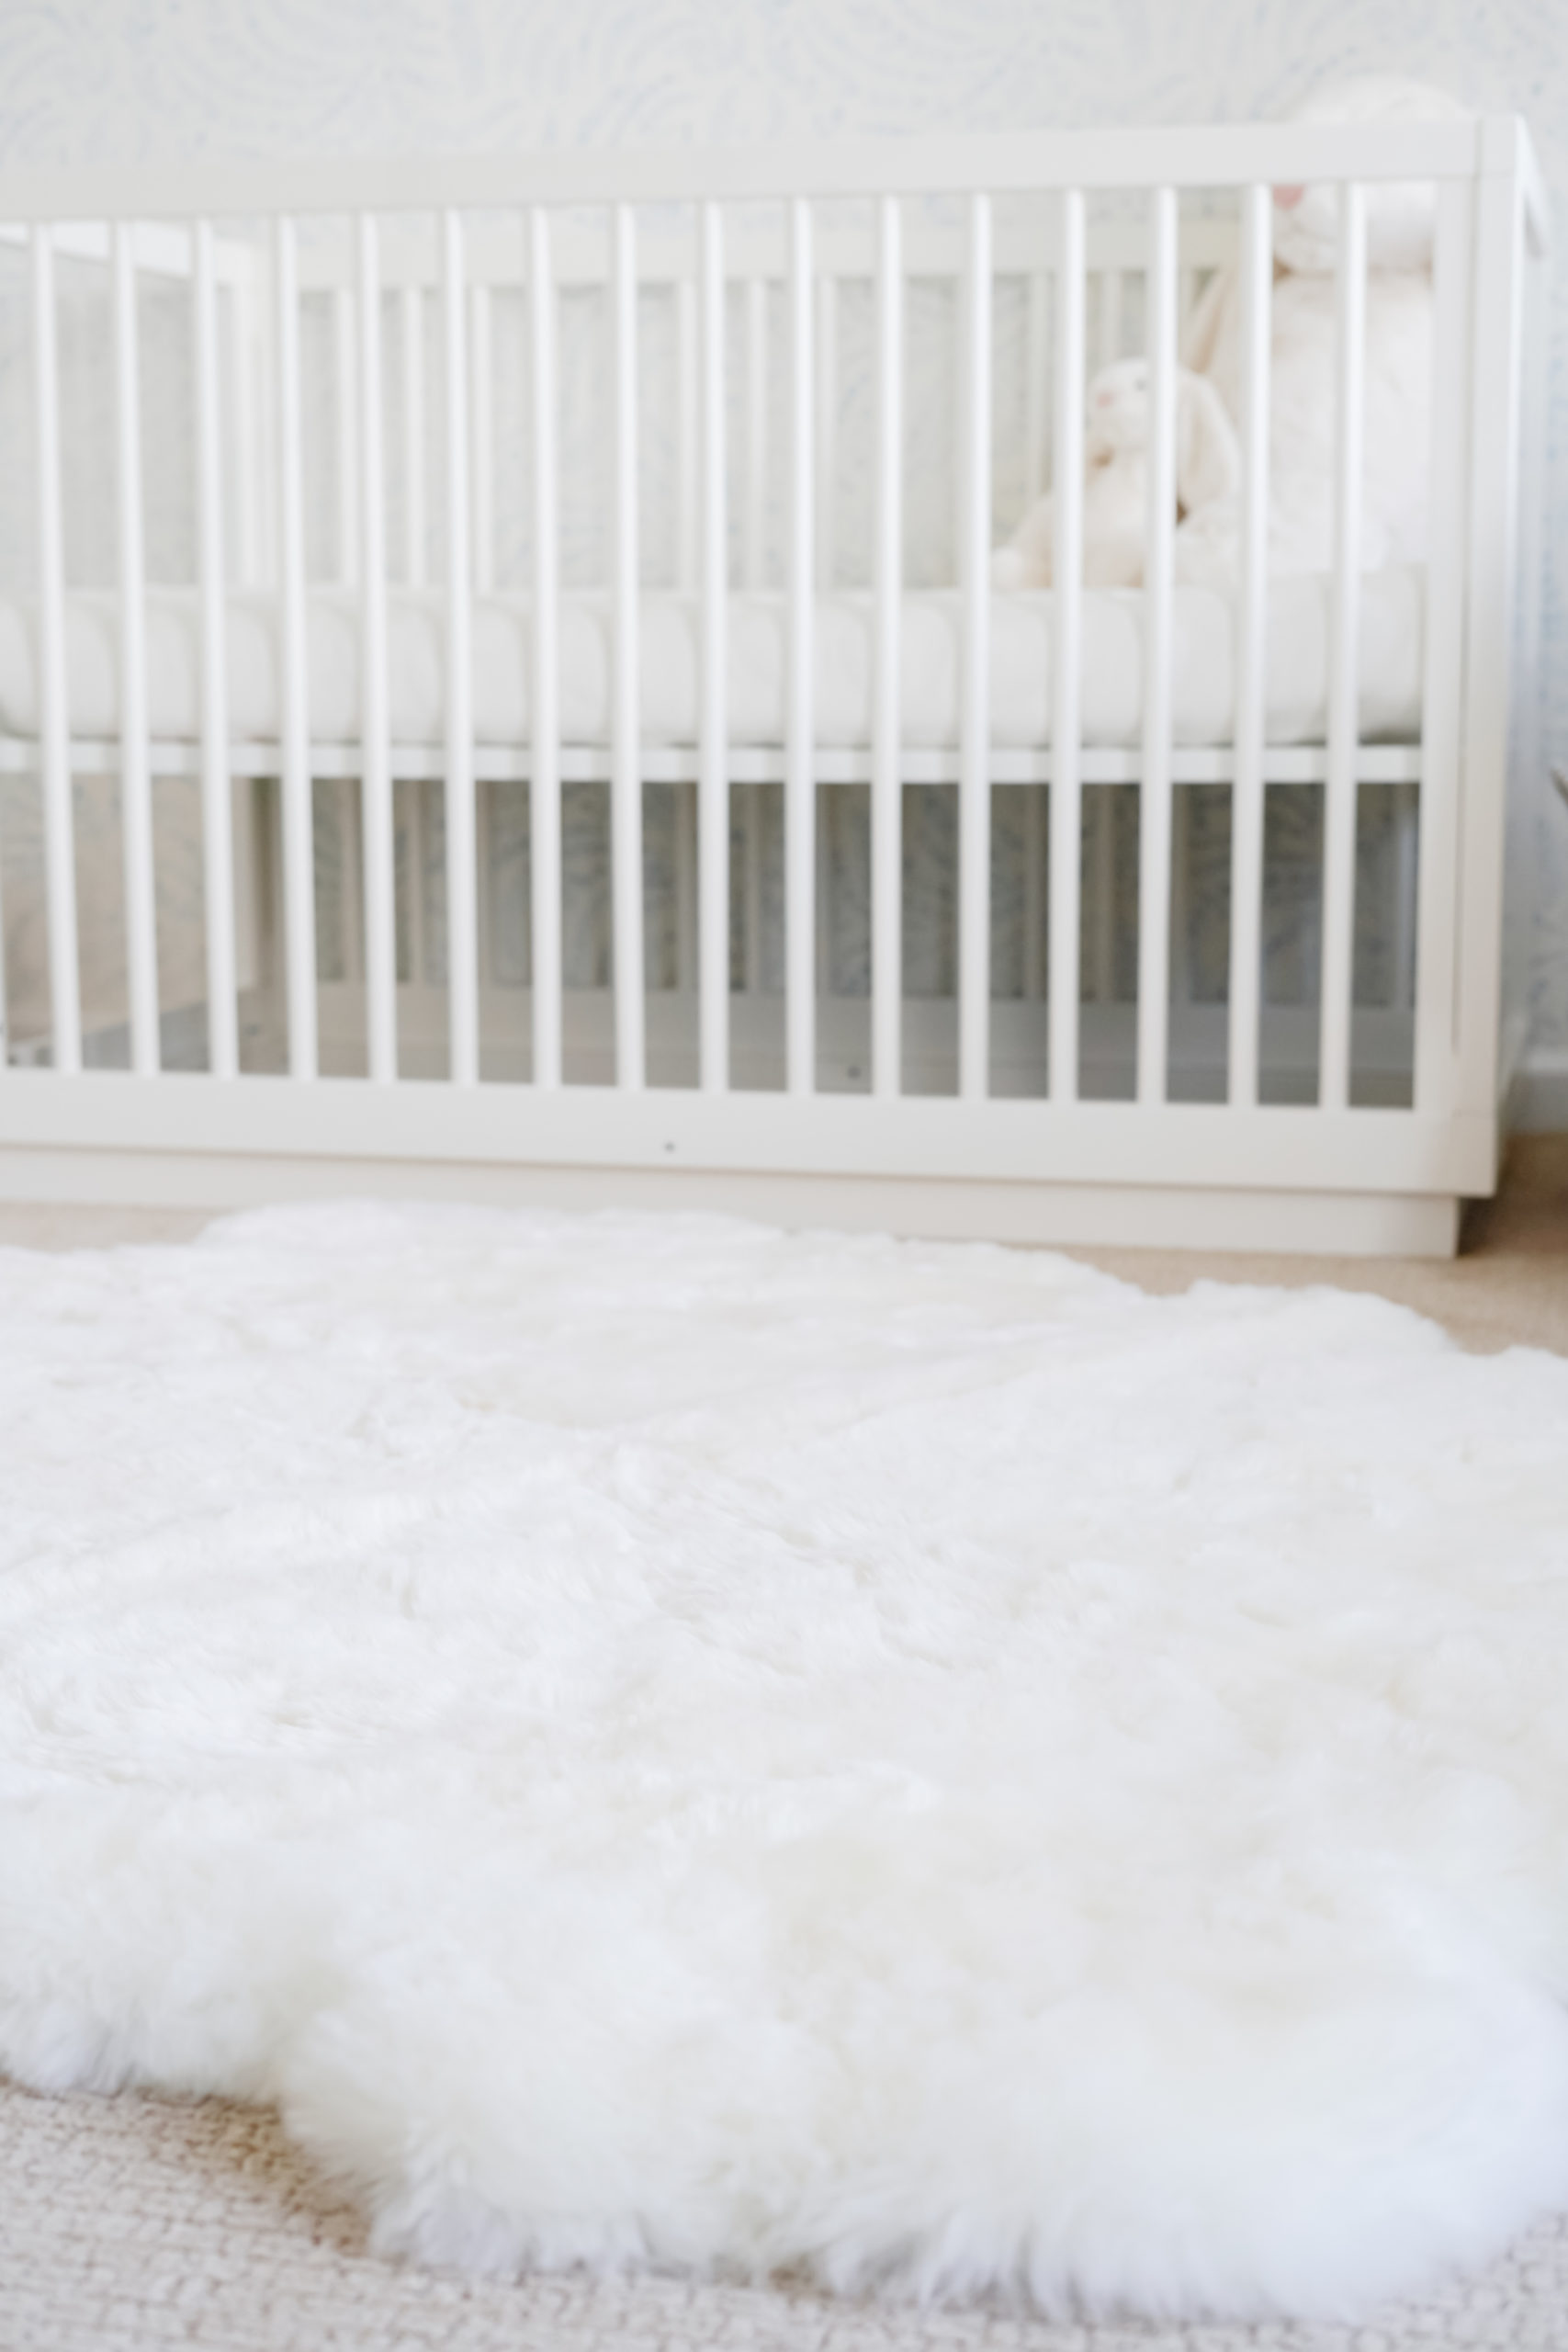
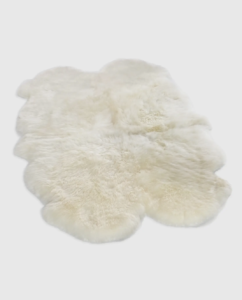
This is one of my favorite rugs in our entire house! We have the same one in Emilia’s NEUTRAL NURSERY. It’s the softest rug I’ve ever felt and is the perfect shape and size for a nursery – this is the 4′ x 5′ 3″ size. I recommend using this as a standalone rug if you have carpet in your nursery like we do. If you have hardwood, I would recommend layering it over an area rug. If you’re looking for something smaller, this sheepskin rug comes in several different sizes, all linked below!
CLICK/TAP TO SHOP
CRIB
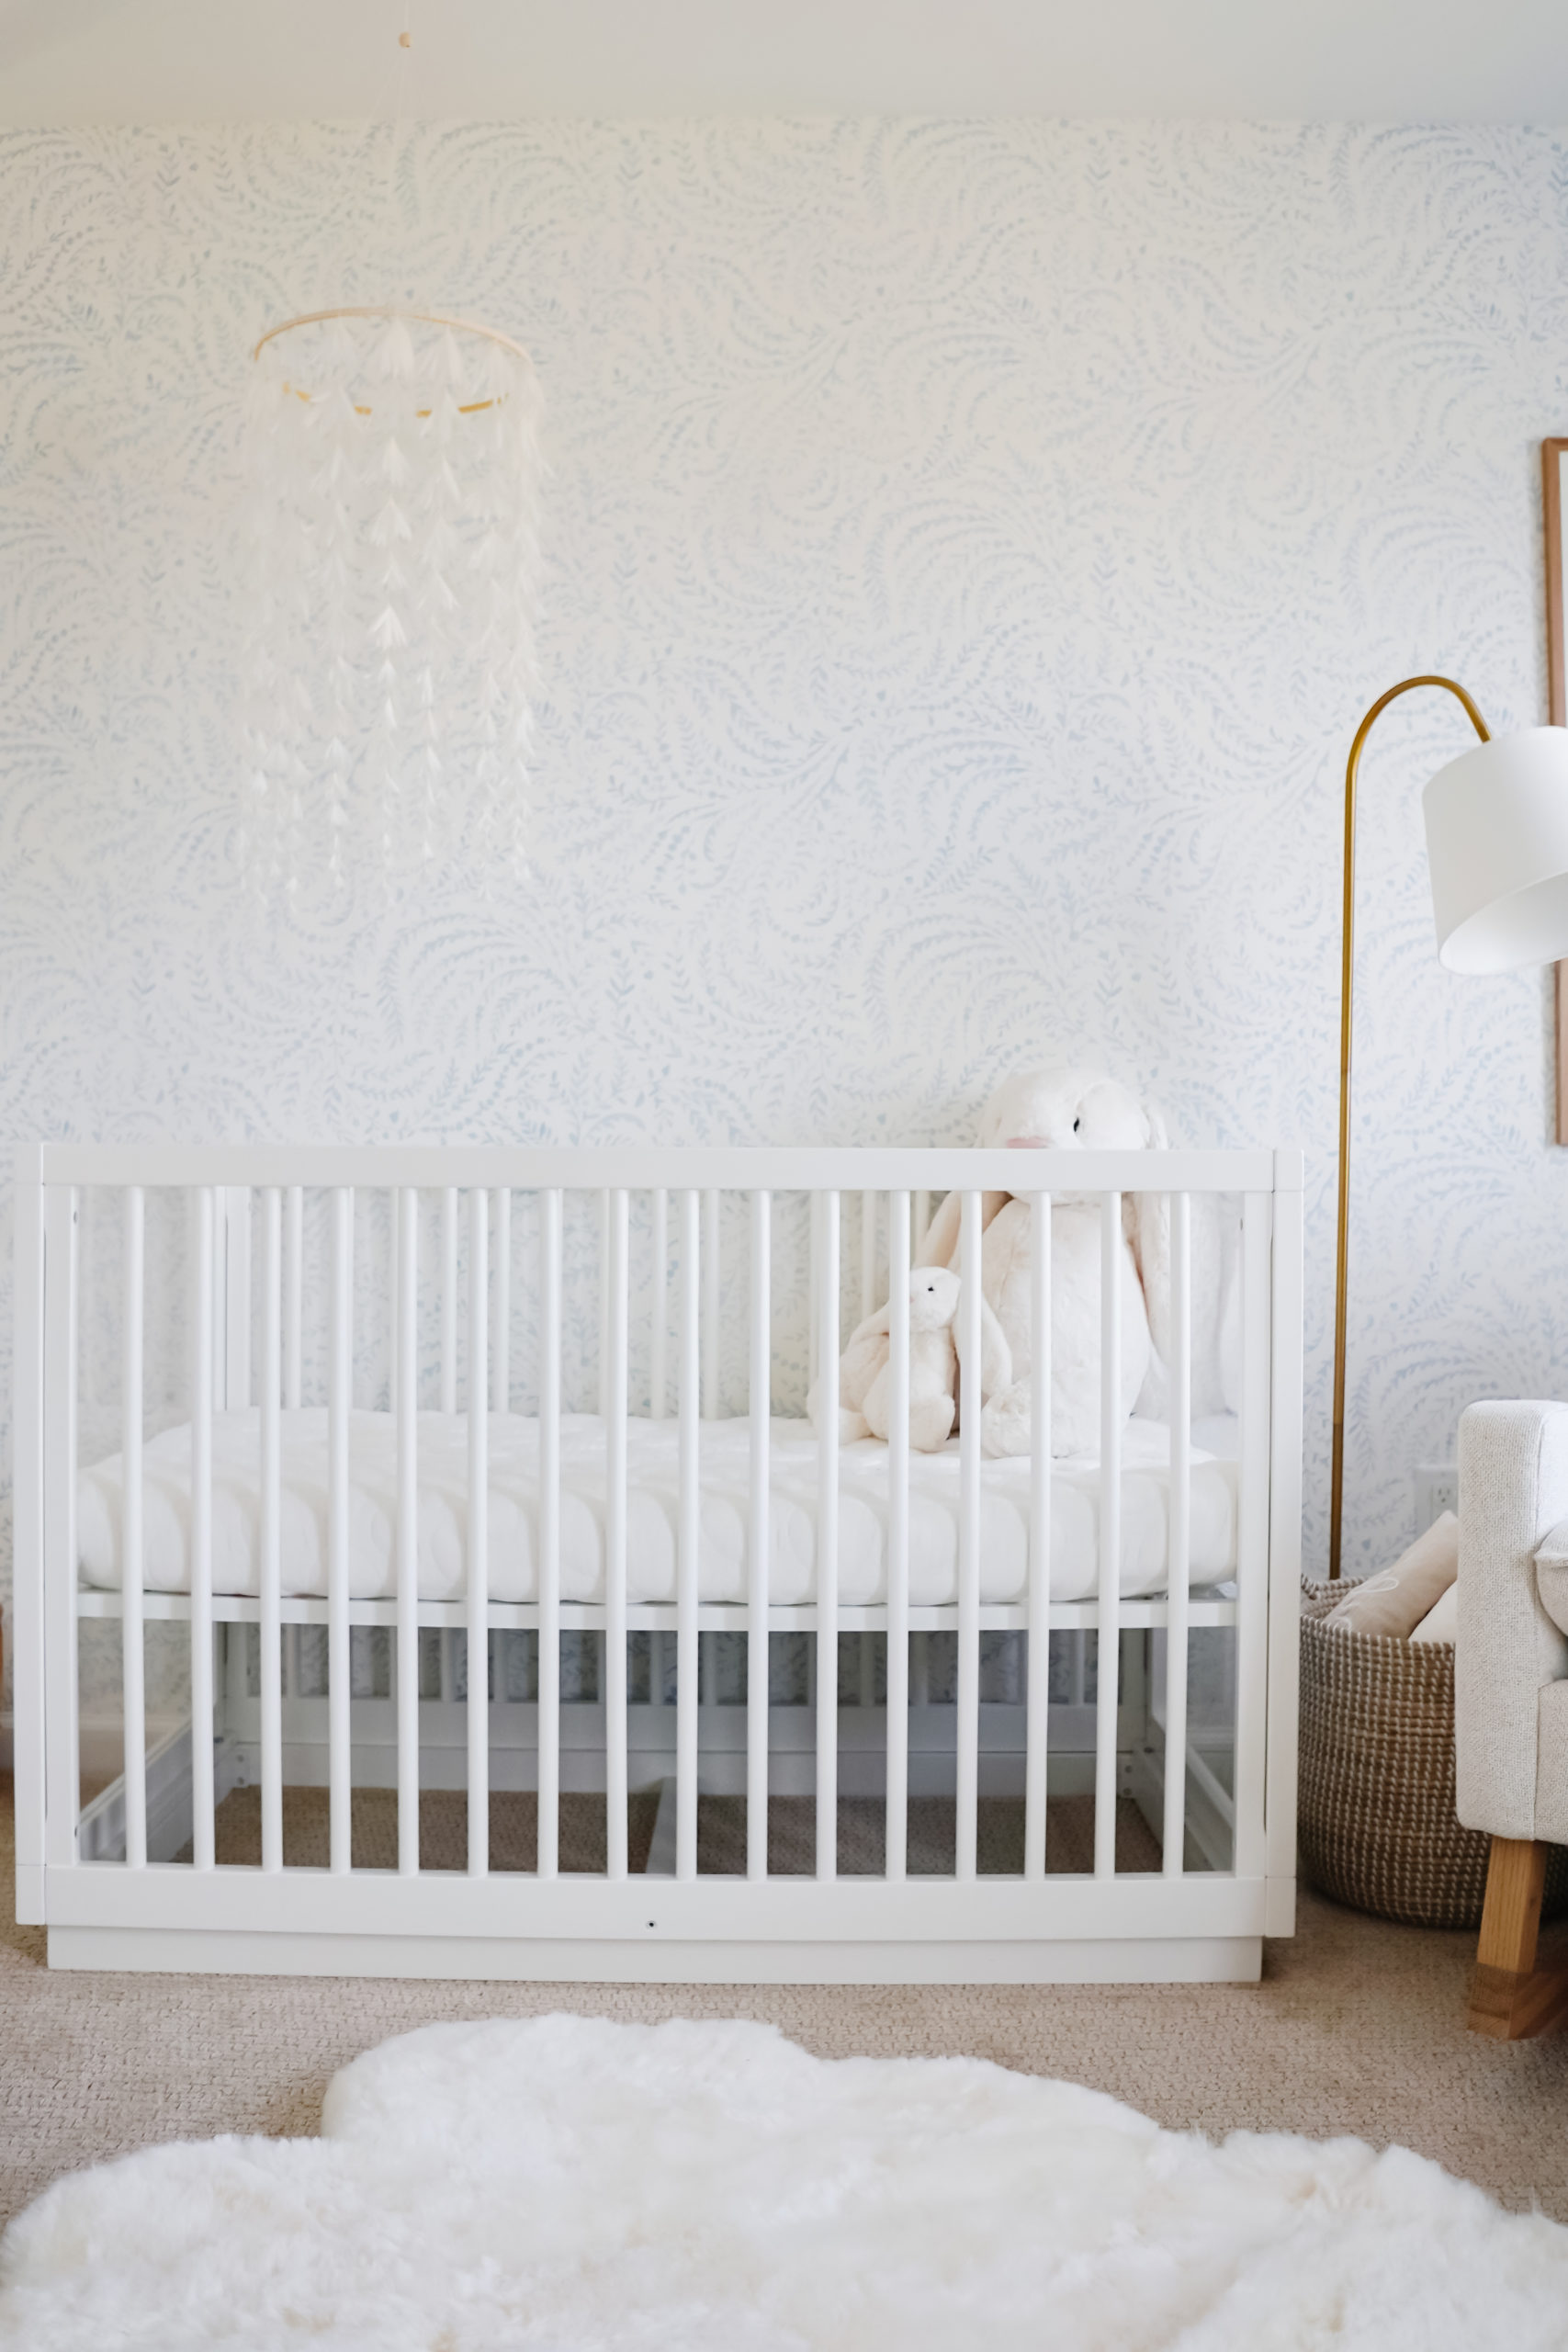
I love cribs with acrylic accents! Unfortunately this exact crib with acrylic sides is no longer available. I linked a slightly different style ACRYLIC CRIB we used in Emilia’s NEUTRAL NURSERY, which we’ve been extremely happy with! Its beautiful and excellent quality. You can see it photographed HERE.
CLICK/TAP TO SHOP
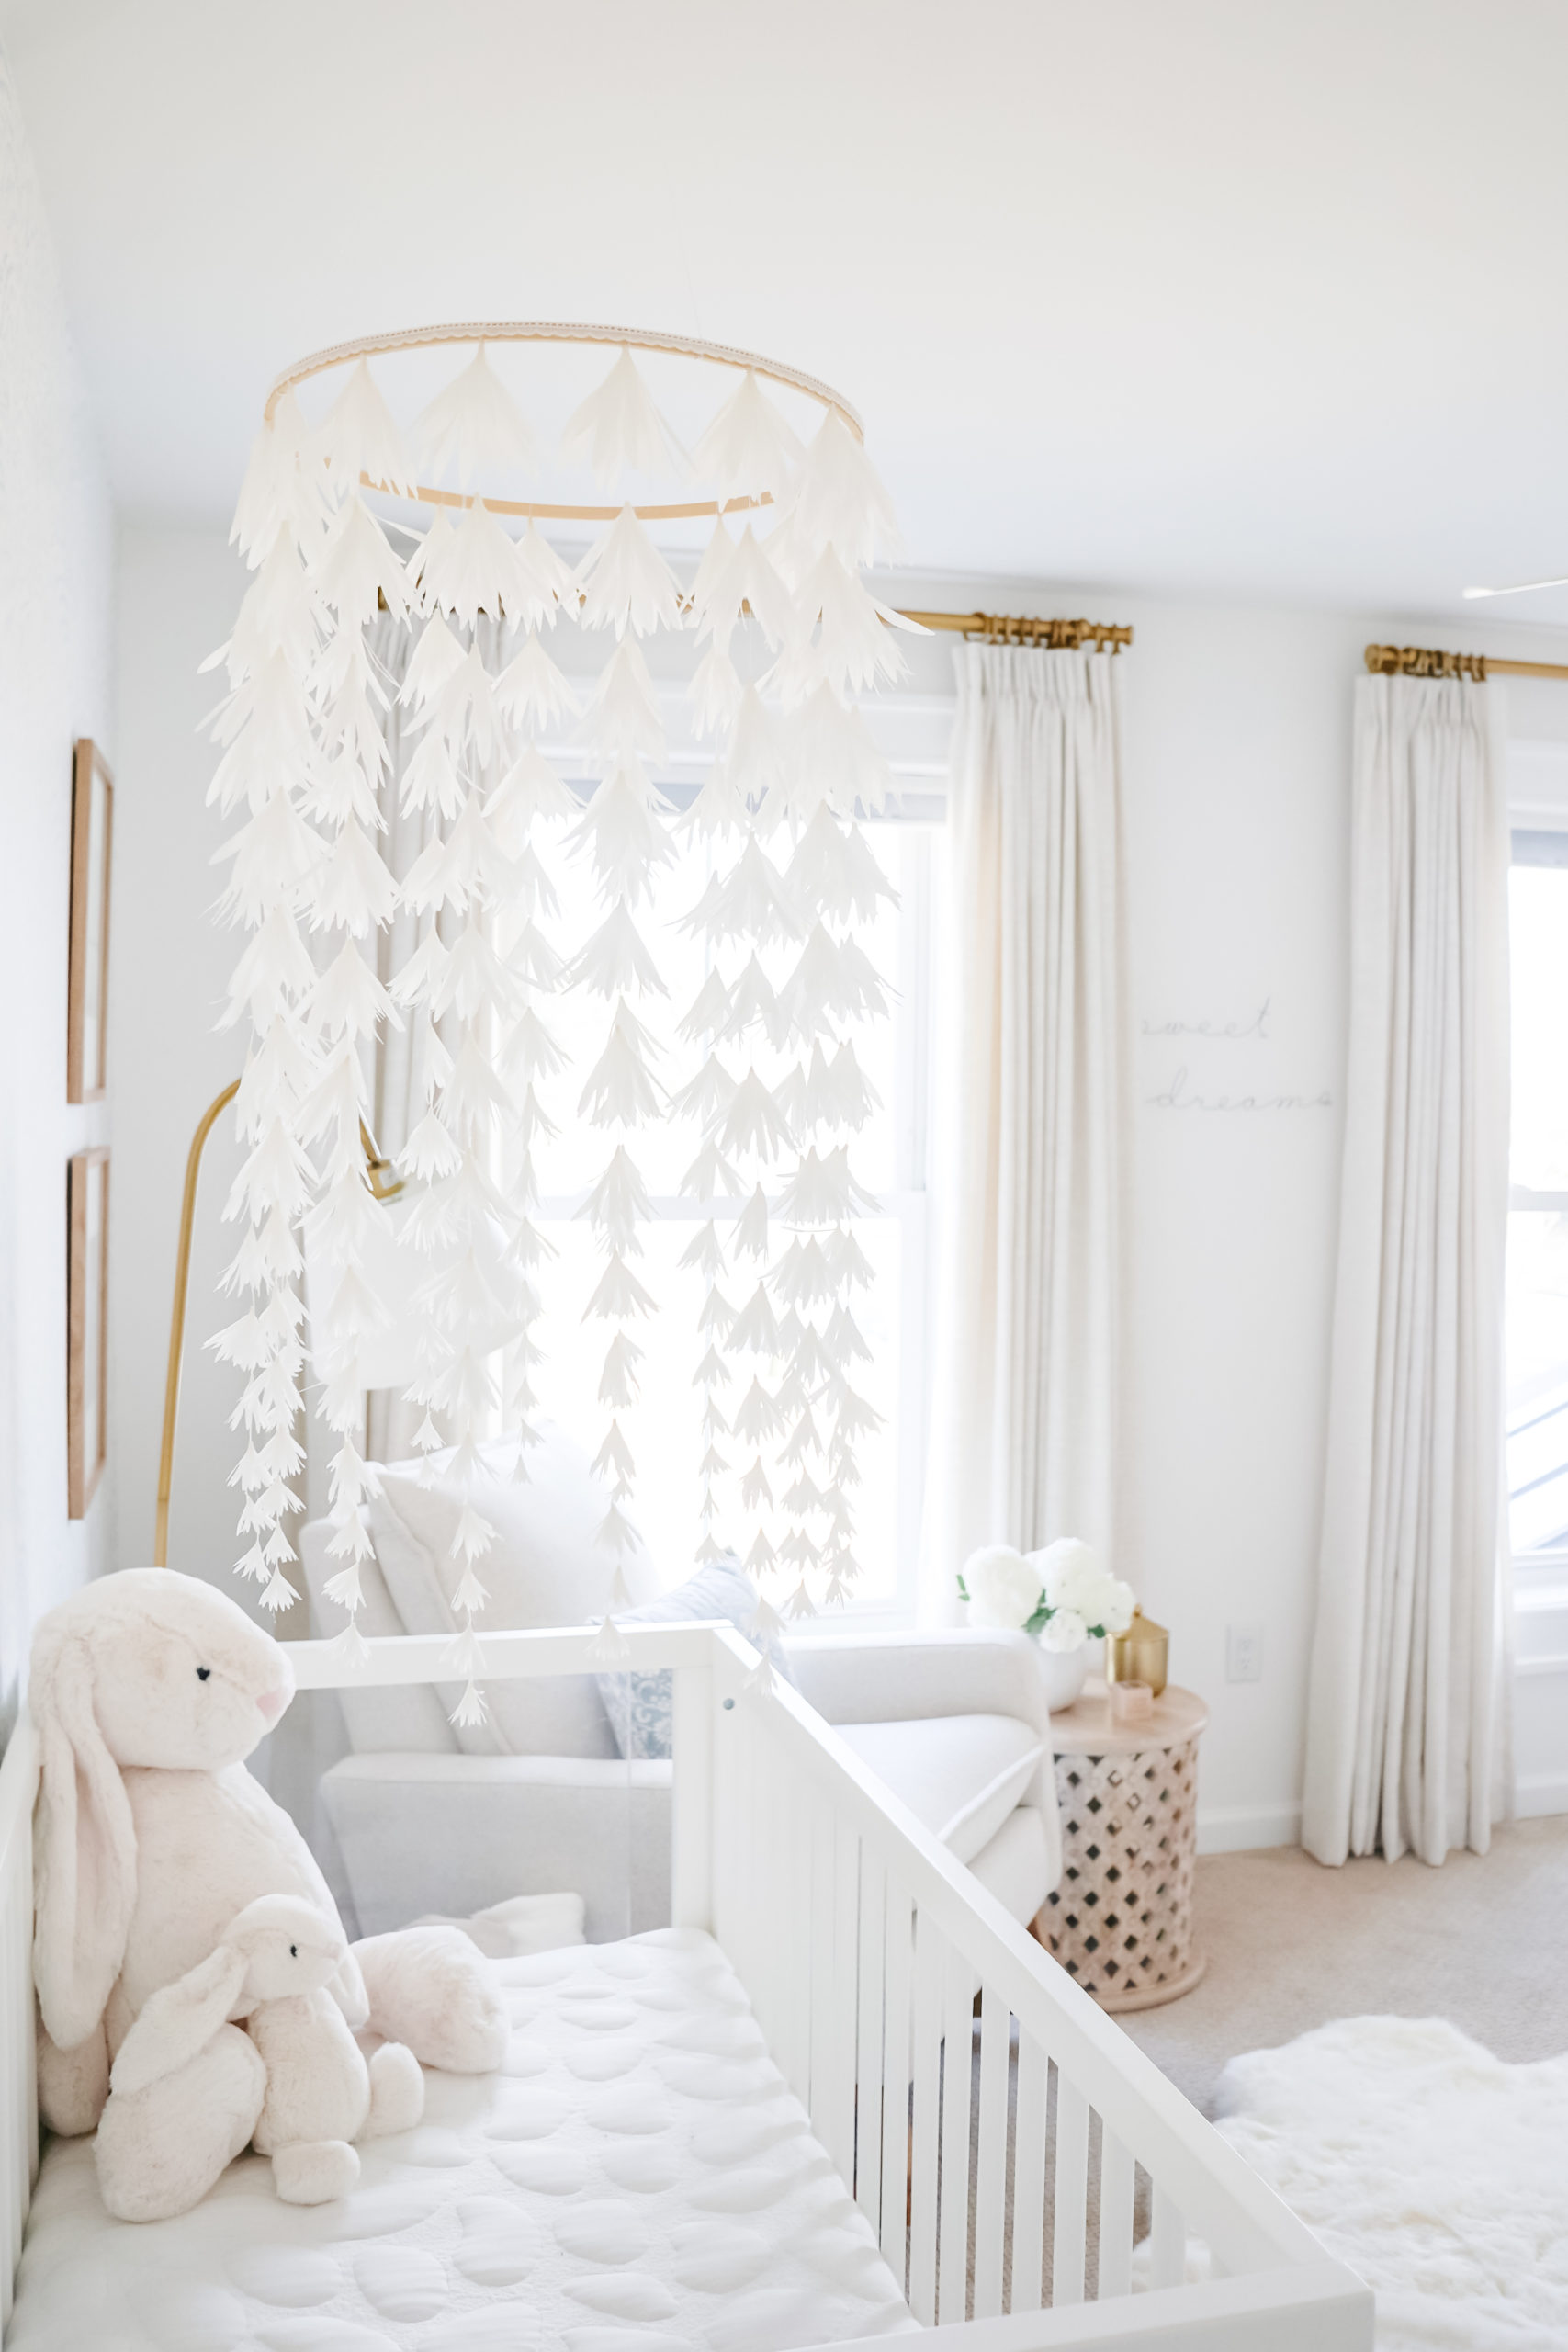
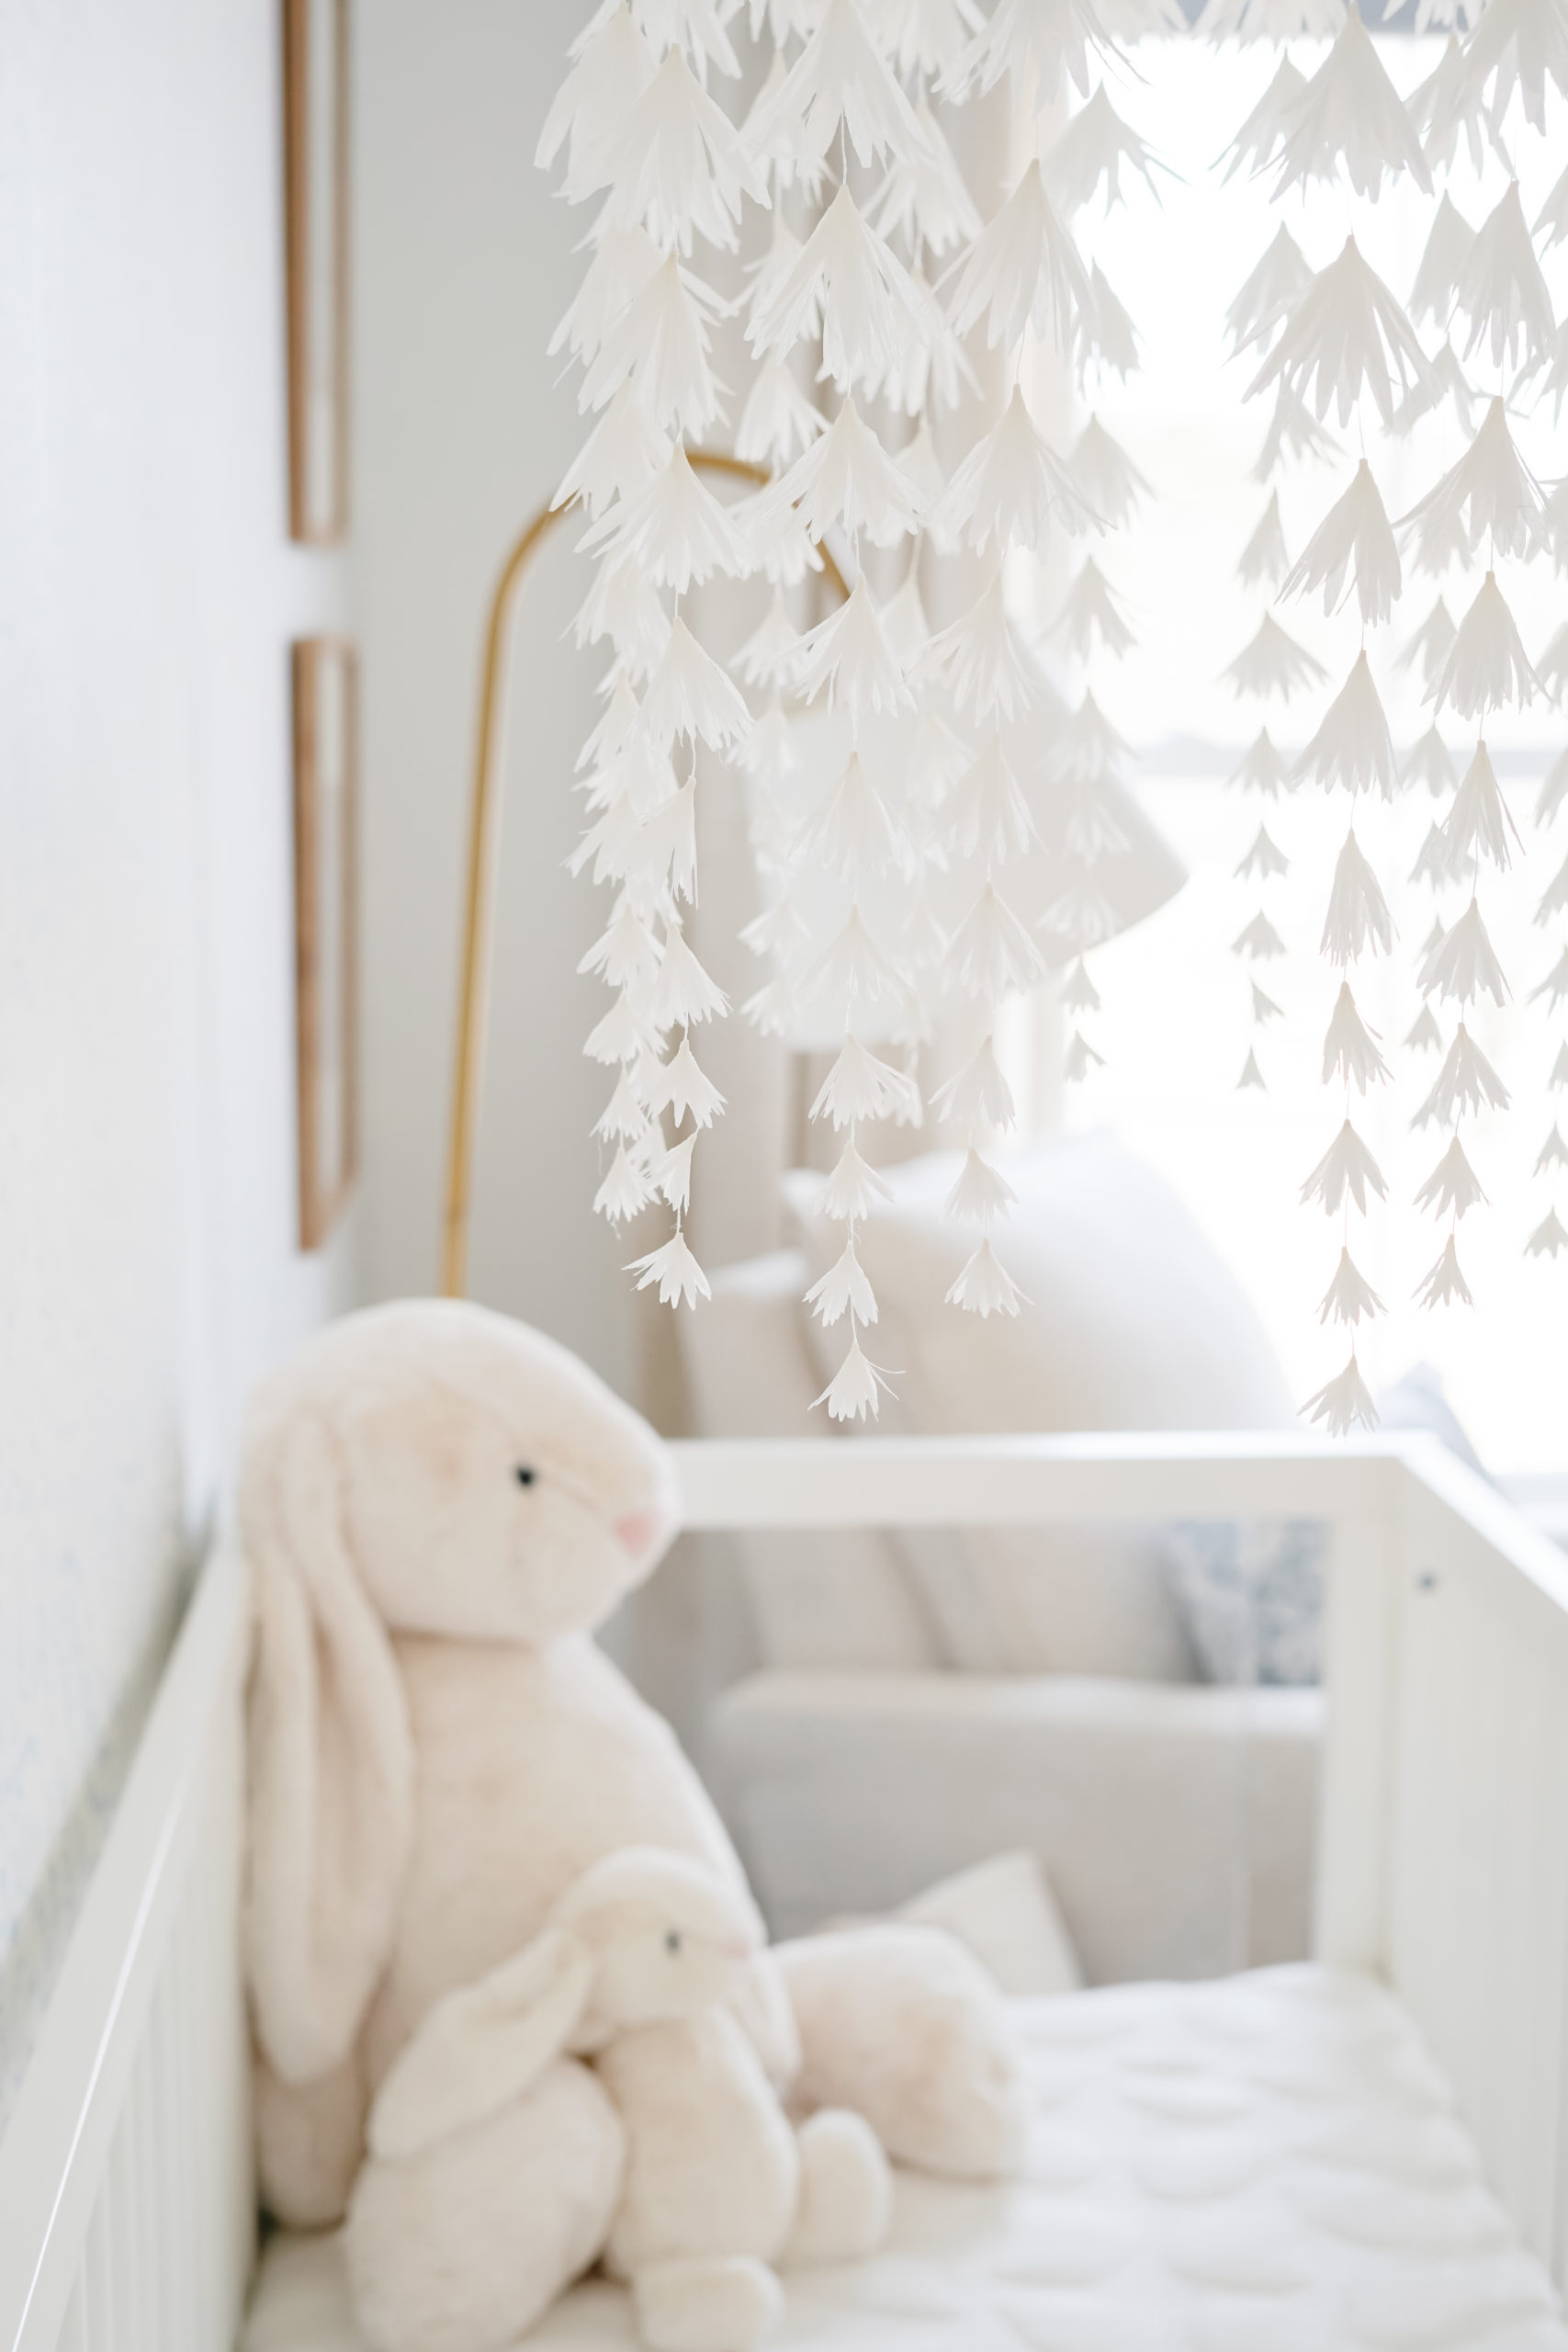
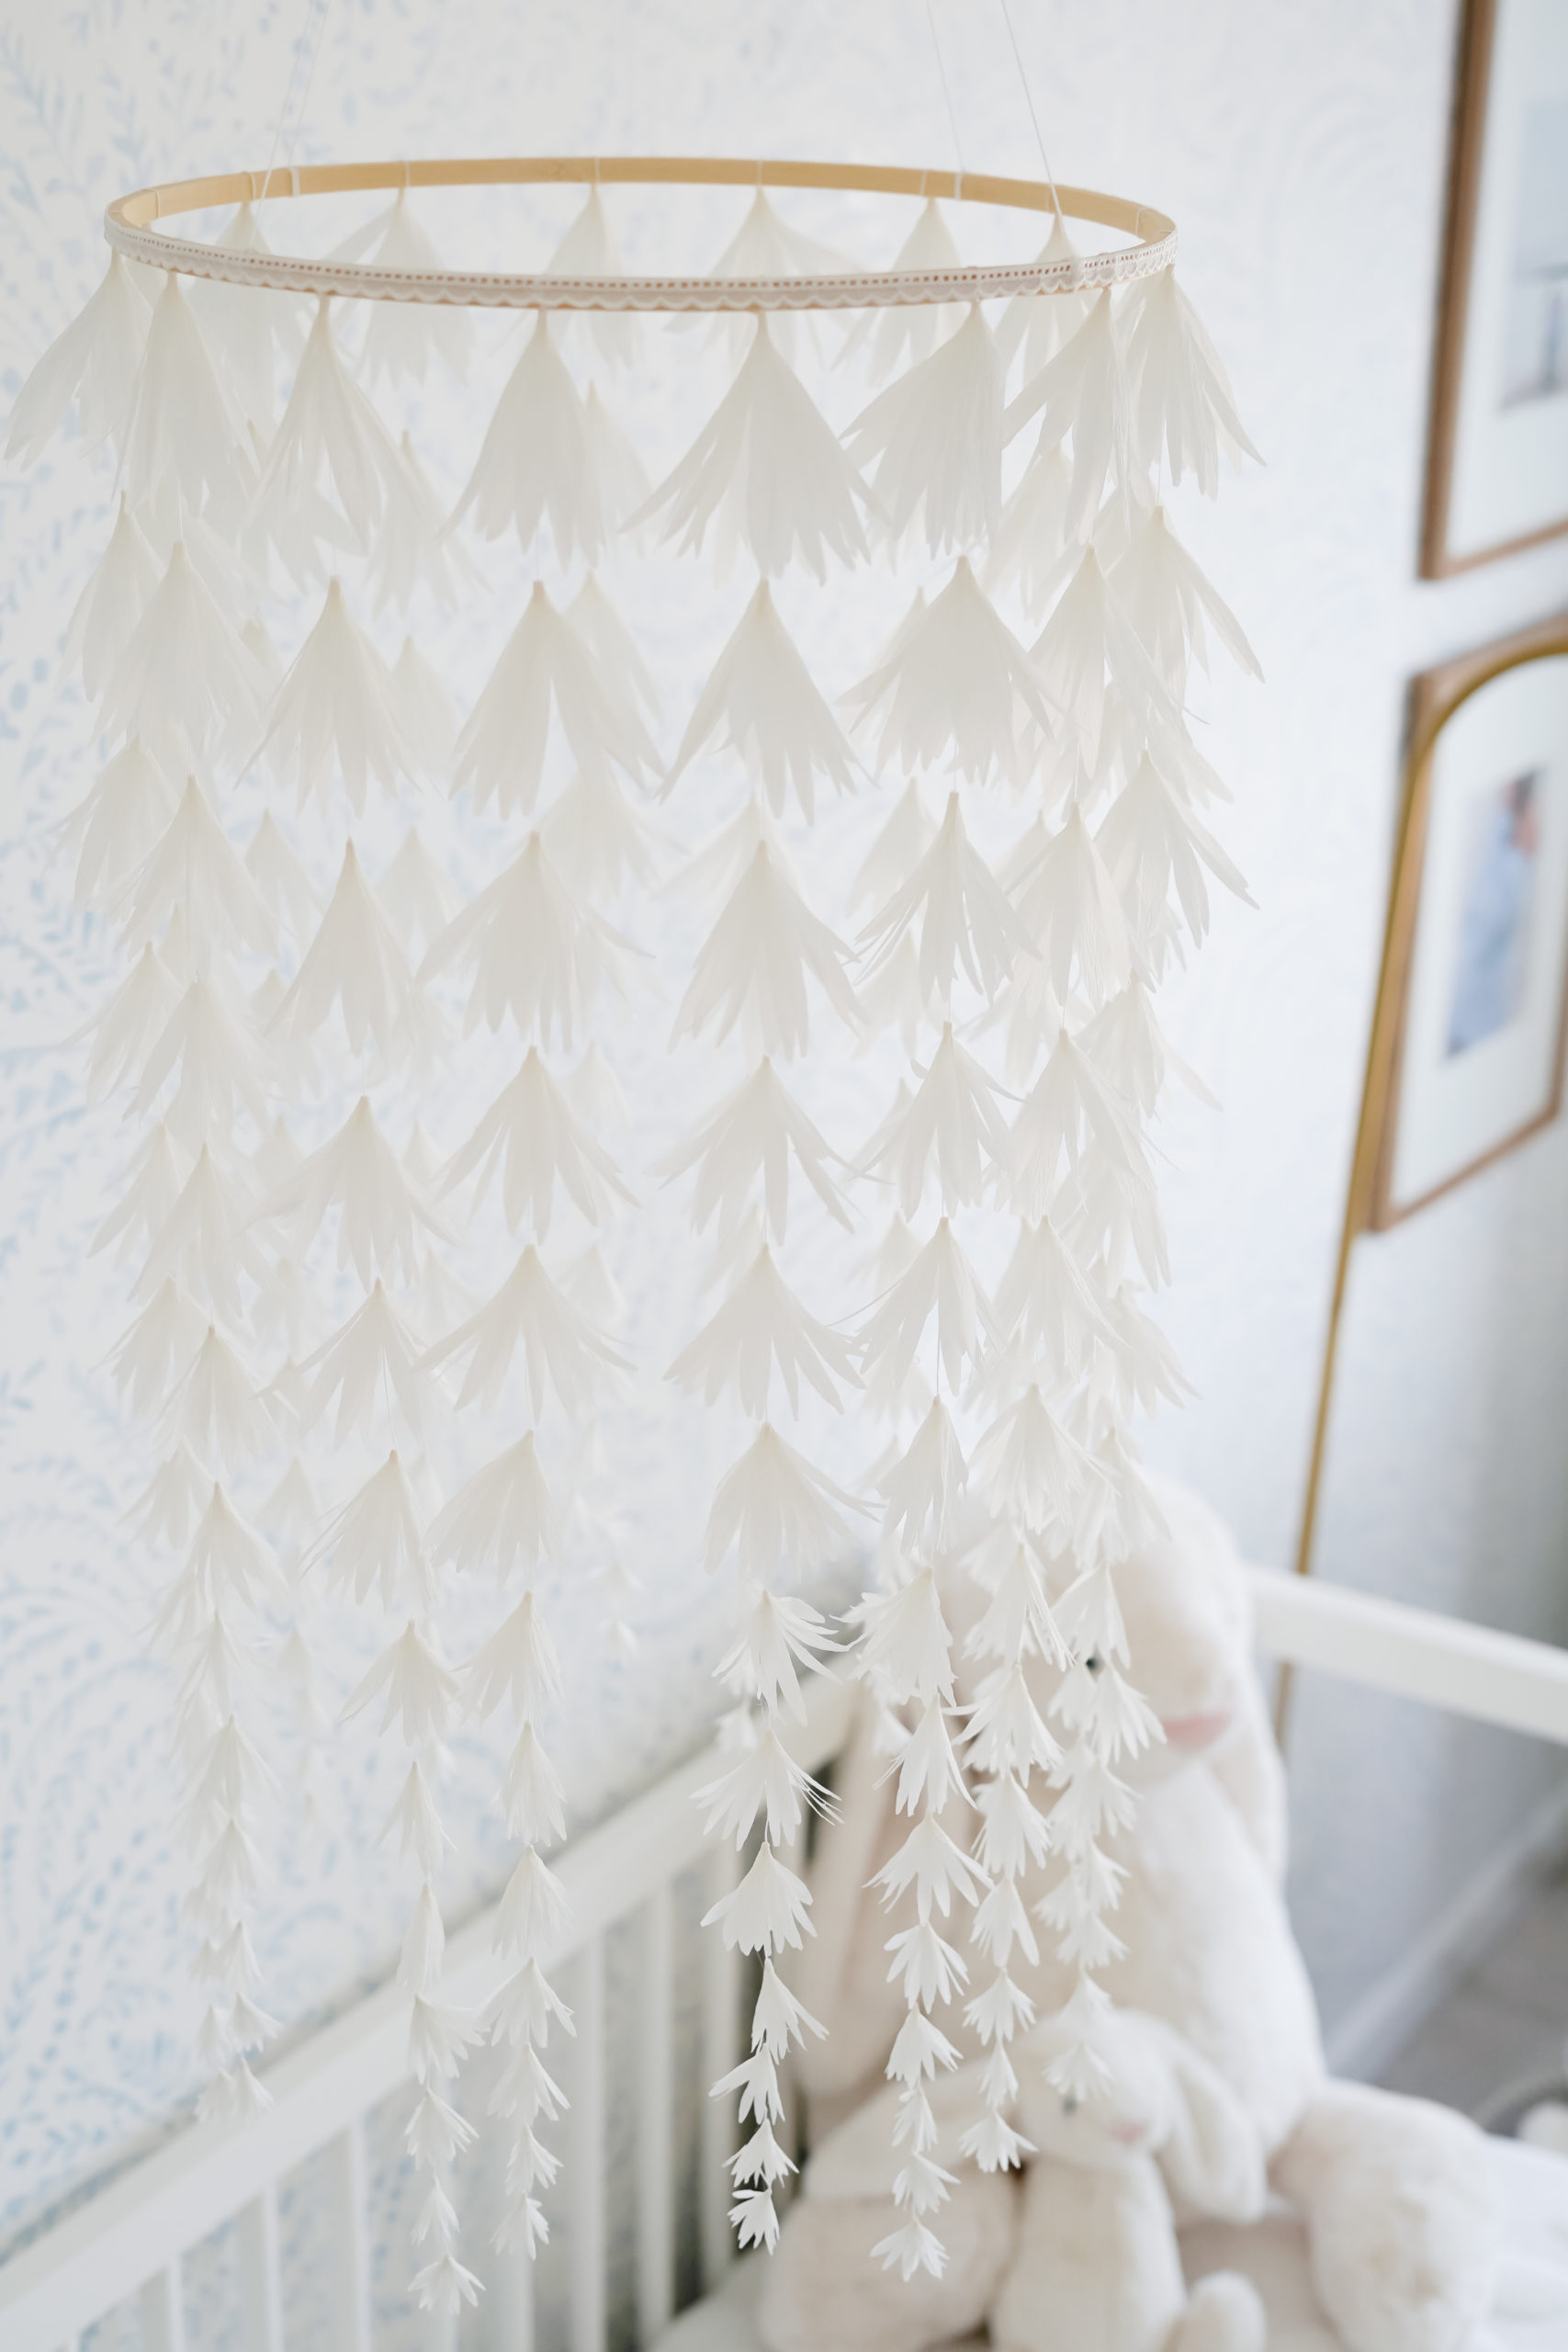
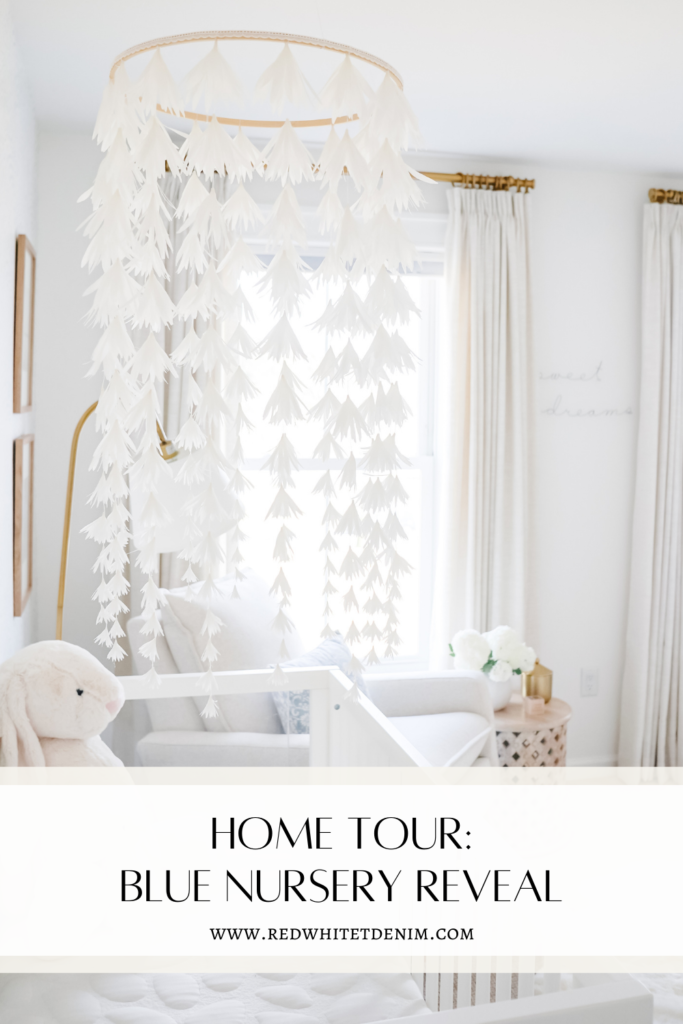
How gorgeous is this mobile?! I’m so thrilled to introduce you to a small shop who offers the most beautiful hanging decor for nurseries. Every delicate petal of this mobile is handmade and stringed together to float above a crib. There are several different colors available for purchase – this is the WHITE. The mobile can be hung above a crib or even as decor in an older child’s room (I plan on using this in Liliana’s room long after she’s out of her crib!) The owner of this shop is so sweet and by purchasing this stunning mobile, you’ll also be supporting a female-owned small business.
CLICK/TAP TO SHOP
DRESSER/CHANGING STATION
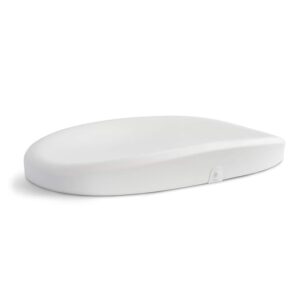
I was looking for a simple, white dresser for Lili’s nursery that would compliment her modern crib. I loved the clean lines and simple design of this dresser which we will use as a changing station. It’s extra wide, giving us plenty of room for a changing pad, table lamp, canister (for pacifiers) and diaper caddy.
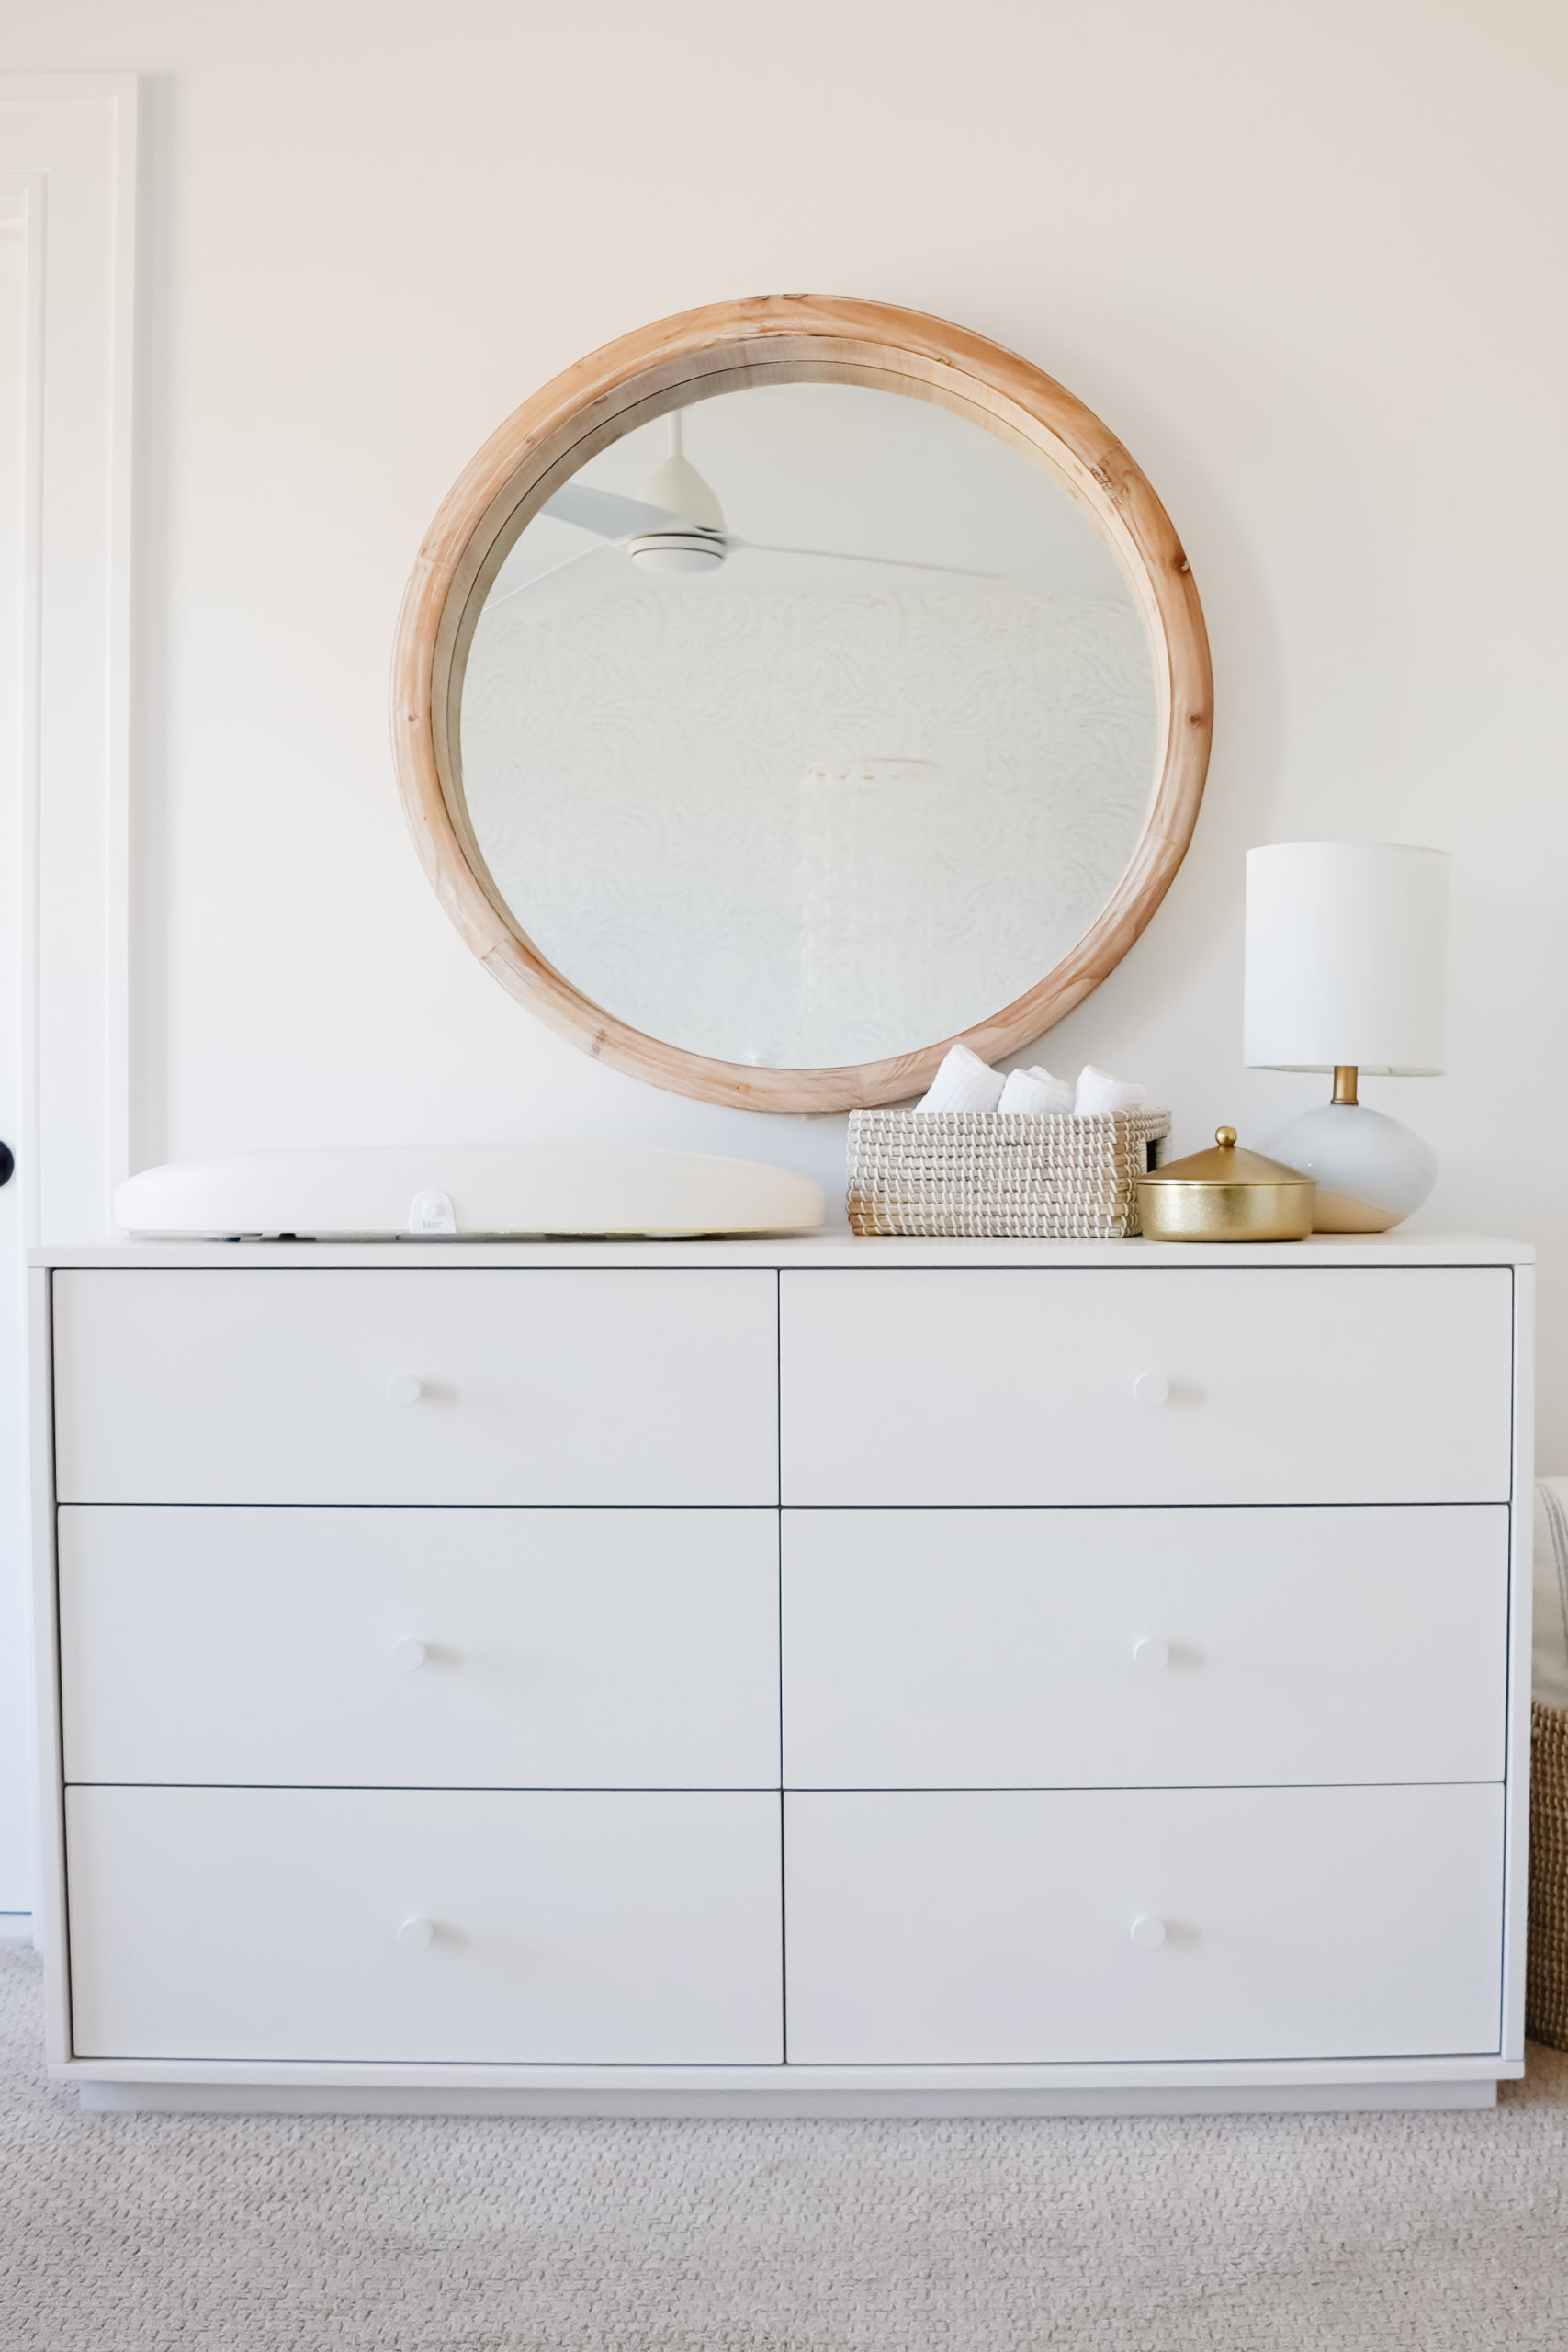
CLICK/TAP TO SHOP
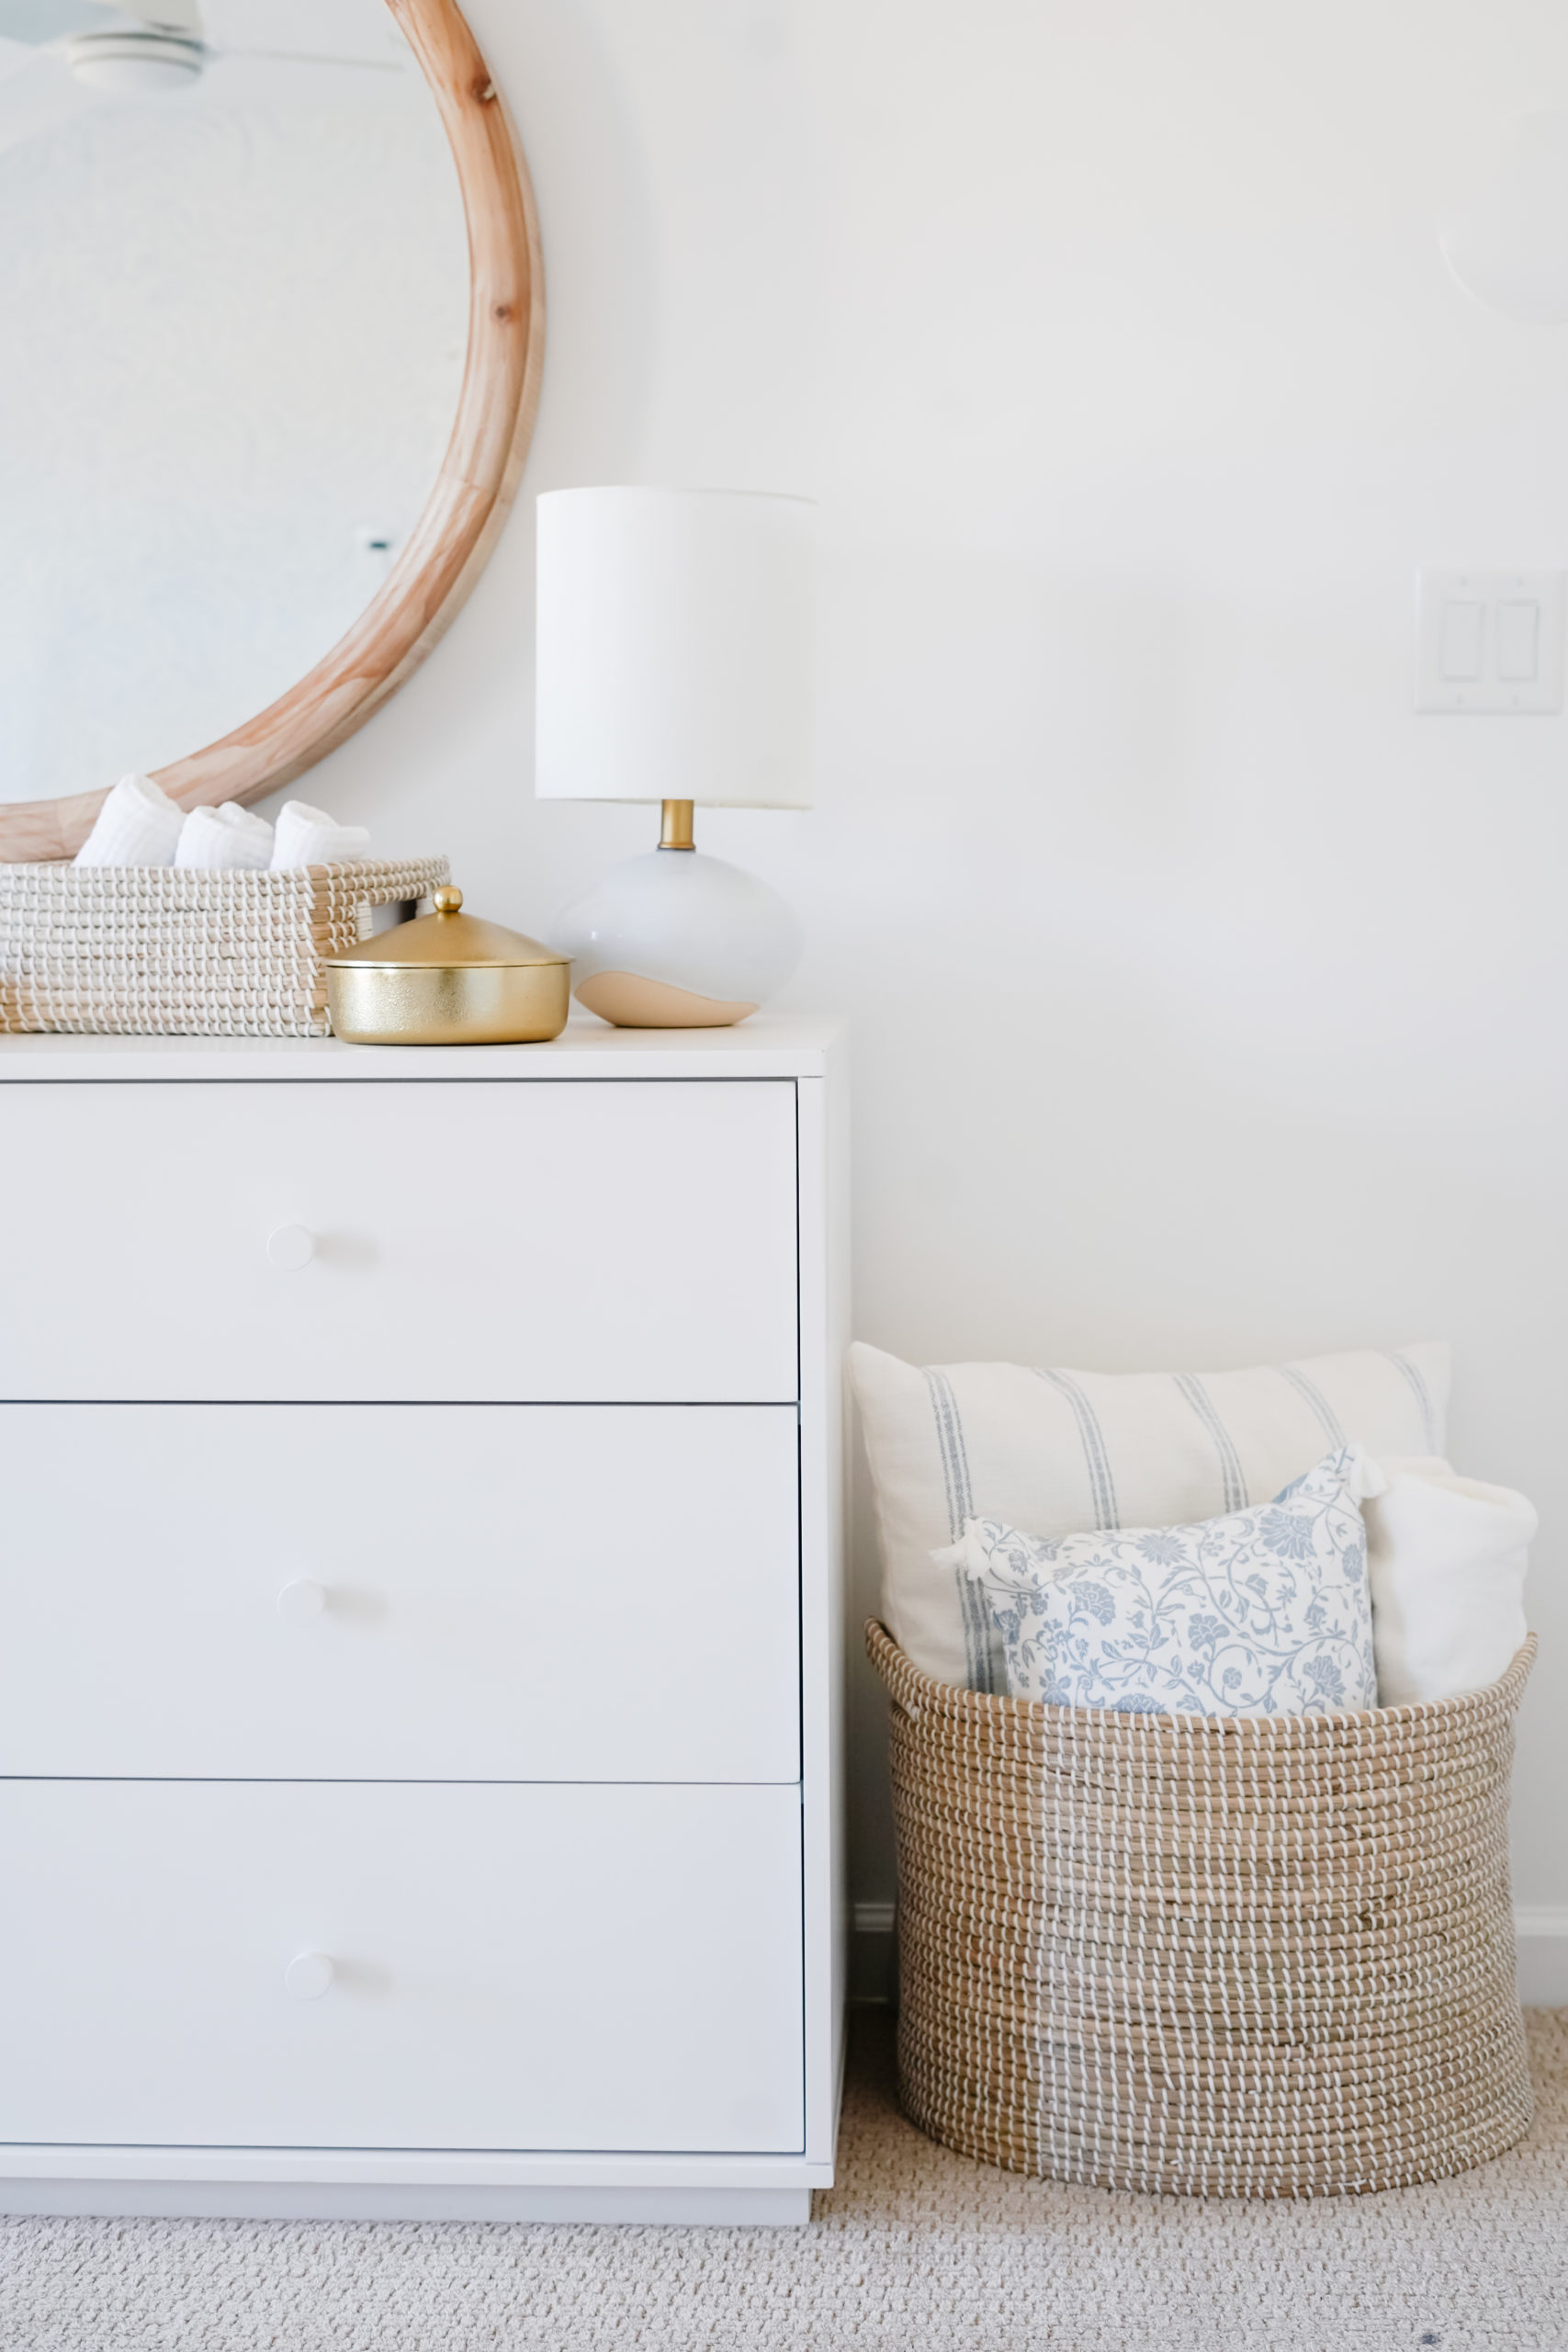
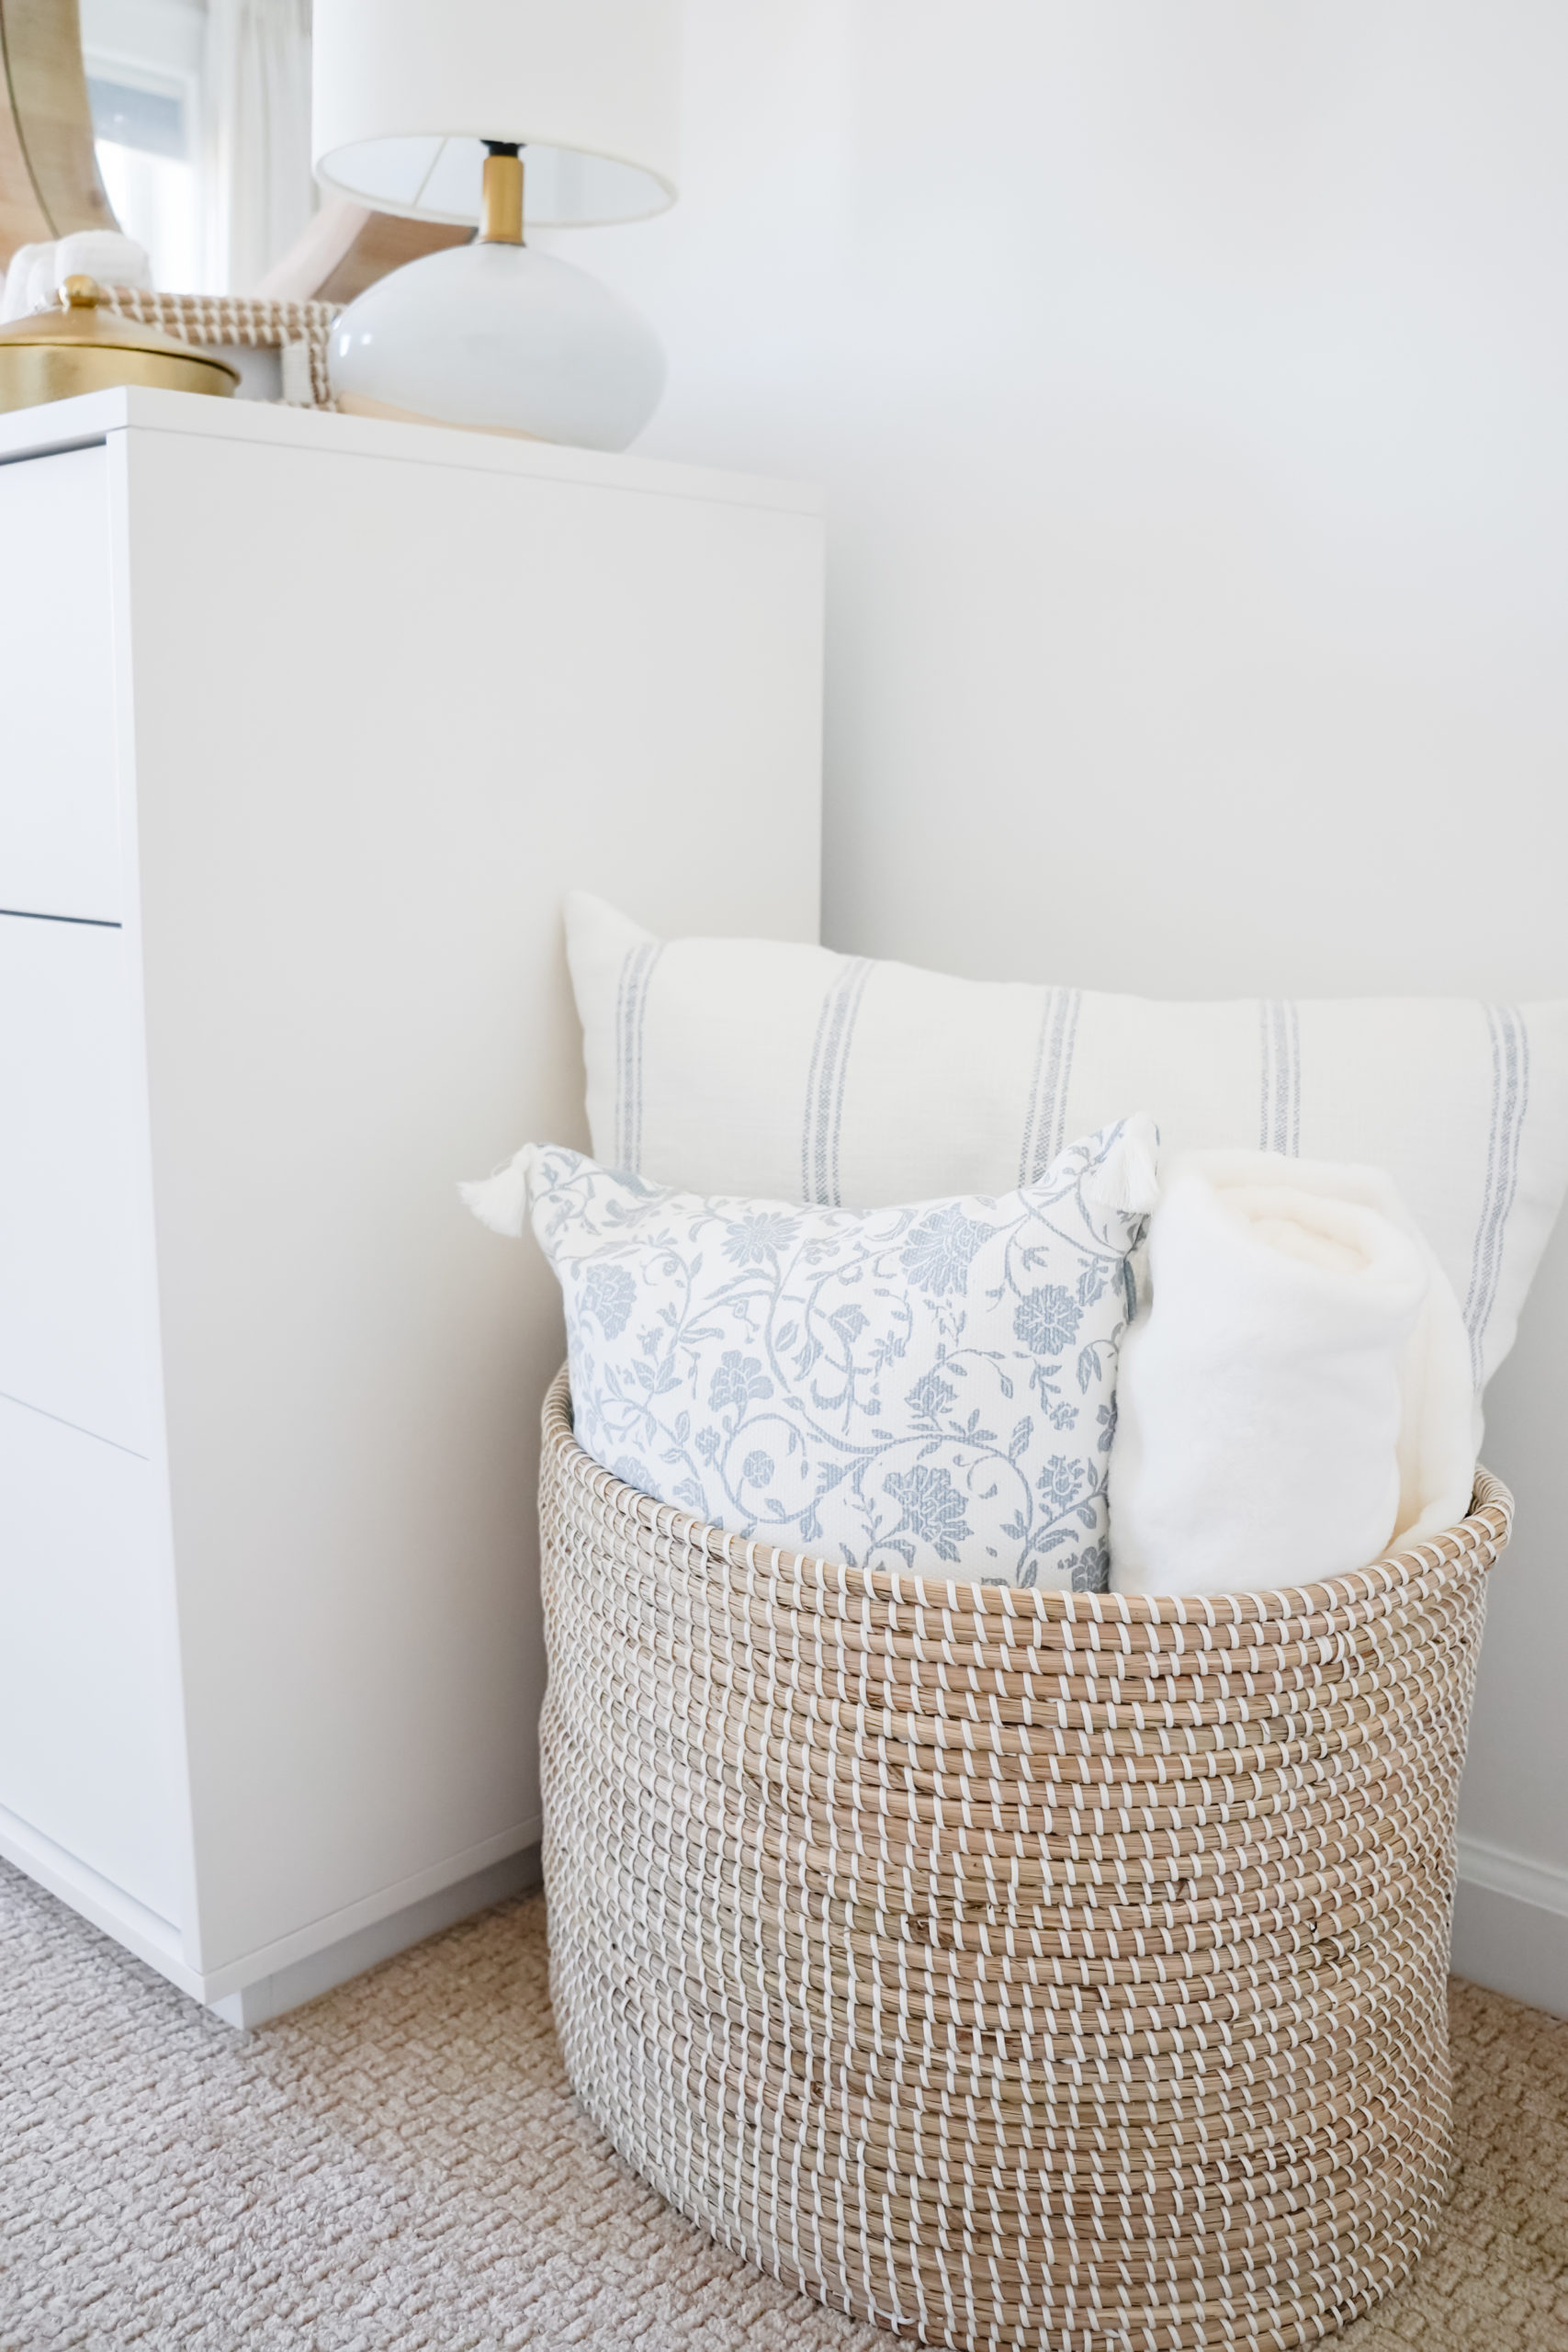
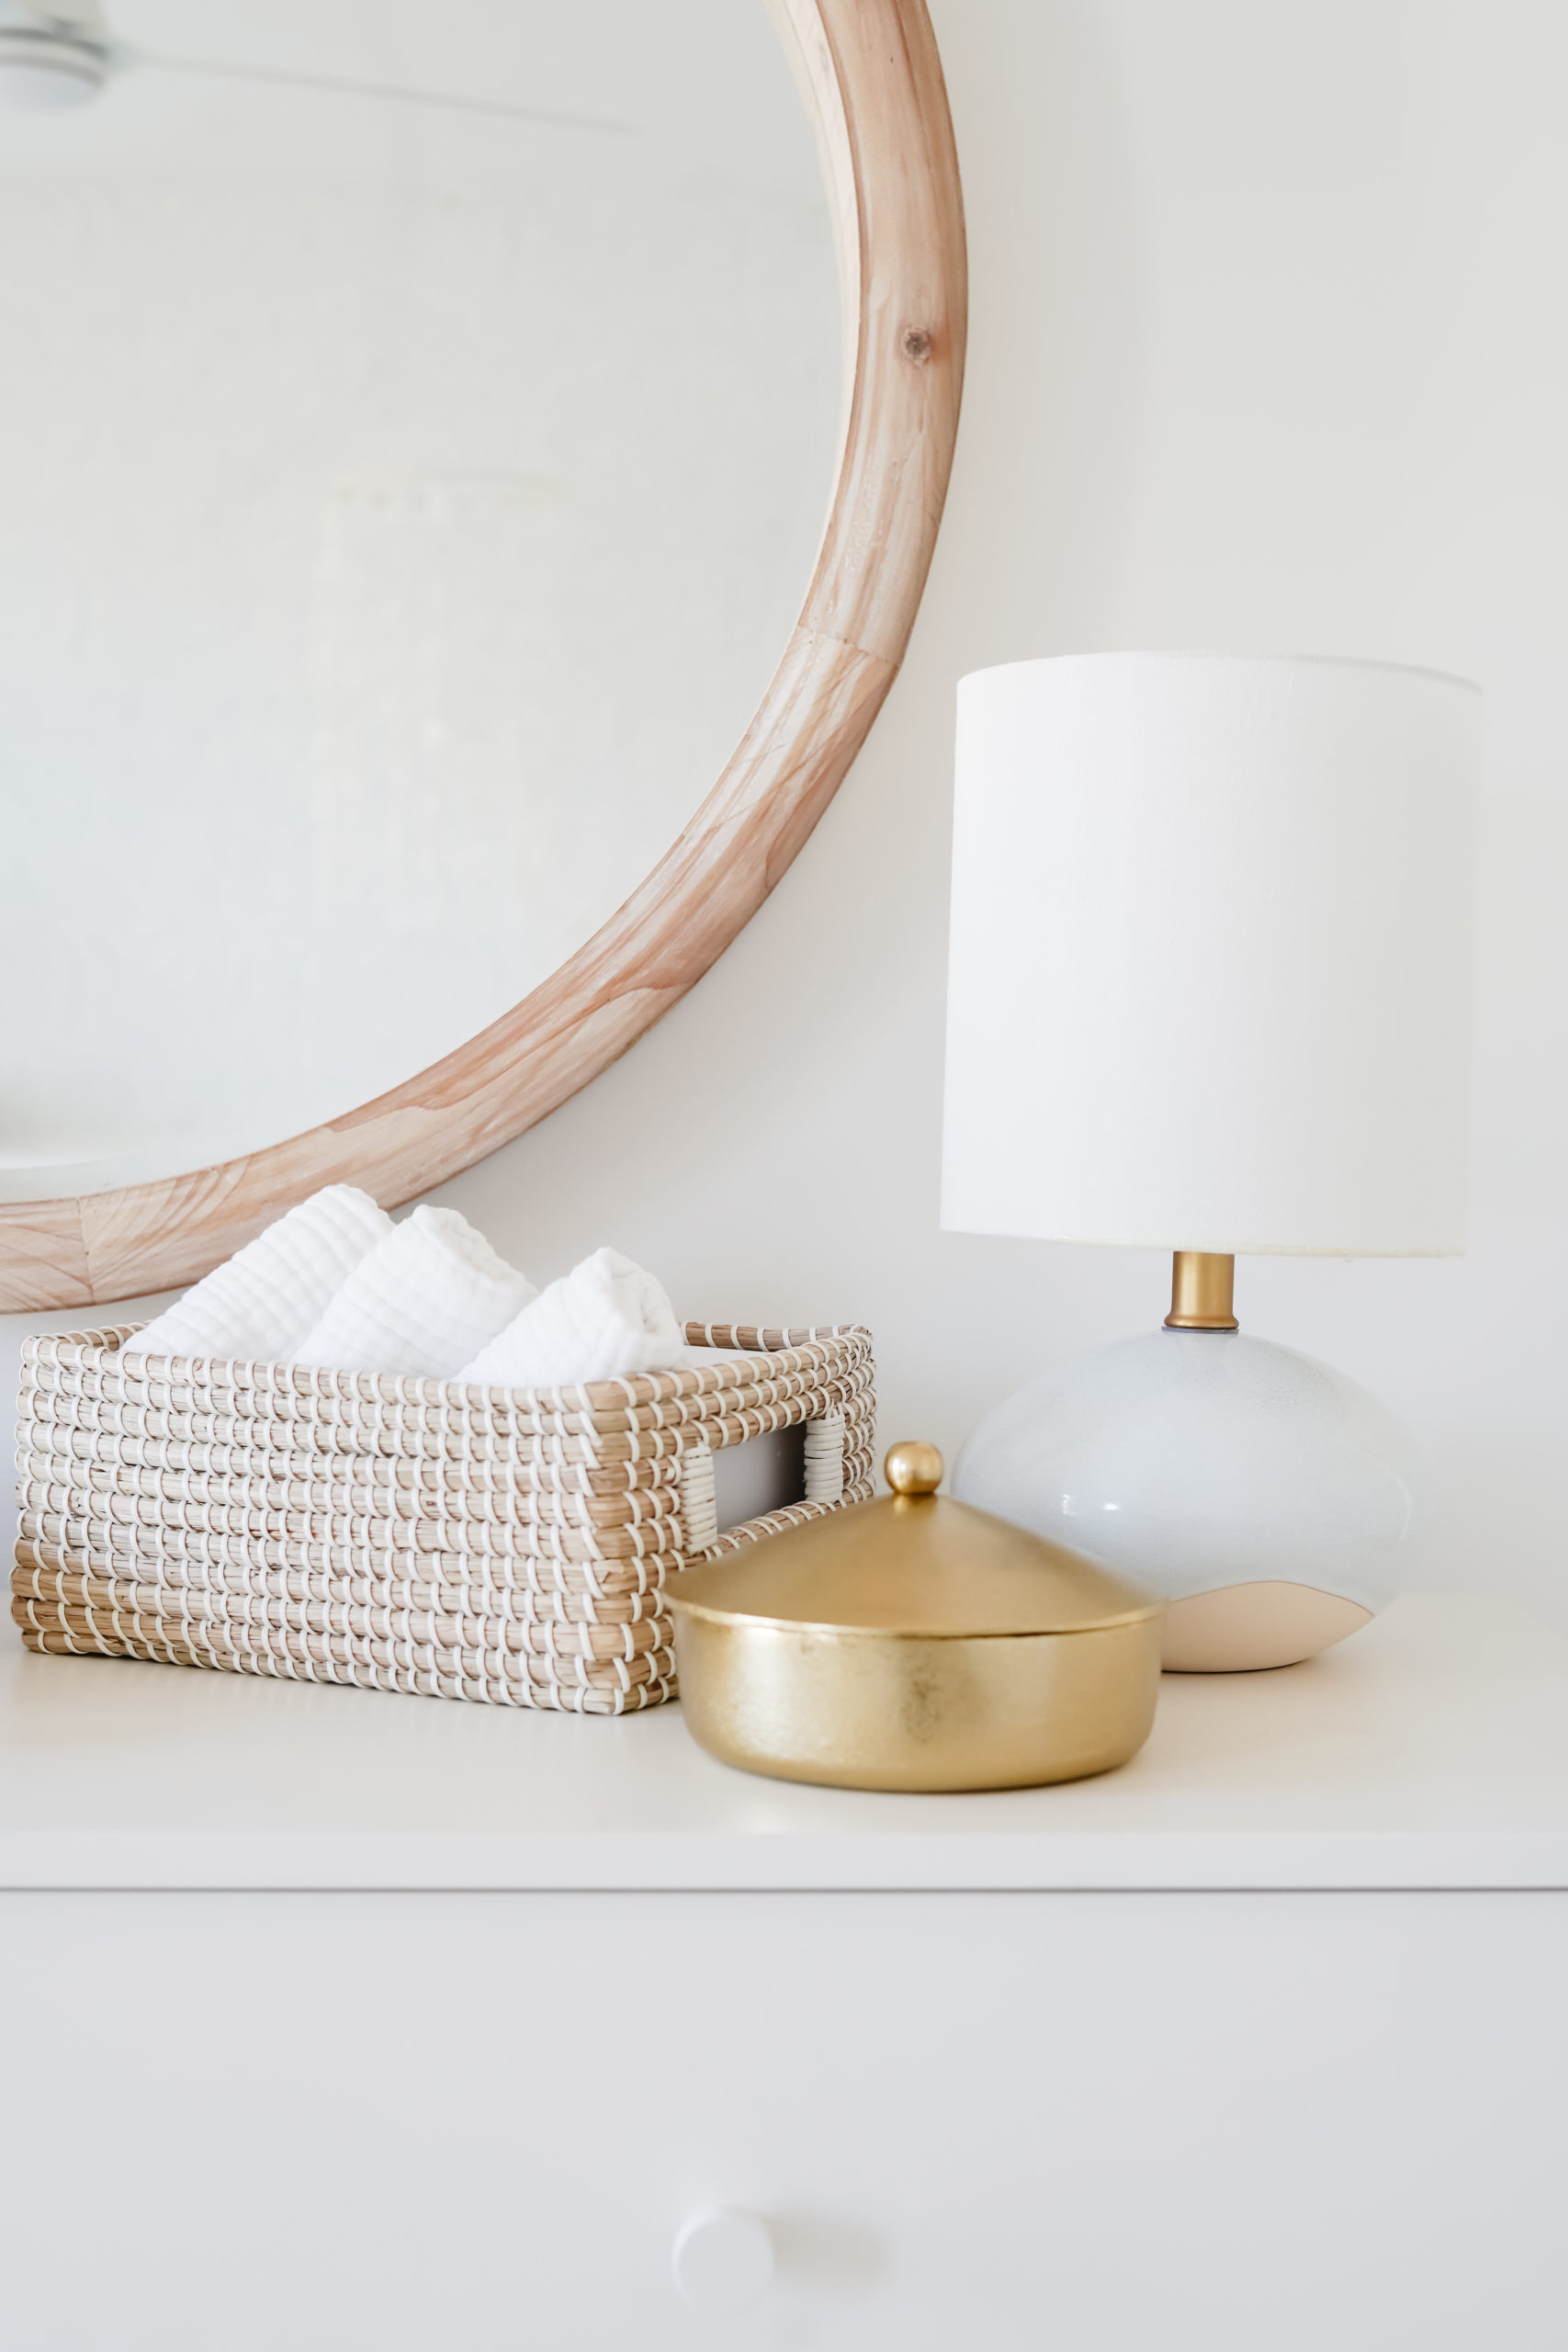
CLICK/TAP TO SHOP
STORAGE & DECOR
I love including shelves in the girls rooms to display their favorite books. We have so many books in the house that it only makes sense to also use them as decor. I wanted a low profile bookshelf that was sturdy and would hold a lot of books. These check all the boxes!
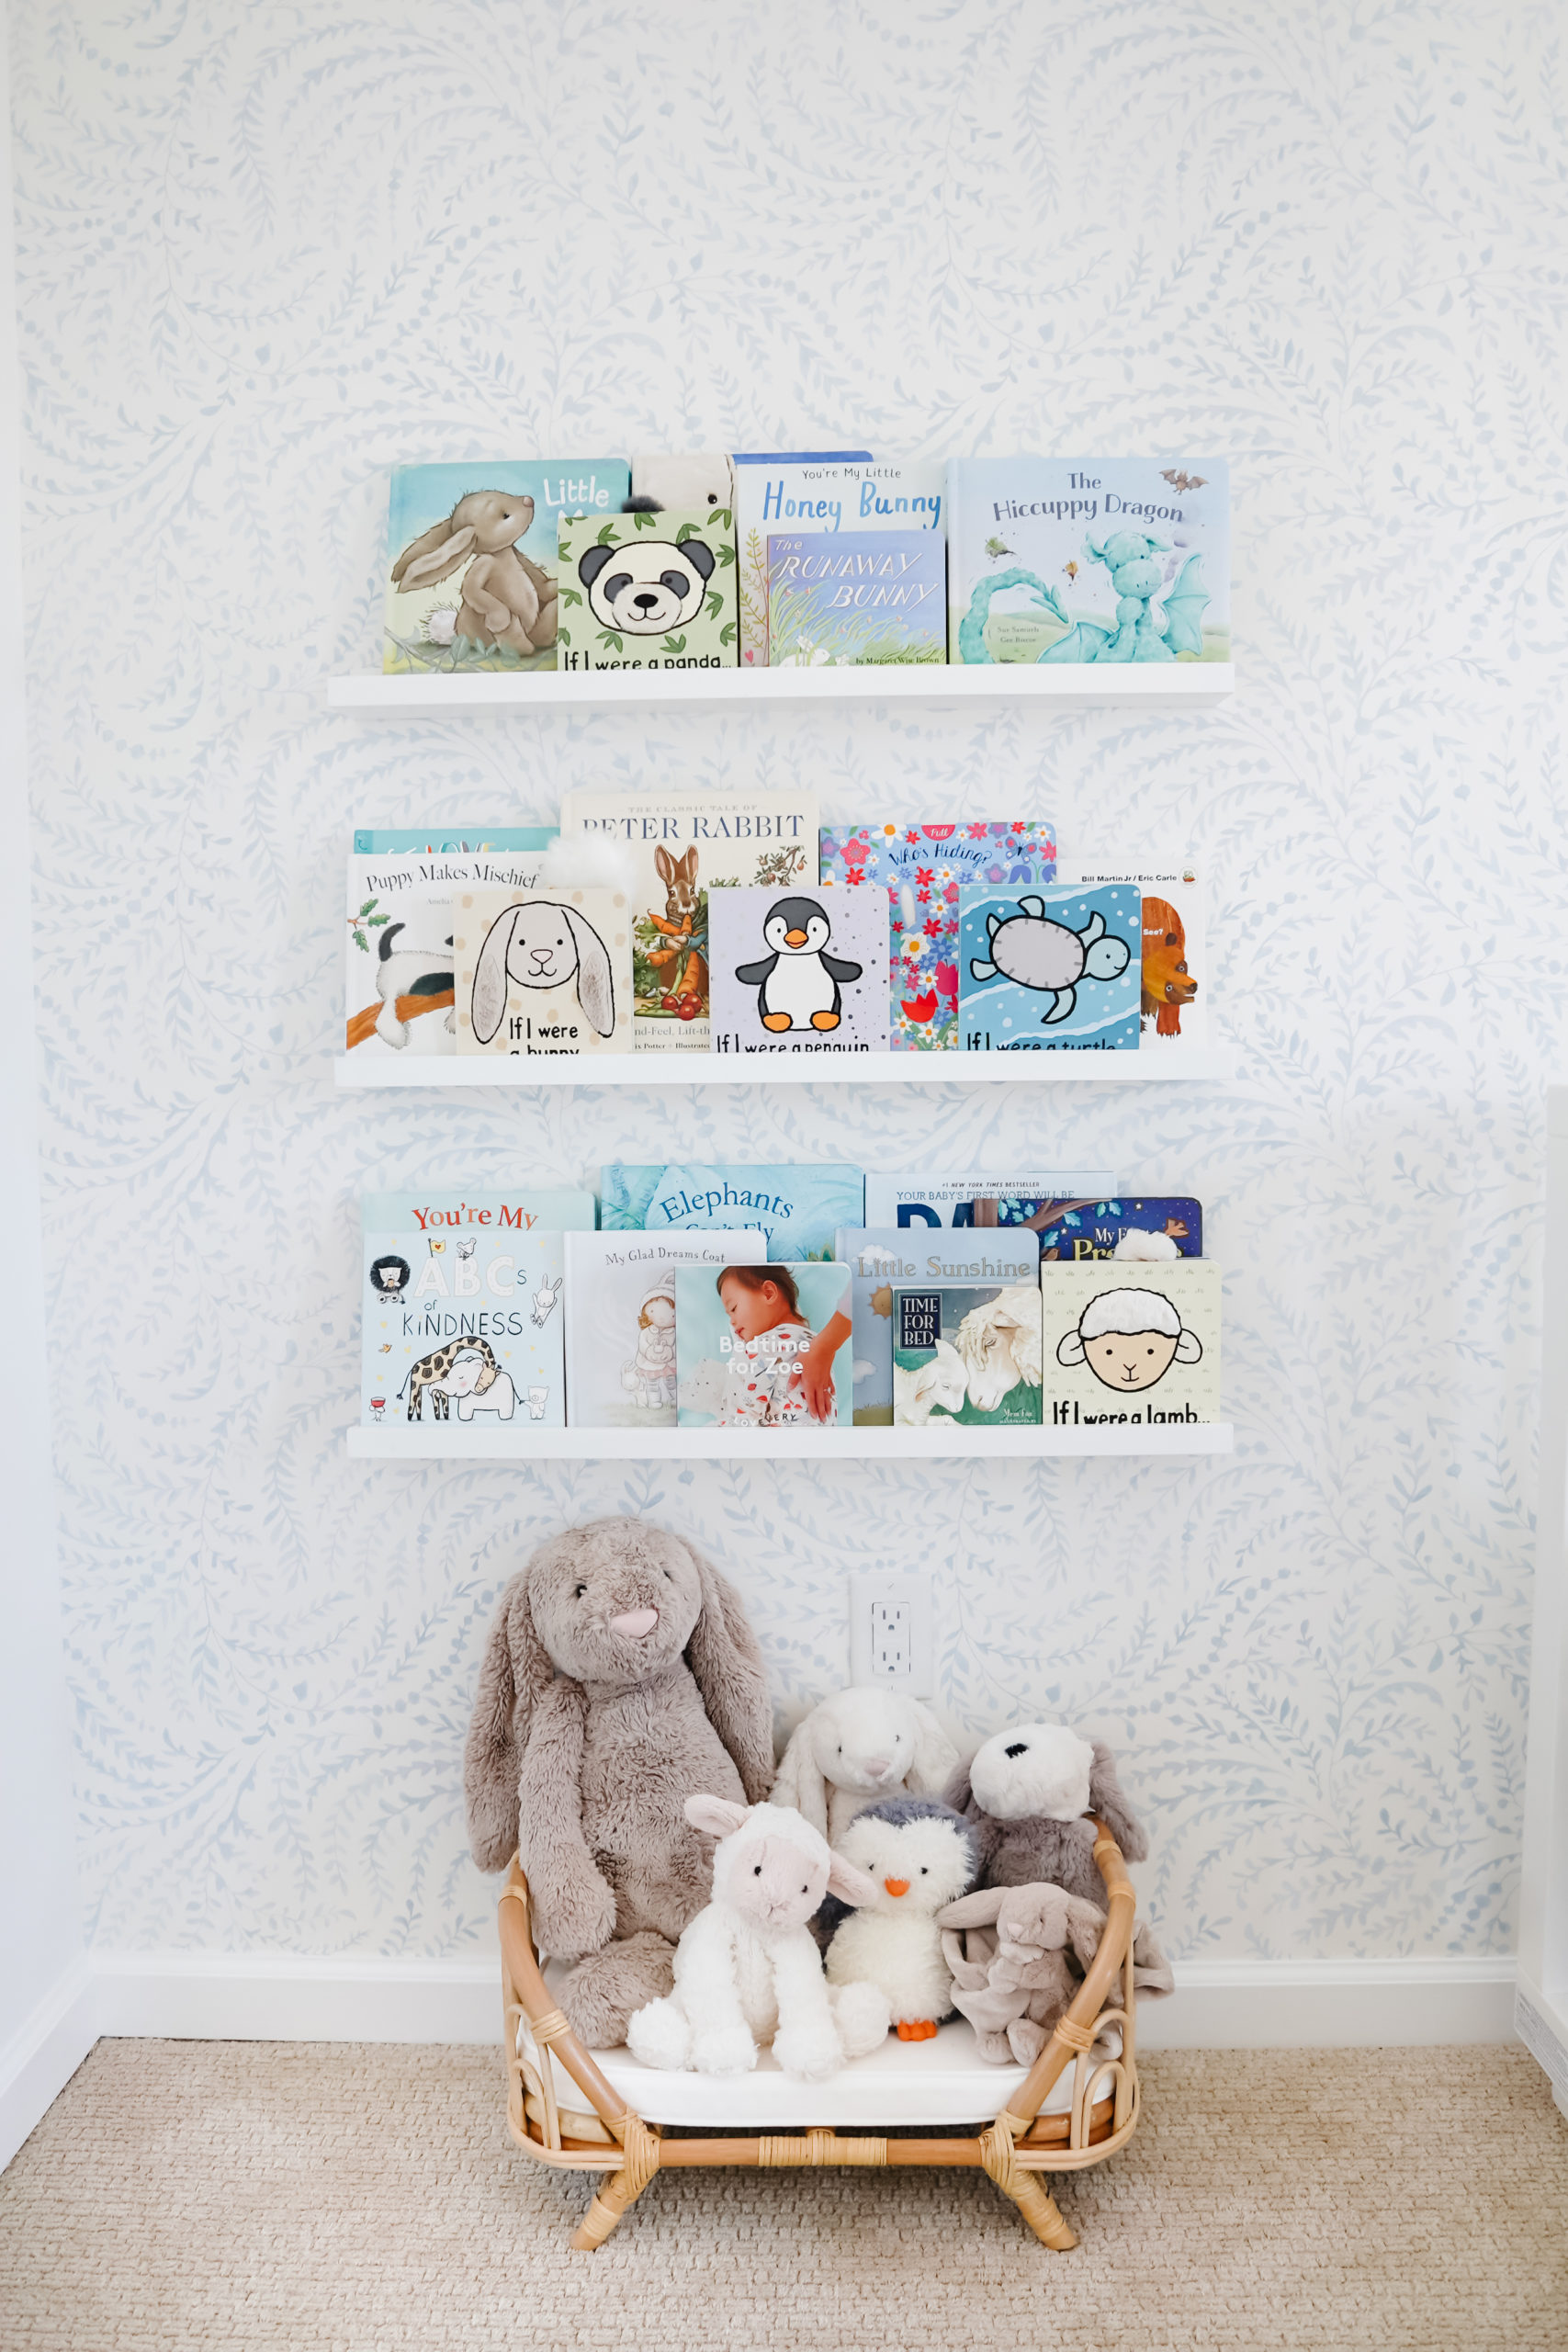
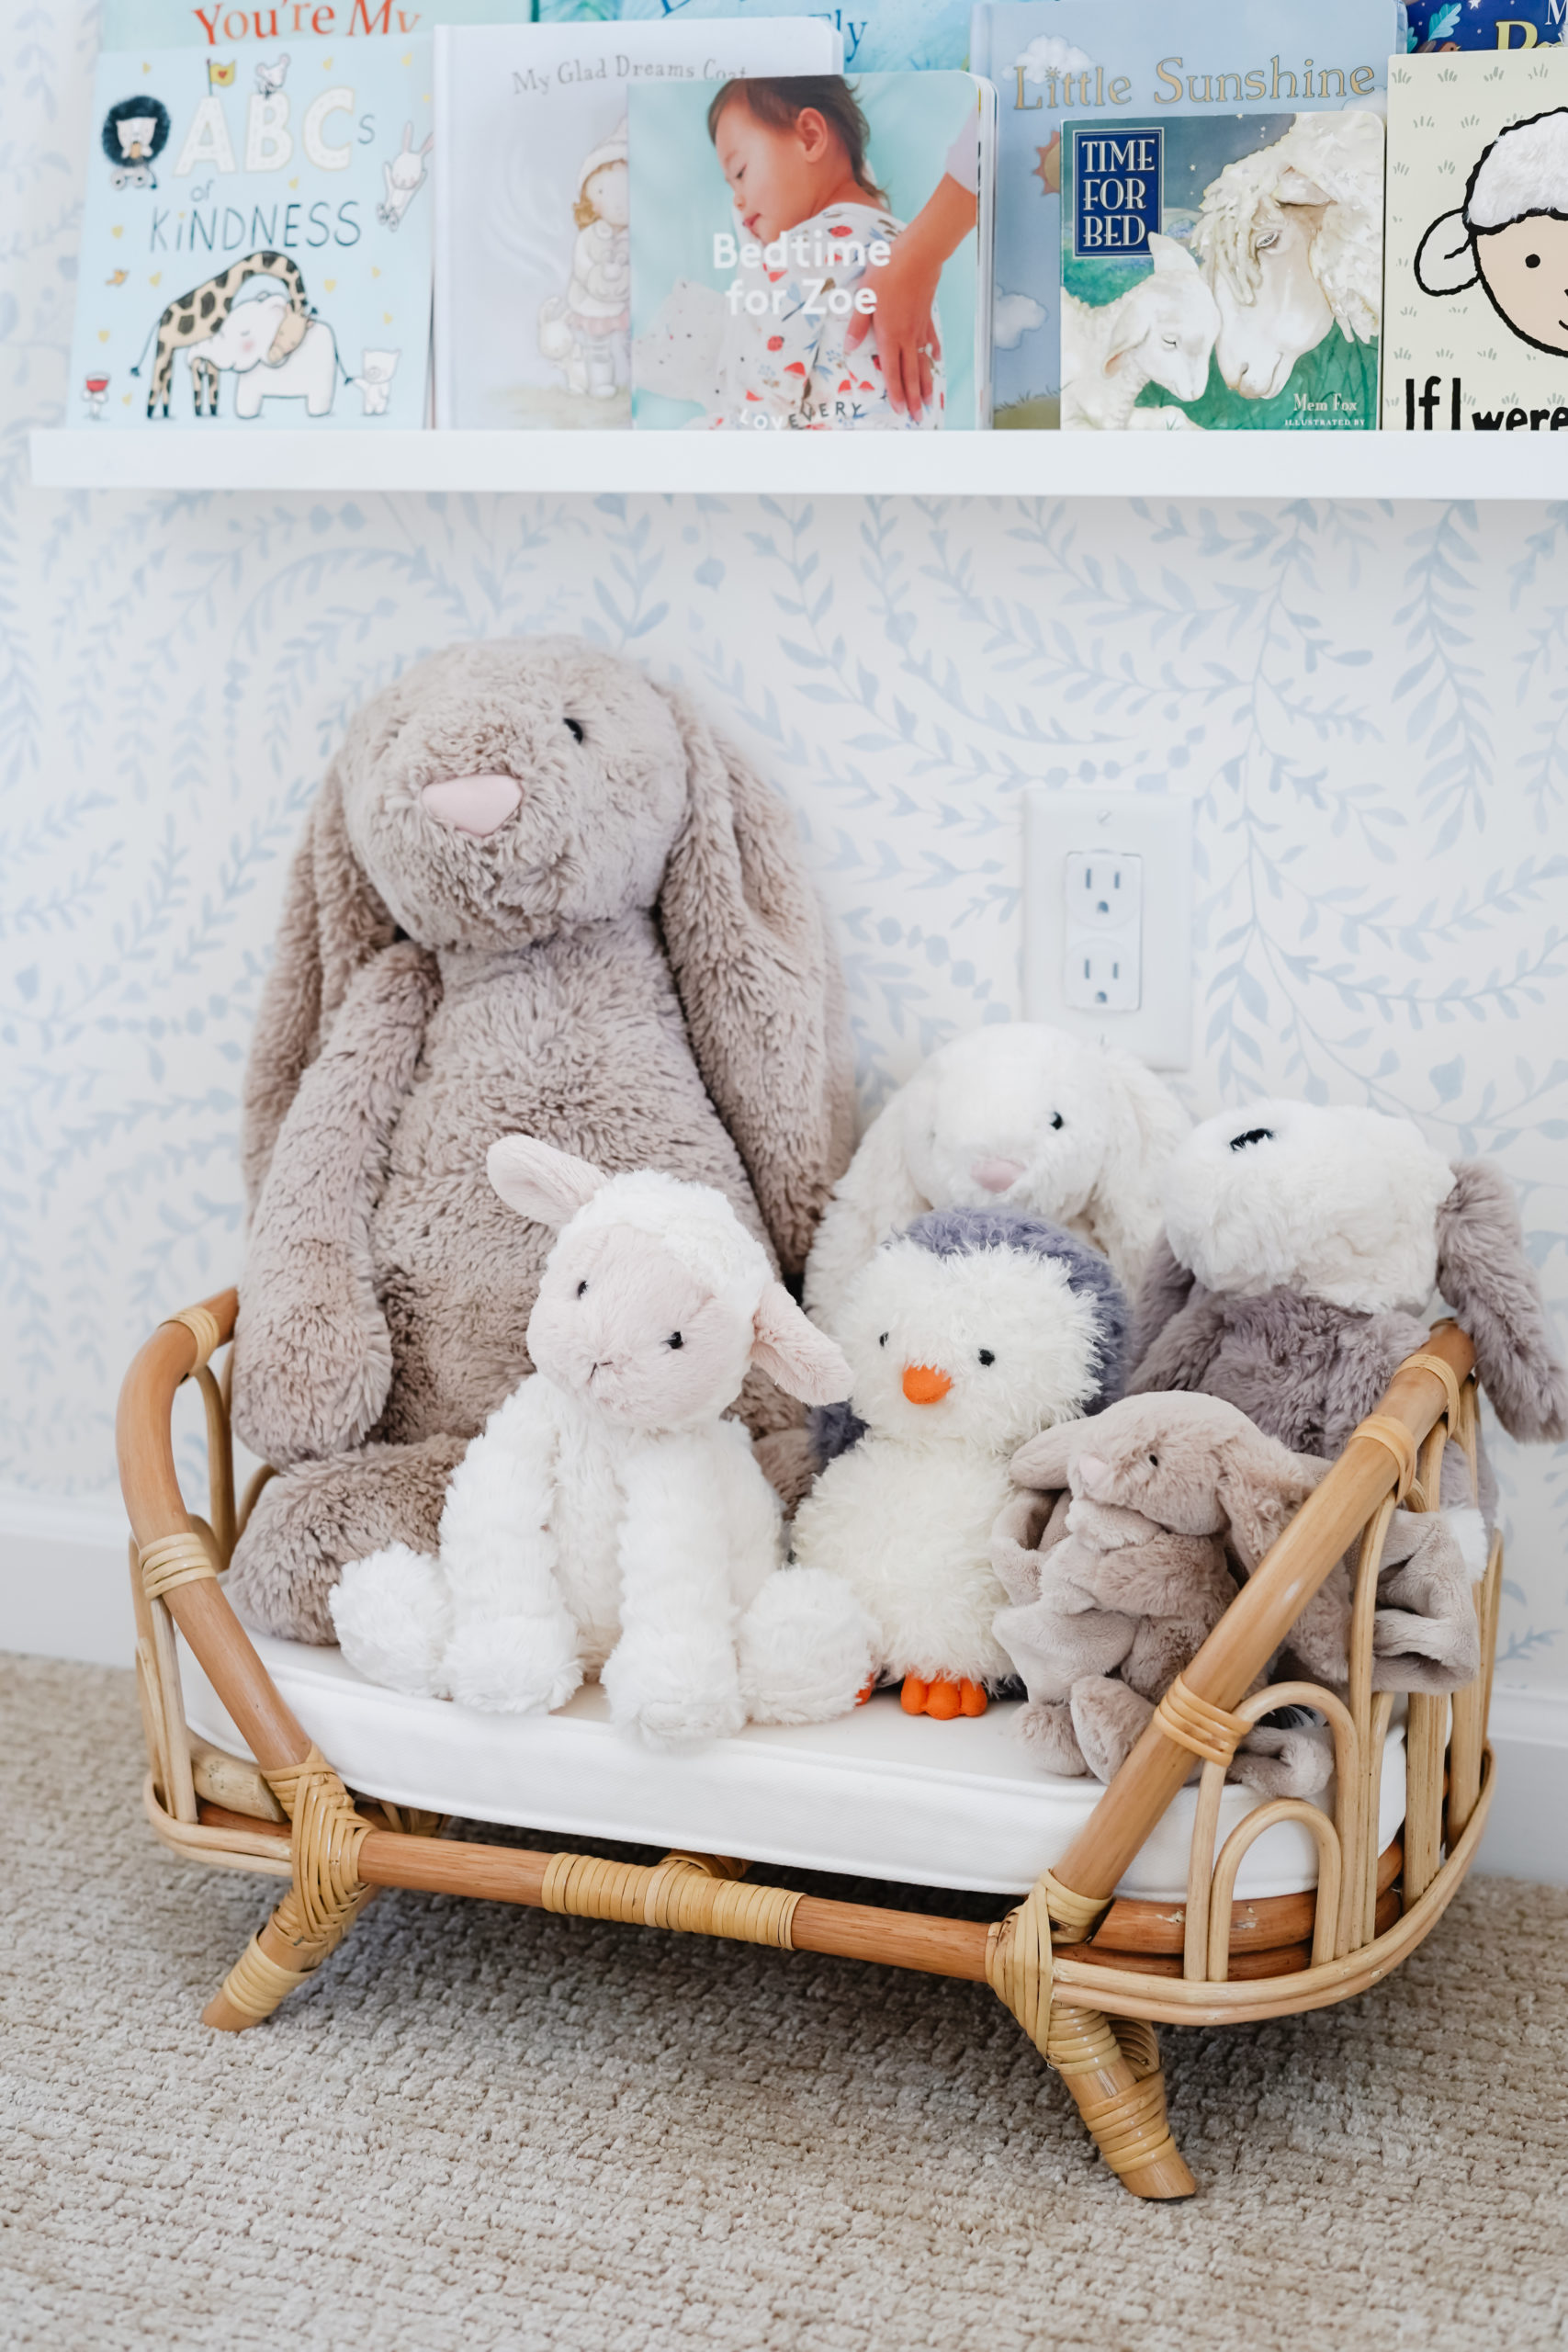
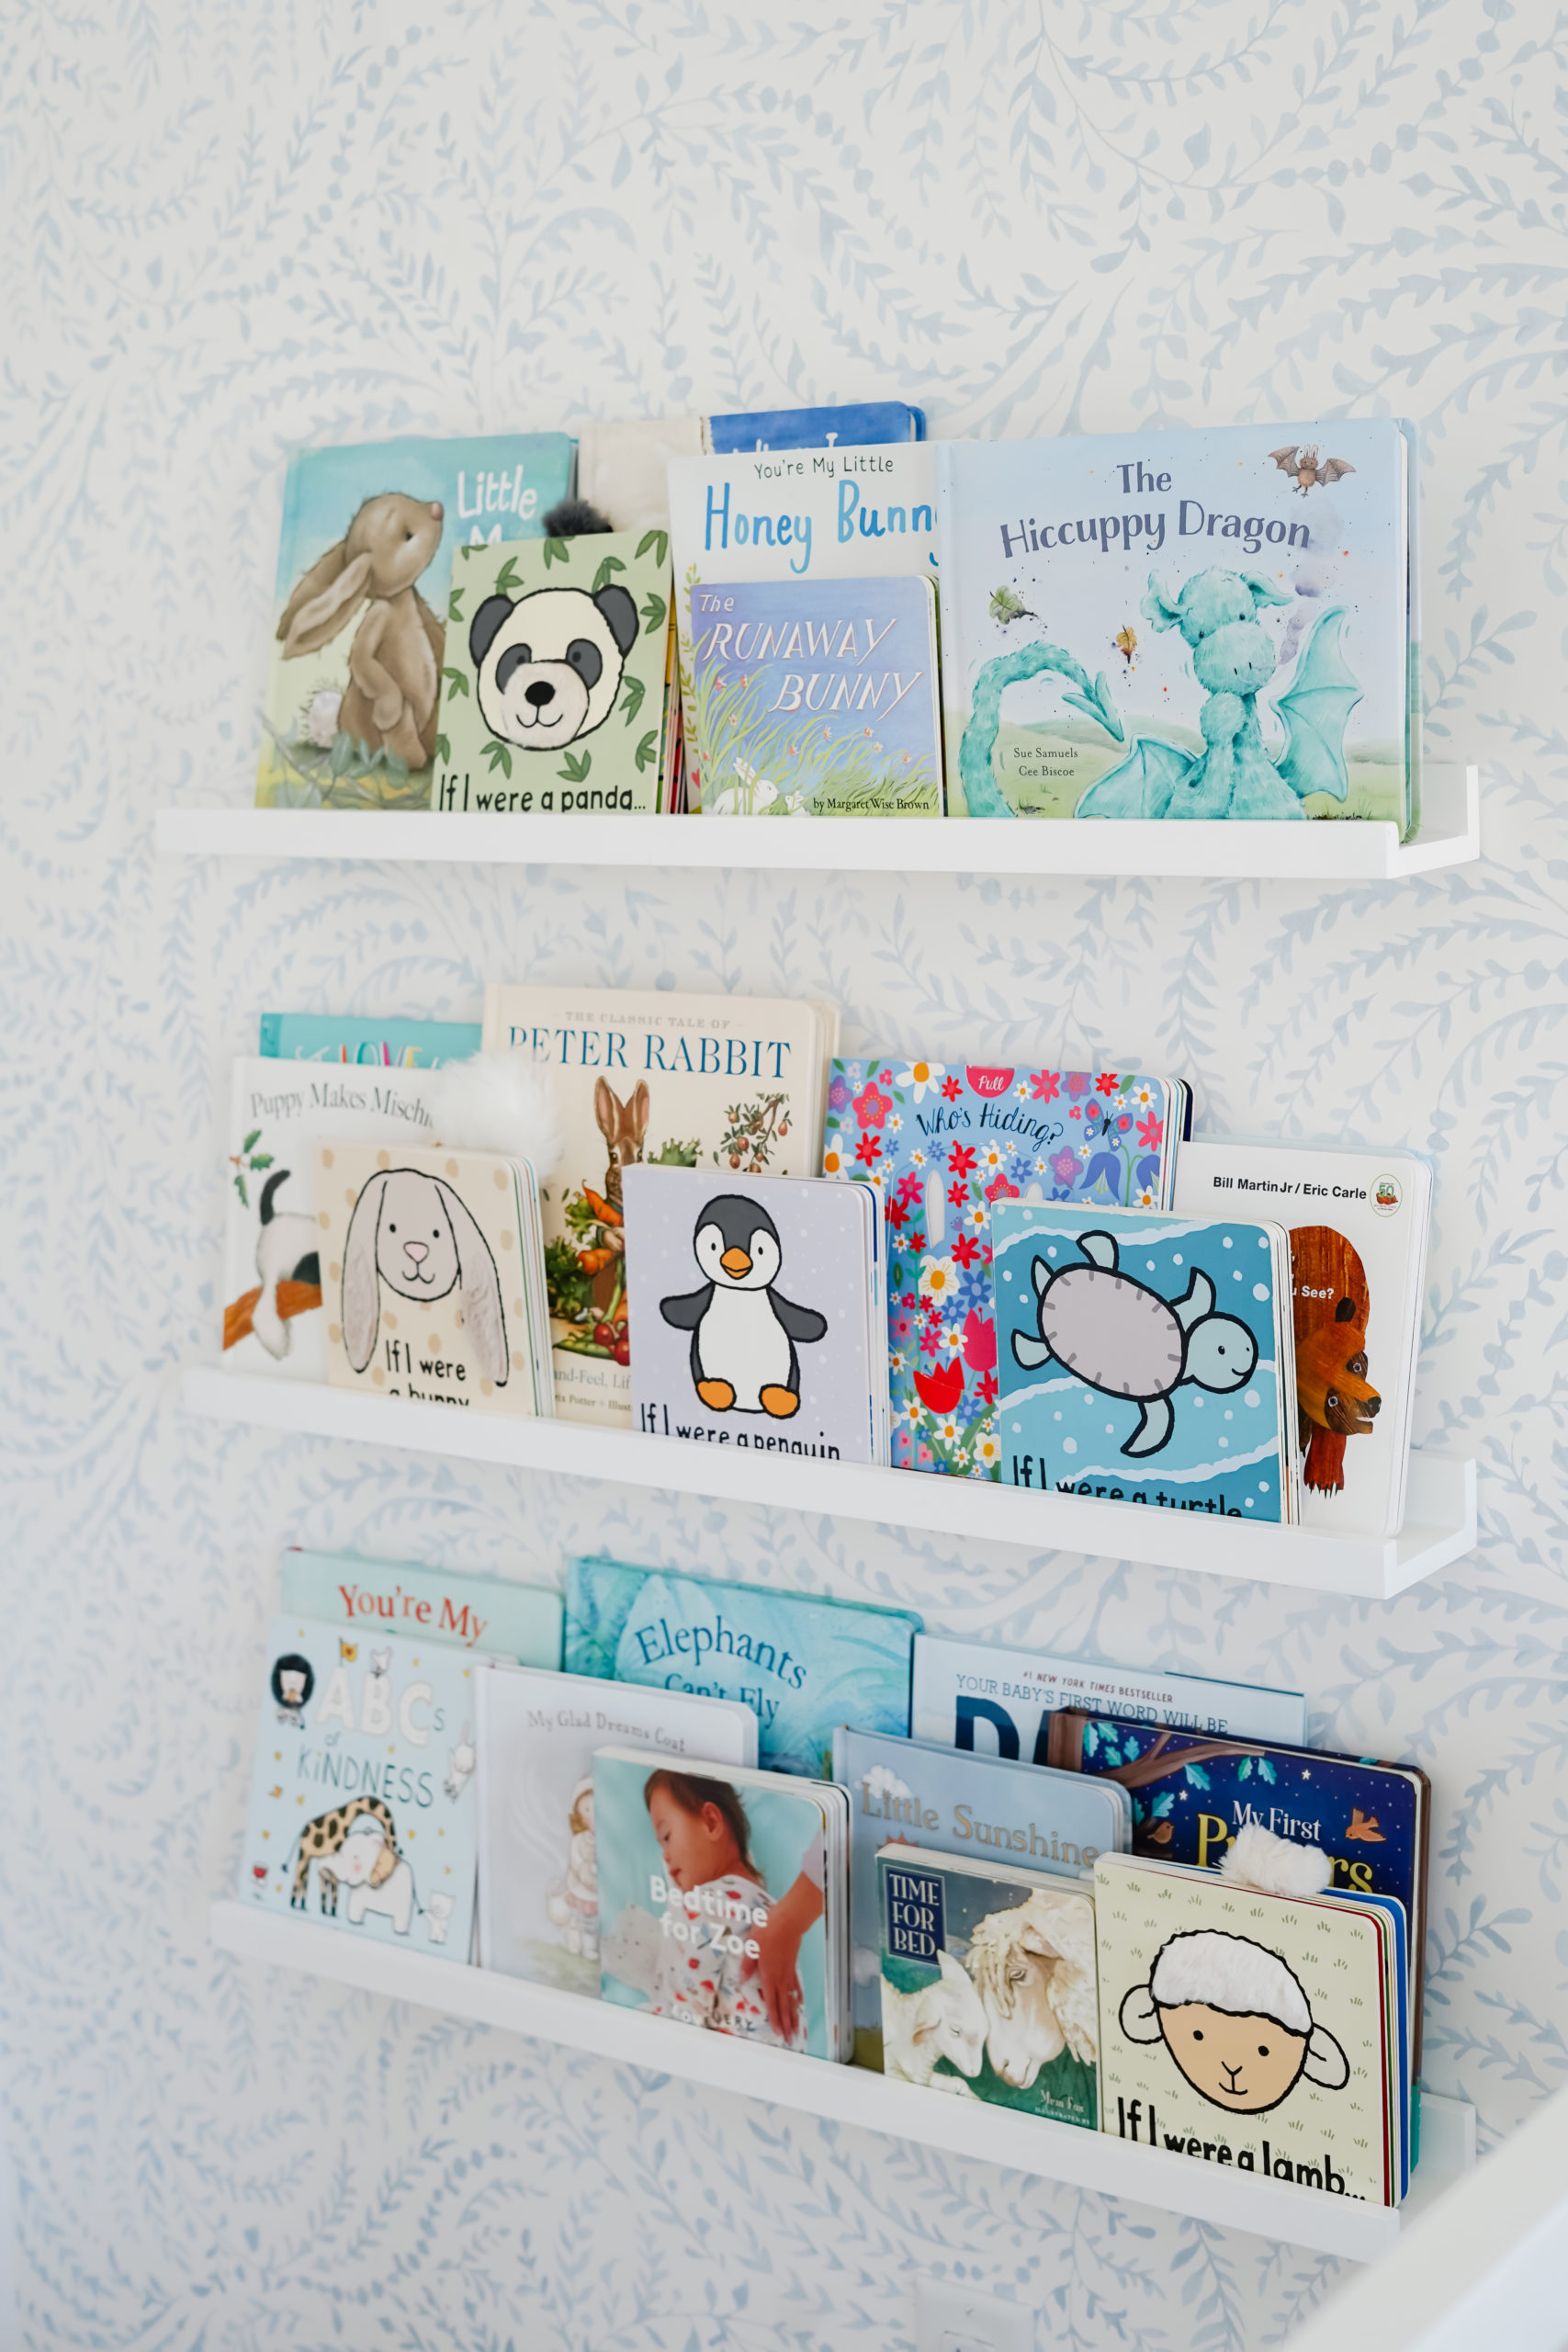
CLICK/TAP TO SHOP
Don’t forget about storage! The kids rooms fill up so quickly with toys, stuffed animals, blankets, etc. It’s always nice to have some cute baskets around the room to throw things in. The lidded basket is similar to a Serena and Lily style that I found at Homegoods. All the other baskets in the room I found through online retailers (linked below!) They look so similar to the Serrena and Lily baskets, but at a more affordable price. They come in a variety of sizes and shapes!
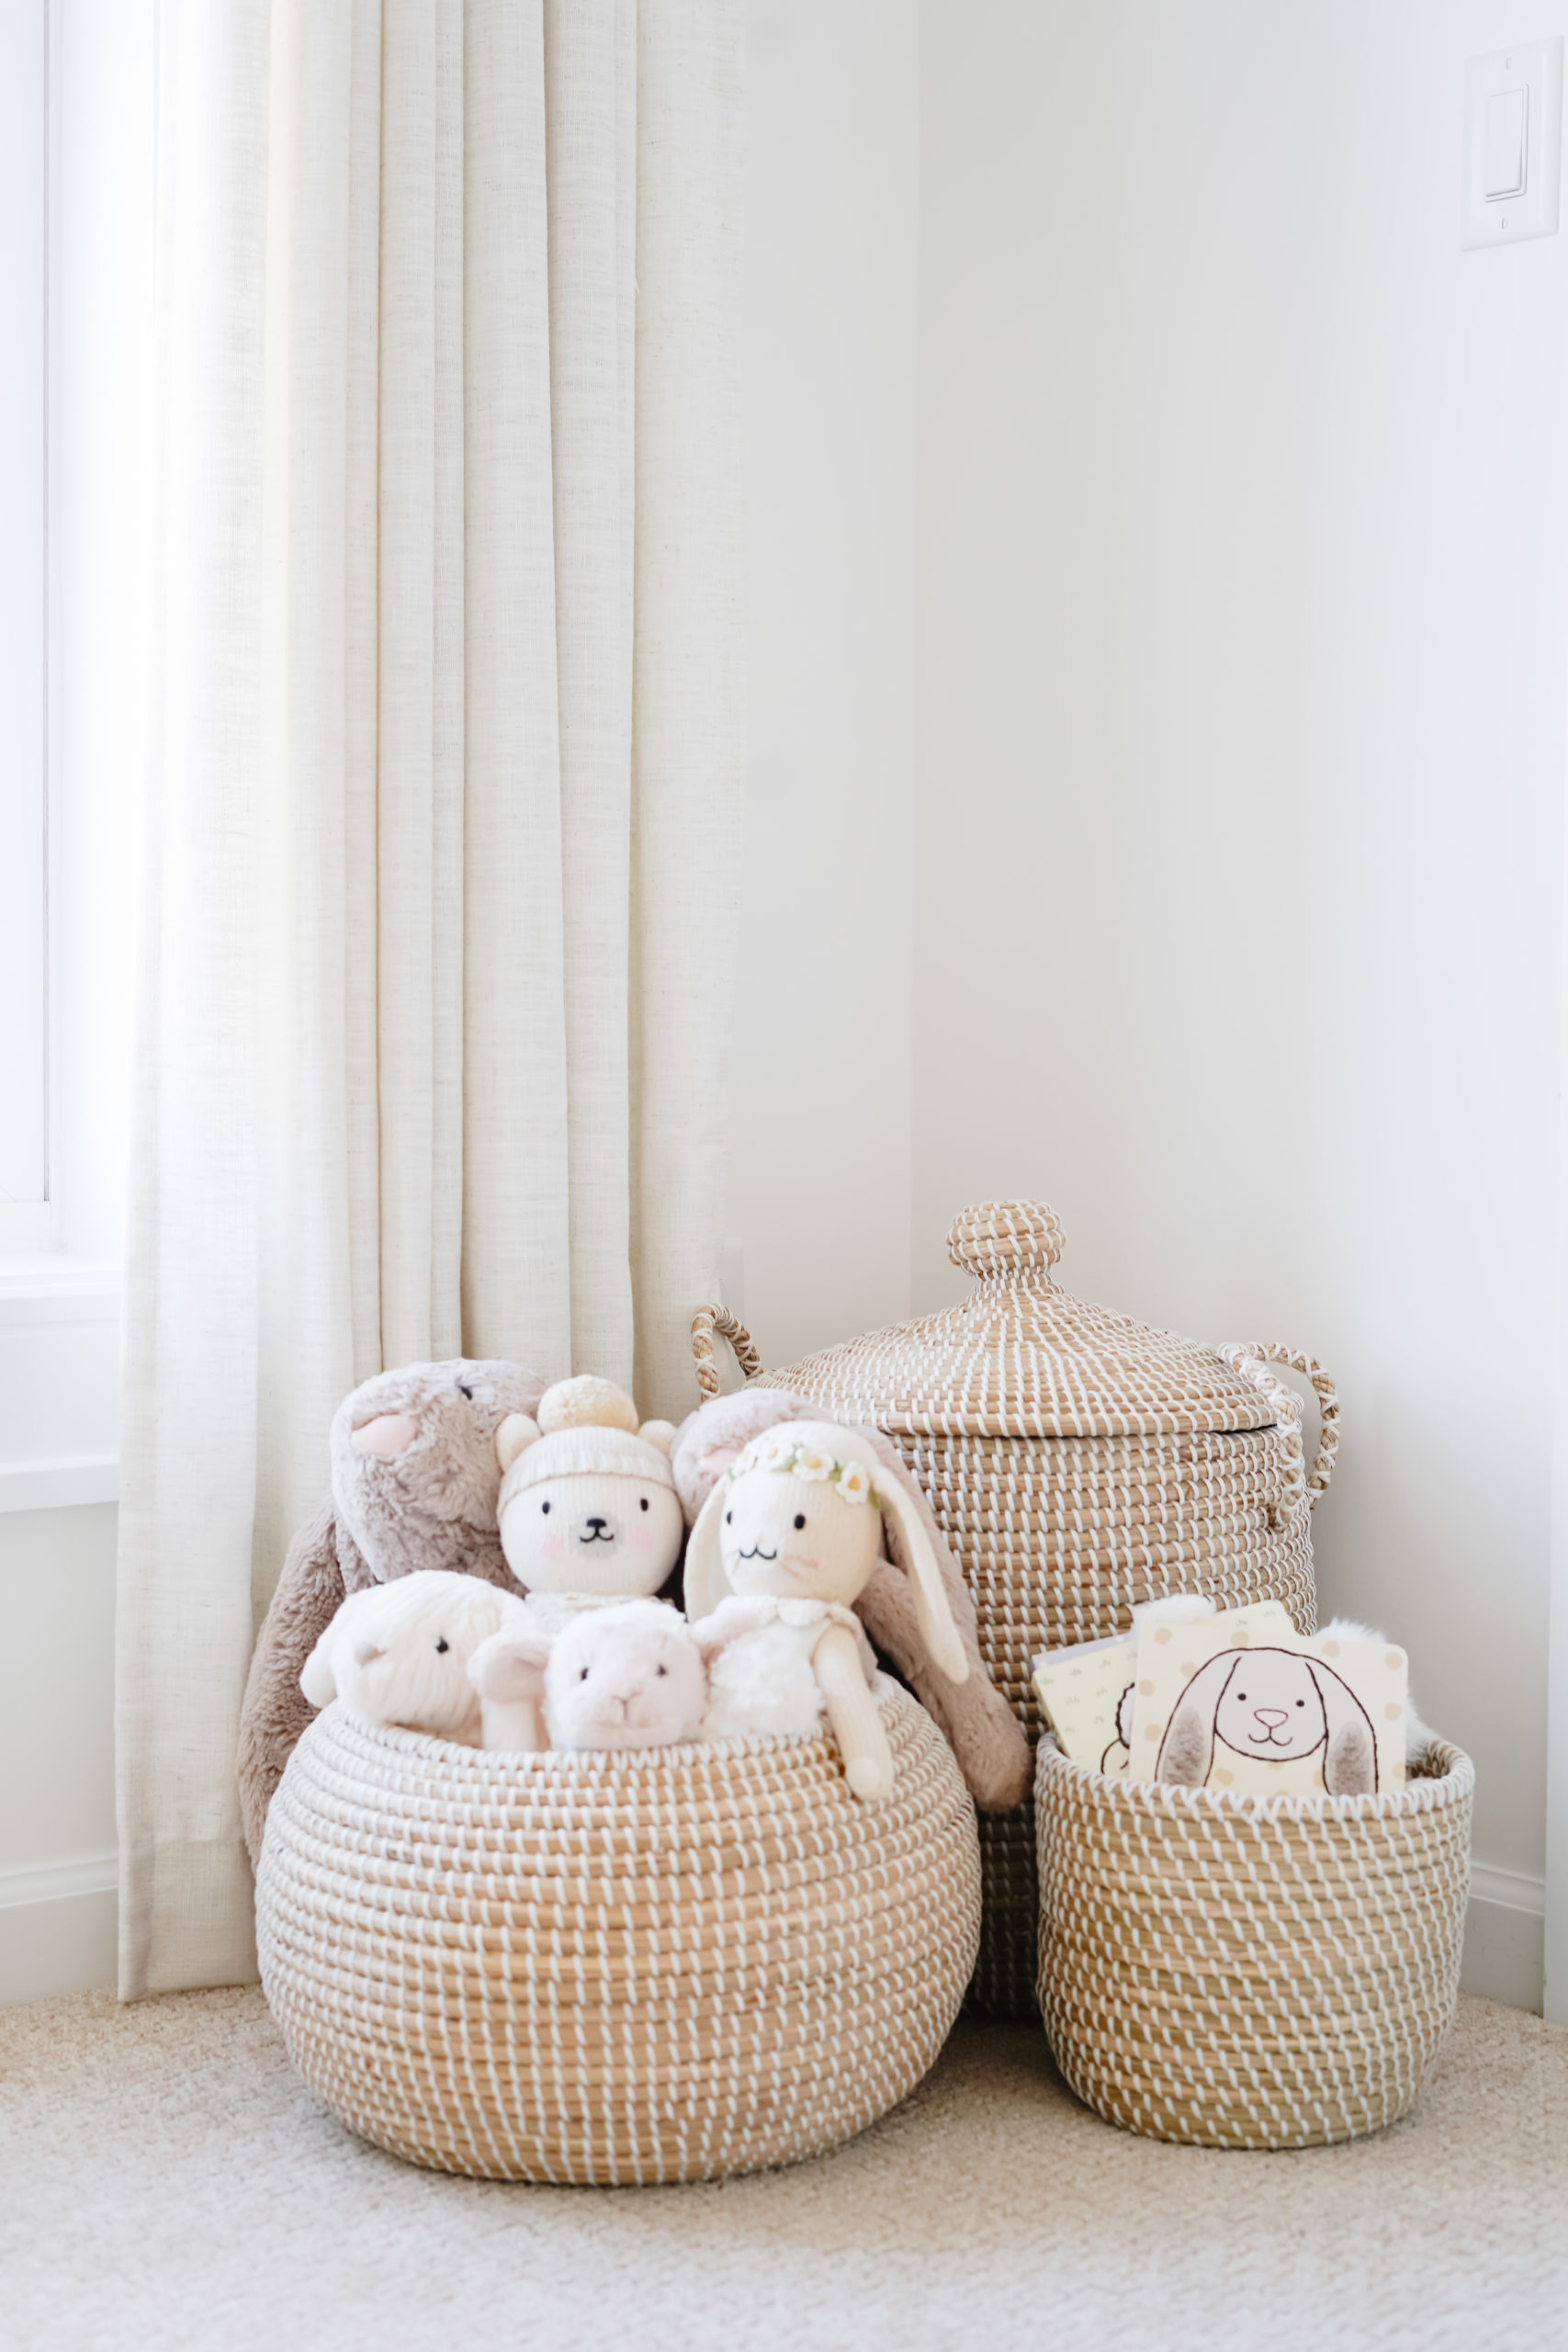
CLICK/TAP TO SHOP
CLOSET SYSTEM
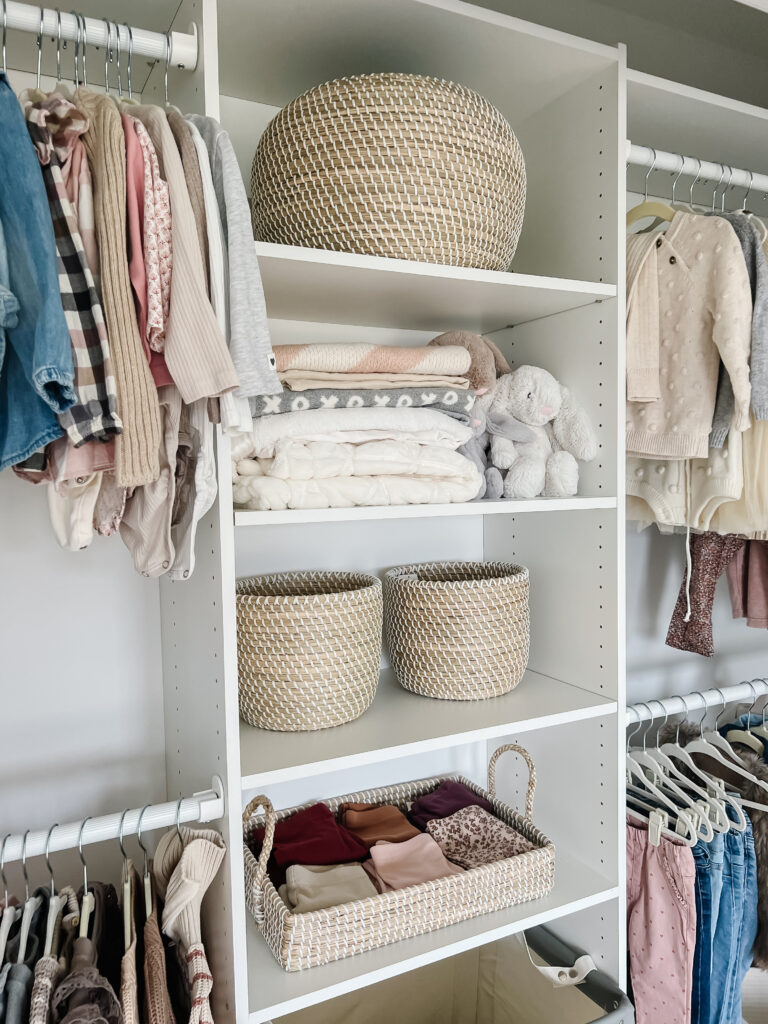
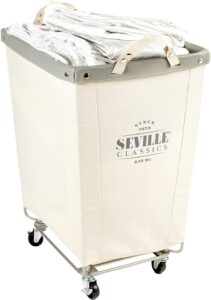
Here’s a link to the exact closet system we used. There’s also a version with drawers. For our nursery, I preferred the open shelves with room for a rolling laundry hamper underneath.
LIGHTING
We opted for a ceiling fan light in both girls rooms. I find a ceiling fan to be the most practical option for bedrooms in general. This fan is clean, sleek and modern. It has several speed settings and comes with a remote control.
LIKE THIS POST? PIN IT!
SAVE IT ON PINTEREST BY CLICKING THE ‘SAVE’ BUTTON ON ONE OF THE PHOTOS BELOW!







Leave a Reply