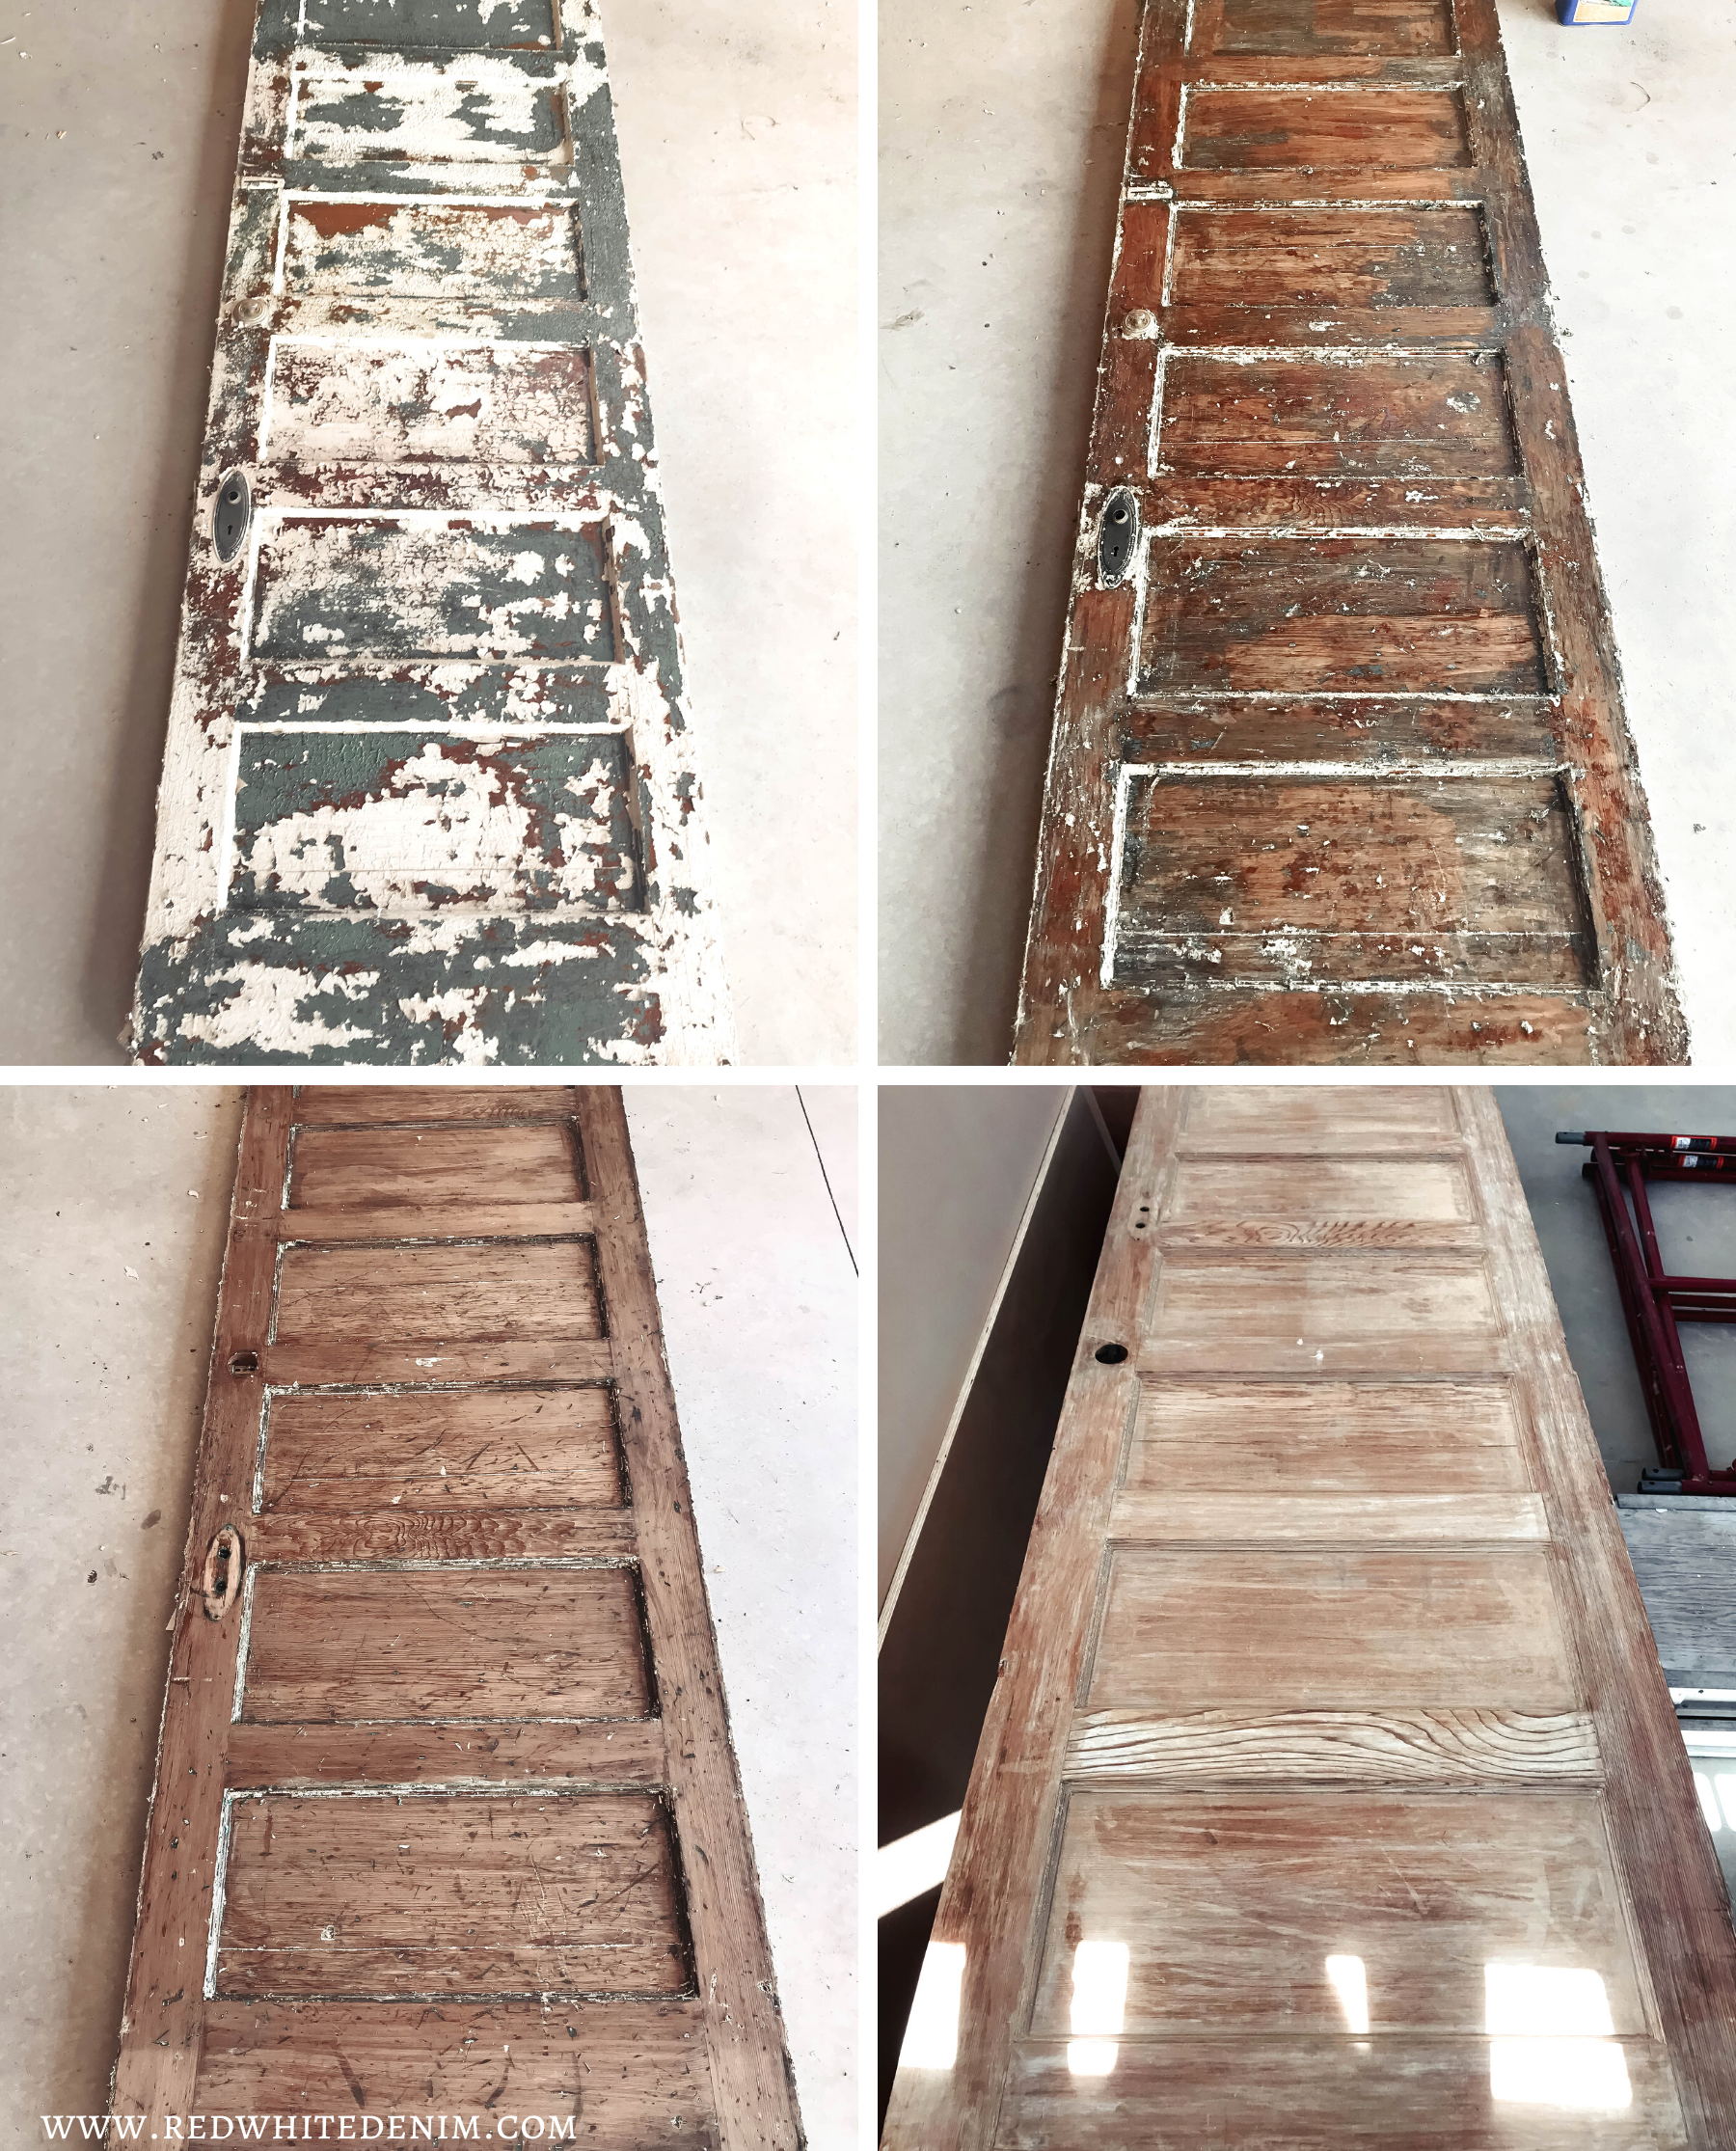
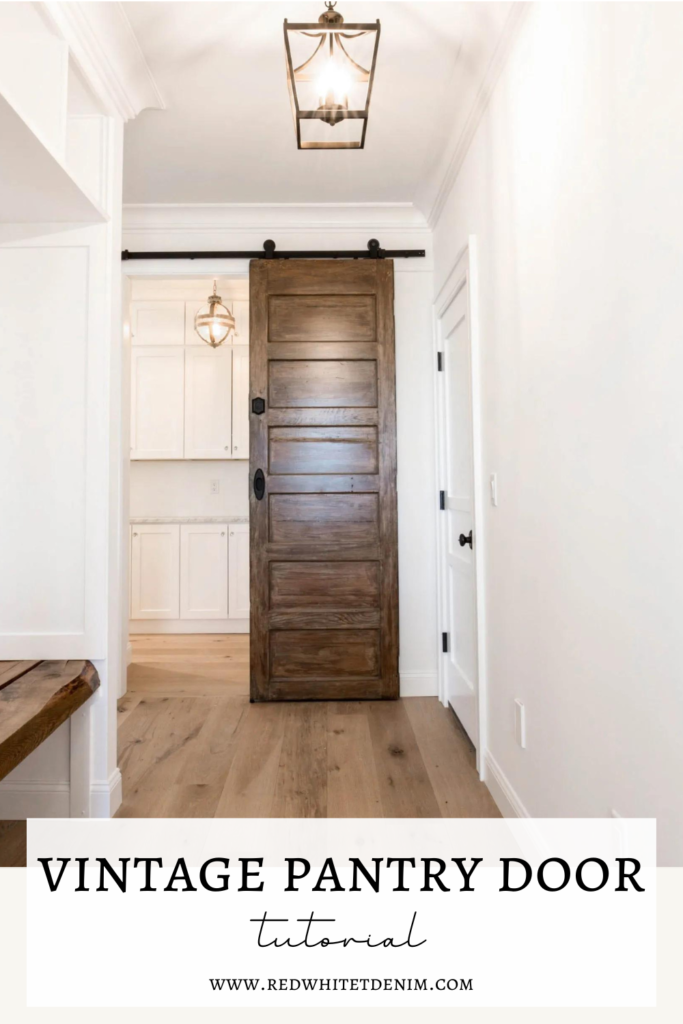
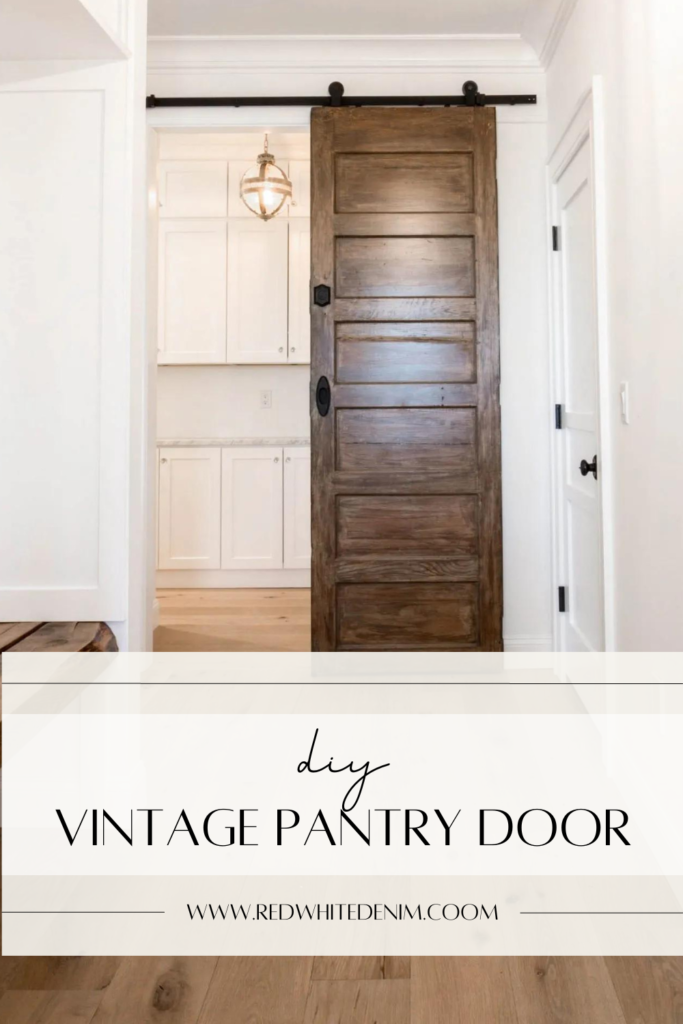
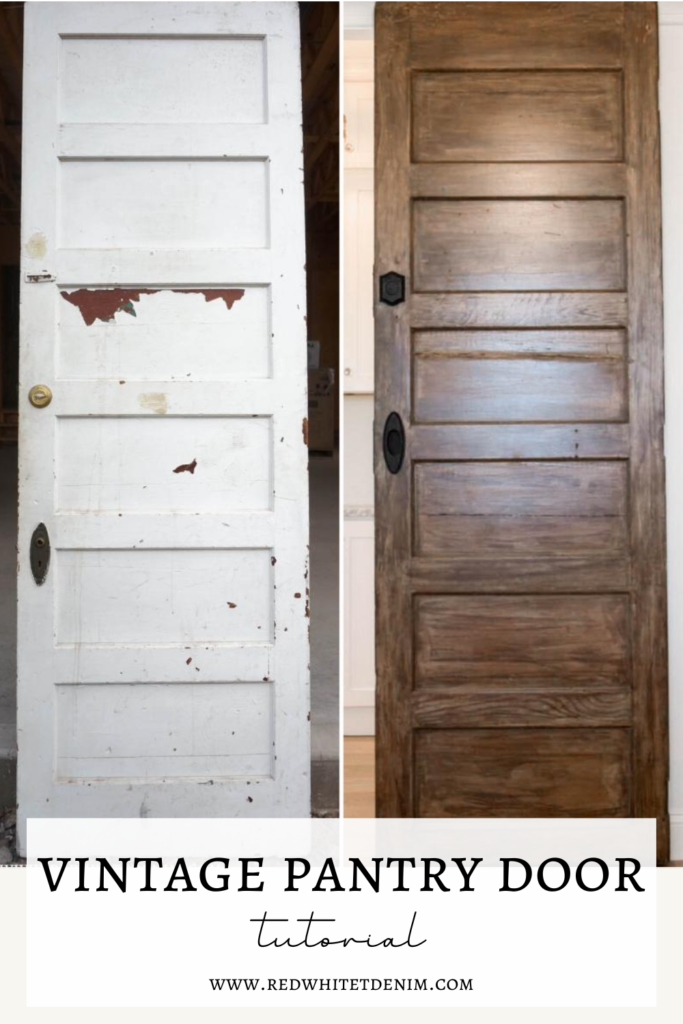
If you follow my home posts on Instagram, it’s likely you caught a glimpse of our antique pantry door. I always wanted to refinish a vintage door to use in our home and the pantry seemed like the perfect spot for it. When I stumbled upon this tall 6-panel beauty, I knew it was the one. But make no mistake, it did NOT look like this when I found it…wait until you see the before and after!


Considering the shape and positioning of our mudroom, a sliding door (or barn door) seemed like the best option leading into our pantry. It’s also a huge space saver! I loved the idea of hanging a door on an exposed track, but didn’t want the traditional barn door style. I thought it would be much more fun to find a beautiful vintage door to repurpose instead.
BEFORE / AFTER

I started my hunt for the perfect door online – Craigs List, Facebook Marketplace, online antique dealers – with absolutely no luck. My mom suggested I look at EcoBuilding Bargains, a reclaimed building materials store in Springfield, MA. We took a trip up one day and couldn’t get over the selection of reclaimed doors available – there were hundreds. I honestly had no idea what I was looking for at the time – I’m pretty sure I spent about an hour combing through every door there. One of the last ones I found was this 8 foot wood door – it’s size made it stand out among the rest. All the exterior doors in our home are 8 feet tall, so it seemed like a great choice. It was also made of a very lightweight wood, perfect for gliding easily back and forth on a track. It appeared to be in good shape requiring minimal restoration…or so I thought!
As with any DIY project involving vintage or antique goods, you never know what you’re in for until you start working. My initial thought was that I’d be able to strip off the layer of white paint to expose the wood underneath – at which point I’d stain or paint the door to our liking. To my surprise, under the 1 layer of white paint ended up being about 7 layers of additional paint and stain. What I thought would be a simple DIY turned into a months long project! Although this task was difficult and frustrating at times, it still remains one of my favorite DIYs ever. The blood sweat and tears put into cleaning up this beauty makes me appreciate it that much more!
DIRECTIONS
1. CLEAN AND REMOVE HARDWARE
Clean your door of dirt and dust with a damp rag or paper towel. Let dry before moving on to the next step.
You also want to remove any hardware. If you can salvage the hardware, hang onto it. In our case the original hardware didn’t match and wasn’t the right finish, so I bought replacements. I wish we could have used the originals, but I did my best to find a similar replacement from Nostalgic Hardware.
2. STRIP
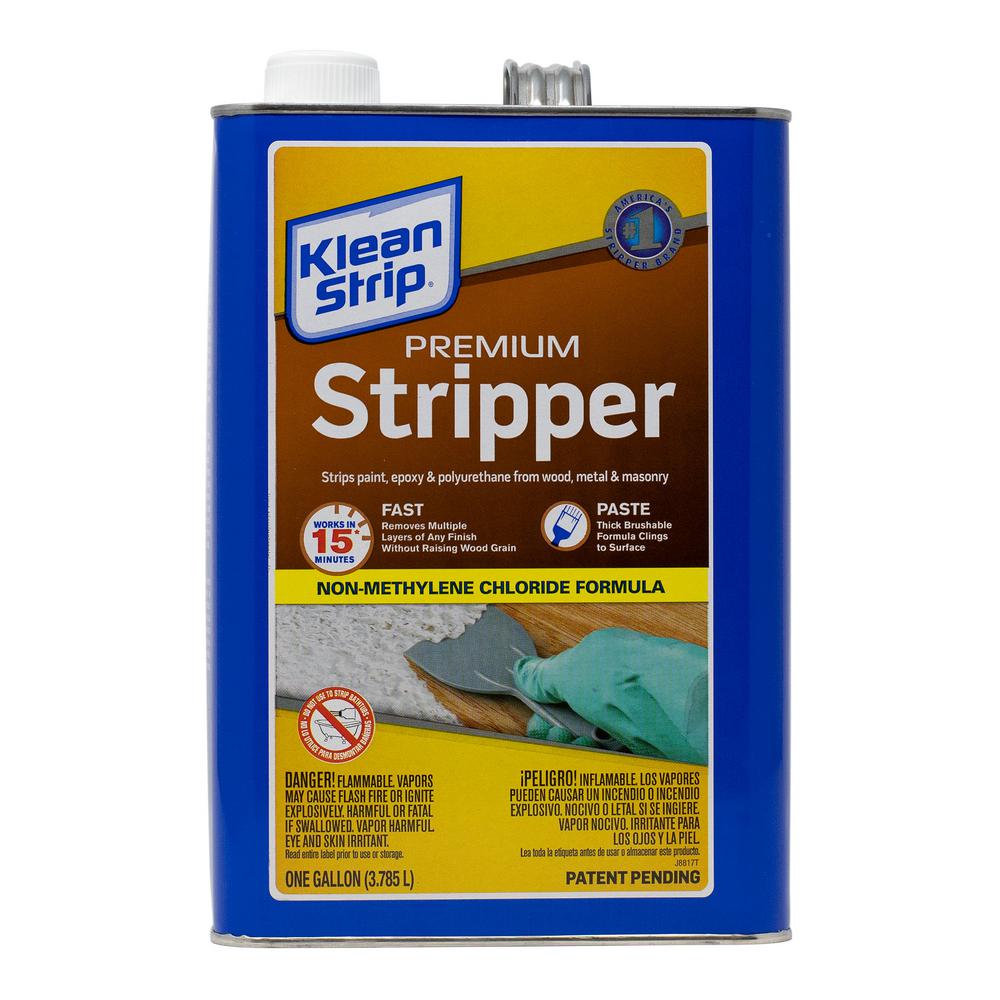
STRIPPER
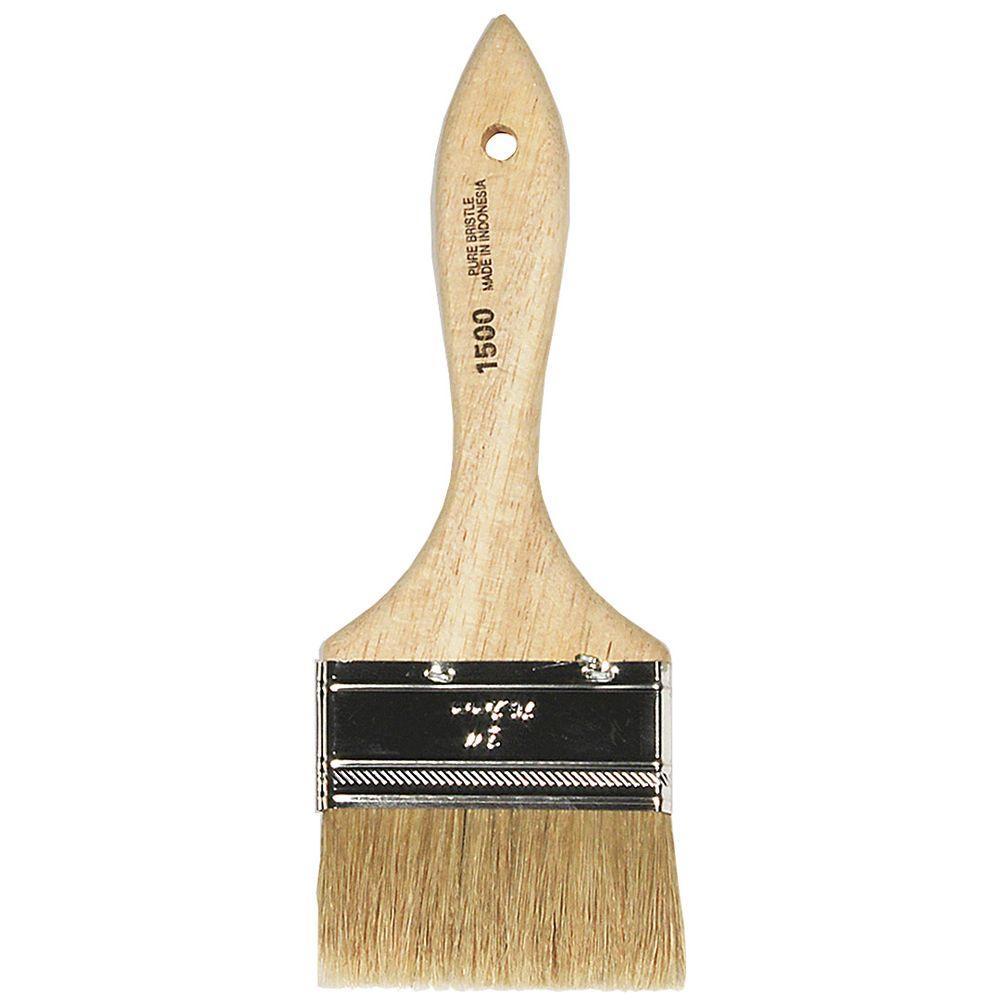
BRUSH
Next step is stripping any paint or stain off your door. I recommend stripping all the way down to the bare wood, especially if you plan on re-staining. You’ll learn a lot about your piece during this step – like how many times it’s been painted! If you’re lucky, it will only be once (in our case, it was about 7 times!) Follow the instructions on the box and use your brush to cover the entire door with stripper. I recommend using a metal pail to pour the product into and rubber gloves to prevent the product from getting on your skin (it will burn!)
PUTTY KNIVES
After painting on the stripper and waiting the recommended amount of time, use a putty knife to scrap off as much paint as you can. Our door is made of a very soft species of wood, so I used plastic putty knives. If your working with a harder wood, you could use a putty knife with a steel blade.
I’ve tried several different strippers and this was the best by far. Considering the amount of paint we had to remove, I needed something very powerful. Even with using this heavy duty stripper, I had to repeat this process about 6 times before getting all the paint and stain off my door!
3. SAND
After removing as much paint and stain as possible, sand your door down to the bare wood. You may find that sanding is the only way to remove those stubborn spots that the stripper can’t get to. For me, this was the detailing around the panels.
Keep sanding until the entire door is paint-free and smooth. If you have access to an electric sander, I would suggest using that. Make sure all product is removed before moving on to the next step.
4. PAINT OR STAIN
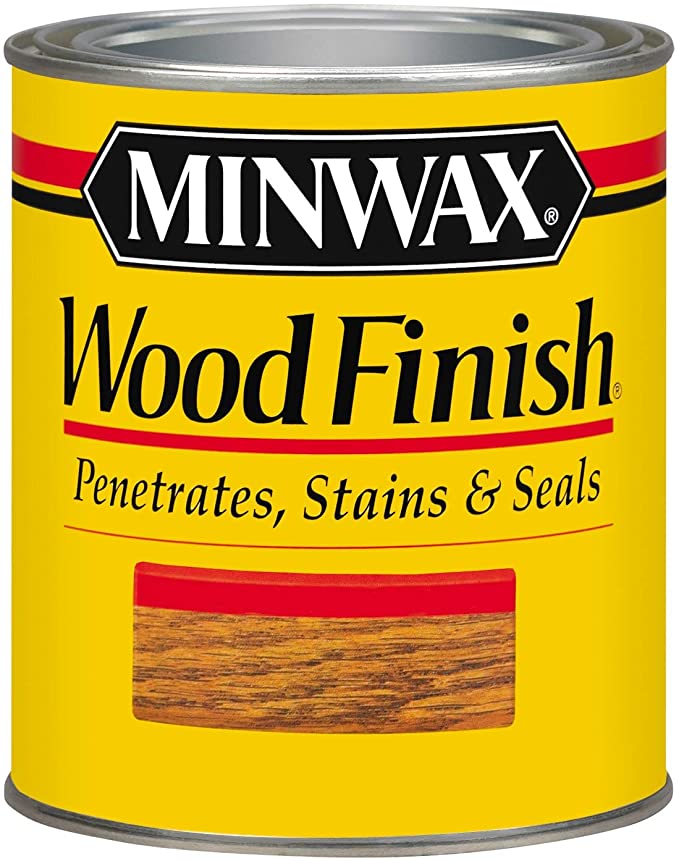
WOOD STAIN (we used Minwax Provincial)
CLEAR FINISH
Now that your door is all cleaned up, you can re-stain or re-paint it. We decided to stain ours with Minwax Stain in Provincial (it was left over from our front doors!) Its a beautiful medium stain that closely resembles walnut. Be sure the seal it too.
Keep in mind, depending on what products were previously applied to your door, the stain may take unevenly. This happened to us. One side of the door stained super dark and the other stained lighter and very uneven. At this point we considered painting the door, but decided to sit on it for a few days. We quickly grew to appreciate the uneven stain on the lighter side and decided to keep it. The imperfections just add character to the door and contribute to it’s story. Months later, I’m so happy with that decision!
5. RE-ATTACH HARDWARE
When finished staining and sealing, attach your new or salvaged hardware (door knob, lock, etc). This was one of my favorite steps in the process…the last step to completely transforming the door!
5. HANG
BARN DOOR HARDWARE
Once your door is complete, you’re ready to hang it. We purchased a barn door hardware kit off ETSY.
If you look closely at my Before/After photo, you’ll see that the door was actually hung upside down. We needed to have the hardware on the left side of the door, and since we chose the lighter stained side, it would only work if we flipped it upside down. With vintage pieces, you have to work with what you got – I don’t think anyone would ever notice!
LIKE THIS POST? PIN IT!
SAVE IT ON PINTEREST BY CLICKING THE ‘SAVE’ BUTTON ON THE PHOTO BELOW!



Leave a Reply