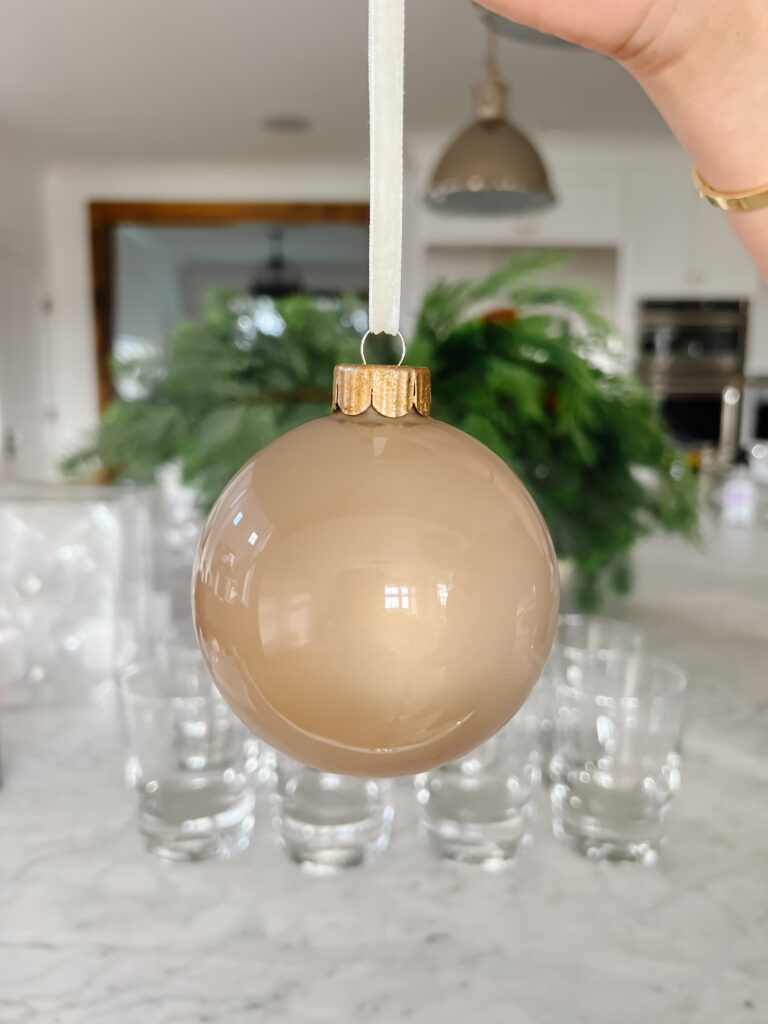
This is the first year I decided to decorate my tree with more than just sentimental ornaments. Overall I’m more of a traditional tree decoration gal, but I wanted to do something extra to make my tree feel more cohesive with the rest of my holiday decor. I had trouble finding the perfect colored ornaments, so I decided to make my own! This is the easiest DIY. All you need are glass ornament balls and some paint! The best part is, you can completely customize the colors you want with a quick trip to the craft store.
Keep scrolling for a tutorial on how to create your own custom colored ornaments!
STEP 1: PURCHASE GLASS ORNAMENTS + ACRYLIC PAINT
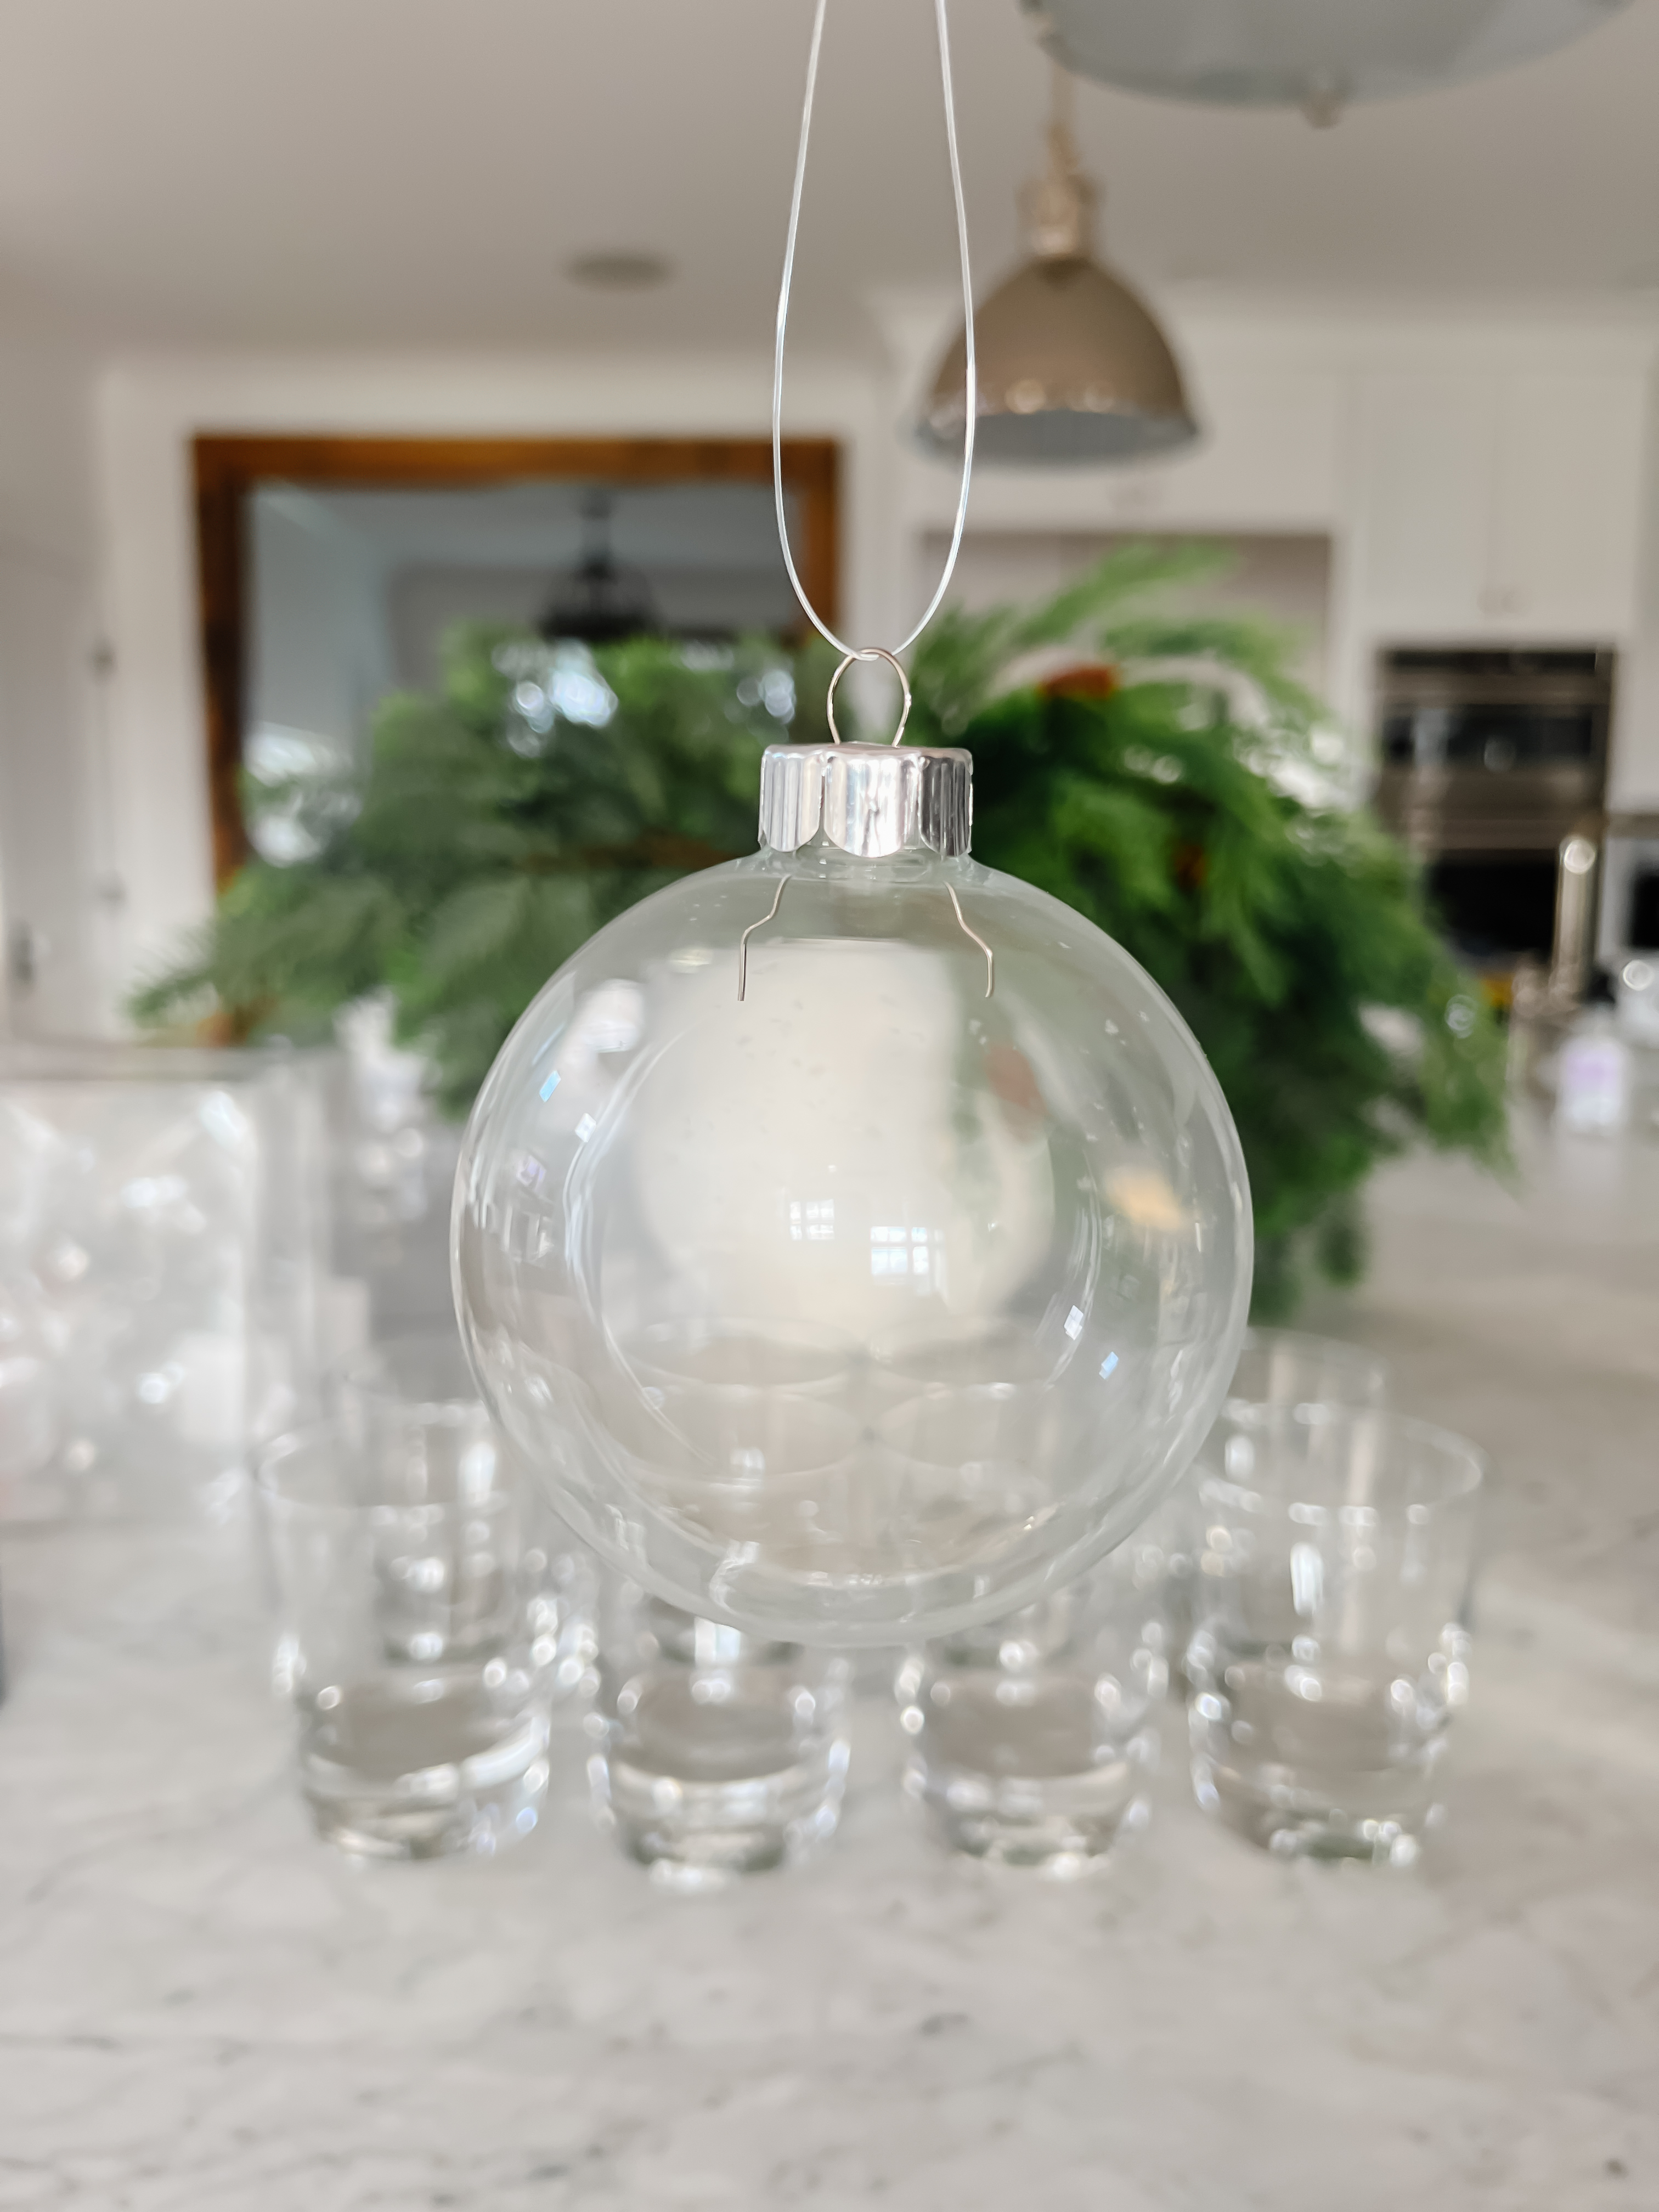
I purchased my glass ornaments from Michaels. I linked the exact ornaments I used along with a few other options from Amazon below.
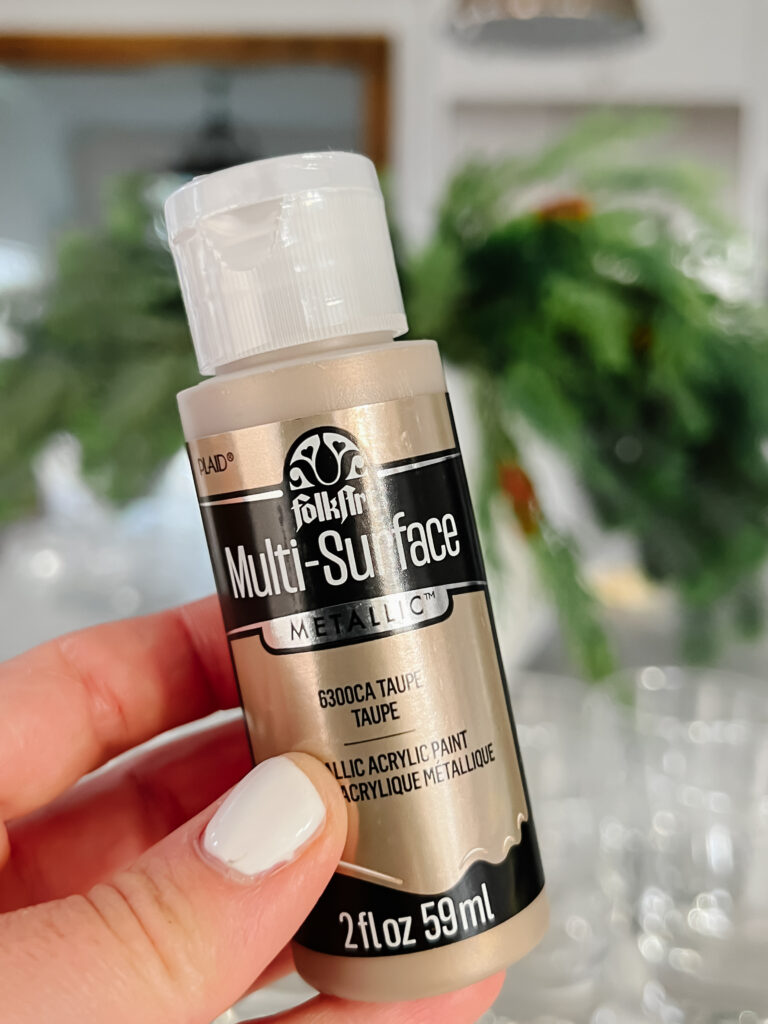
Choose acrylic paint in whatever color you like. This is the best part of about this DIY – you can create custom colored ornaments for your tree with endless colors to choose from. I recommend purchasing new paint for this project – you want it to be fresh, not sticky or globby (you’ll see why below!)
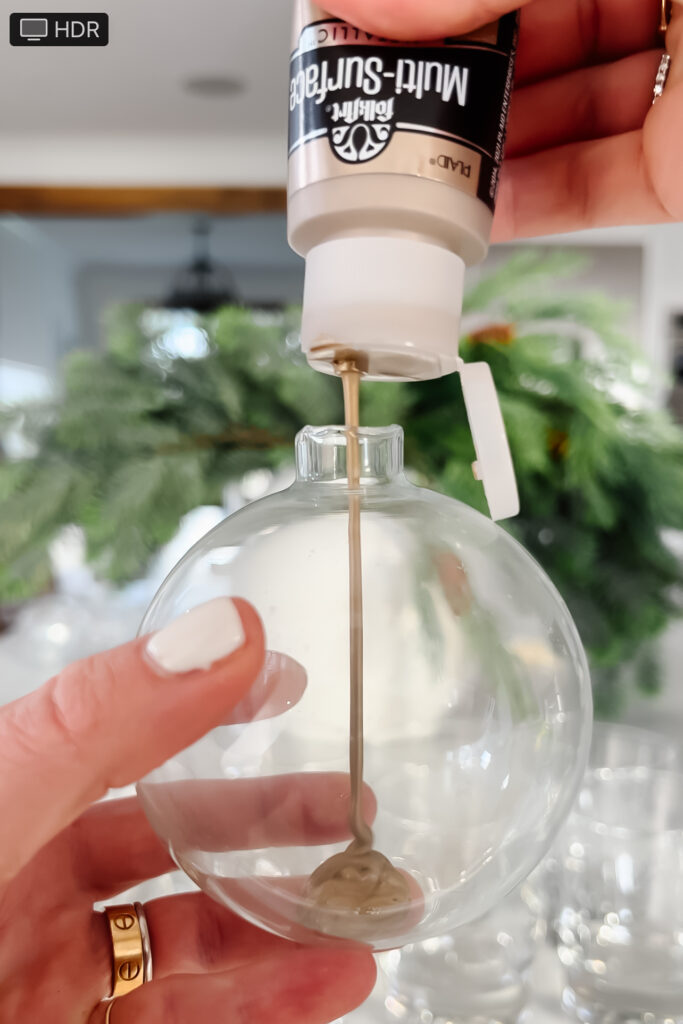
The colors I used for this project are 1) FOLK ART METALLIC in TAUPE and 2) CRAFT SMART METALLIC in PEARL. Both are pretty, neutral colors with a very subtle metallic finish. One 2oz bottle of paint is enough for 4-6 ornaments.
STEP 2: FILL ORNAMENTS WITH PAINT
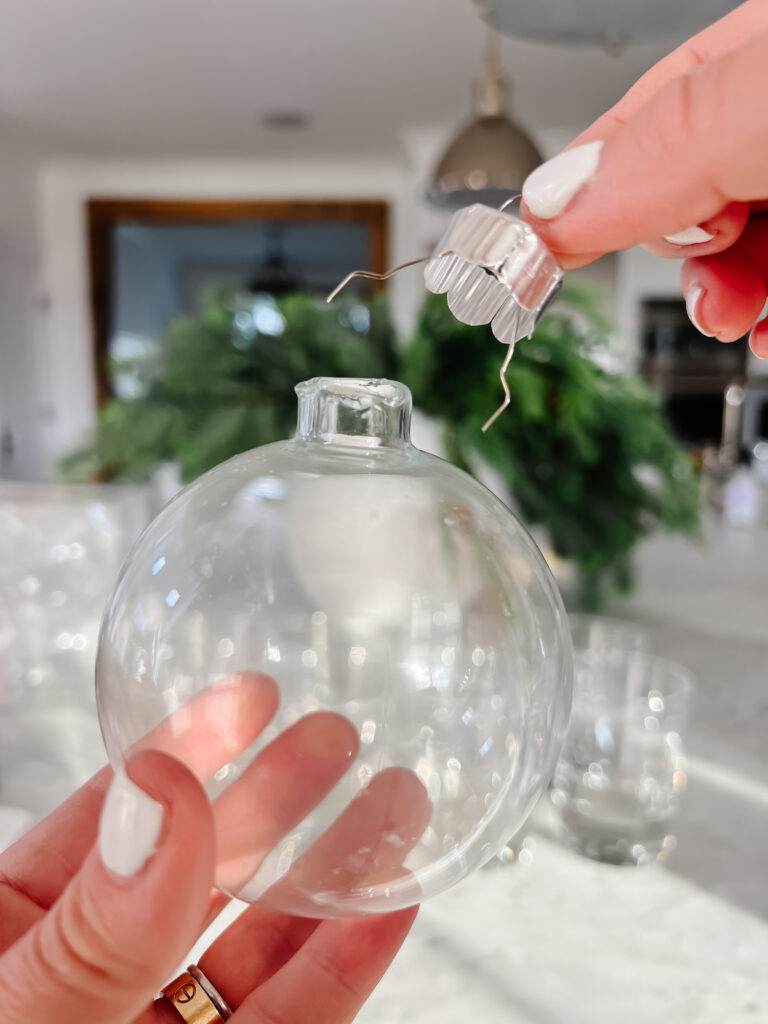
Remove the top of your ornament and fill the ball with about a tablespoon of paint. Immediately start rotating the ball to help disburse the paint. This part takes a little patience but the paint will eventually cover the entire ball.
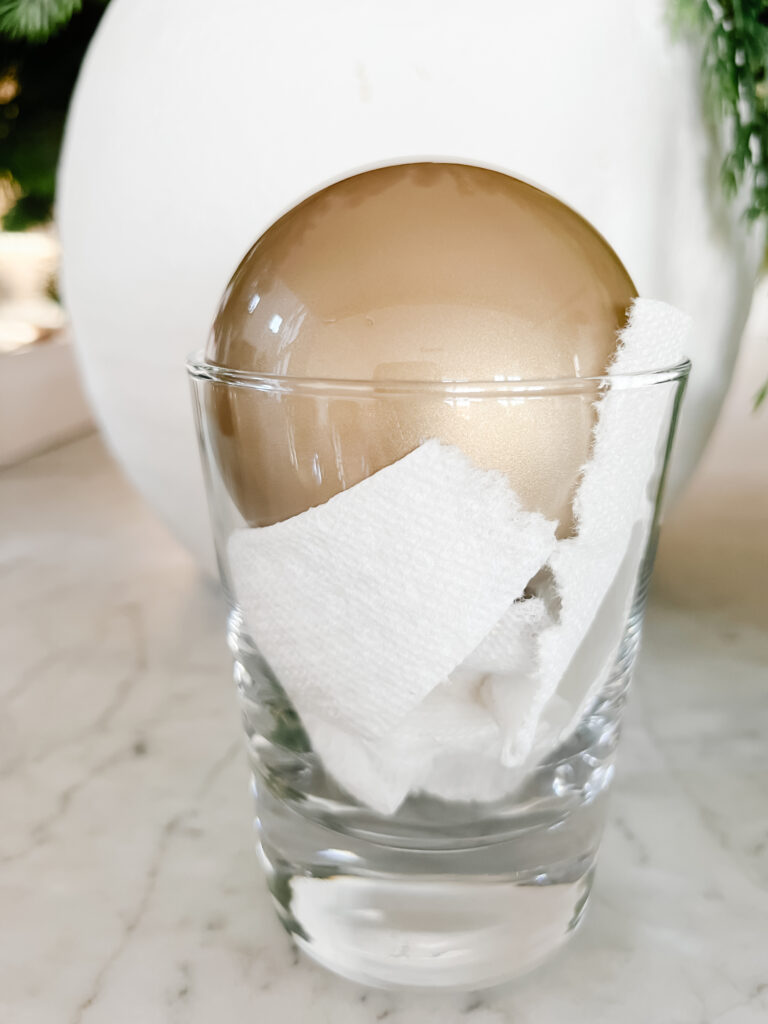
I recommend lining cups with paper towels and using them to hold the ornaments in different positions to let the paint drip. Every few minutes, change the position of the ball so that the paint will cover a new area. Keep rotating until the entire interior of the ornament is covered in paint.
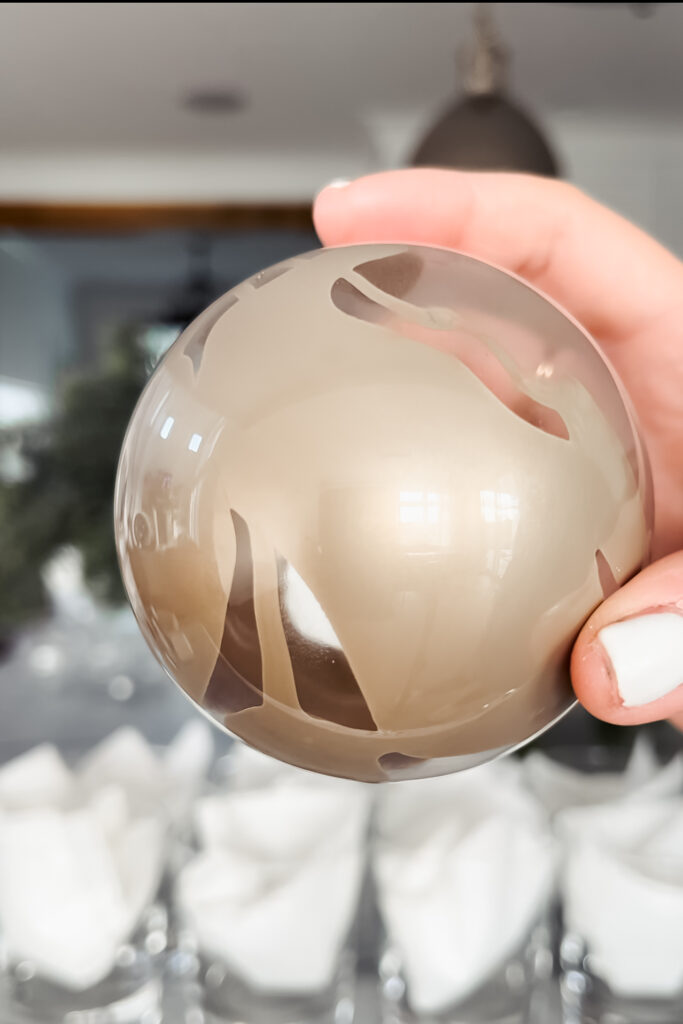
Turn the ornaments upside down in the cups and let the excess paint drain out – this could take a few days depending on how much paint was used. Once the paint has completely drained out of the ornament, flip it right side up and leave to dry out. This could take another day or 2. You want to make sure the paint is COMPLETELY dry – to avoid unwanted spots and swirling.
STEP 3: FINISH WITH RUB’N BUFF + VELVET RIBBON
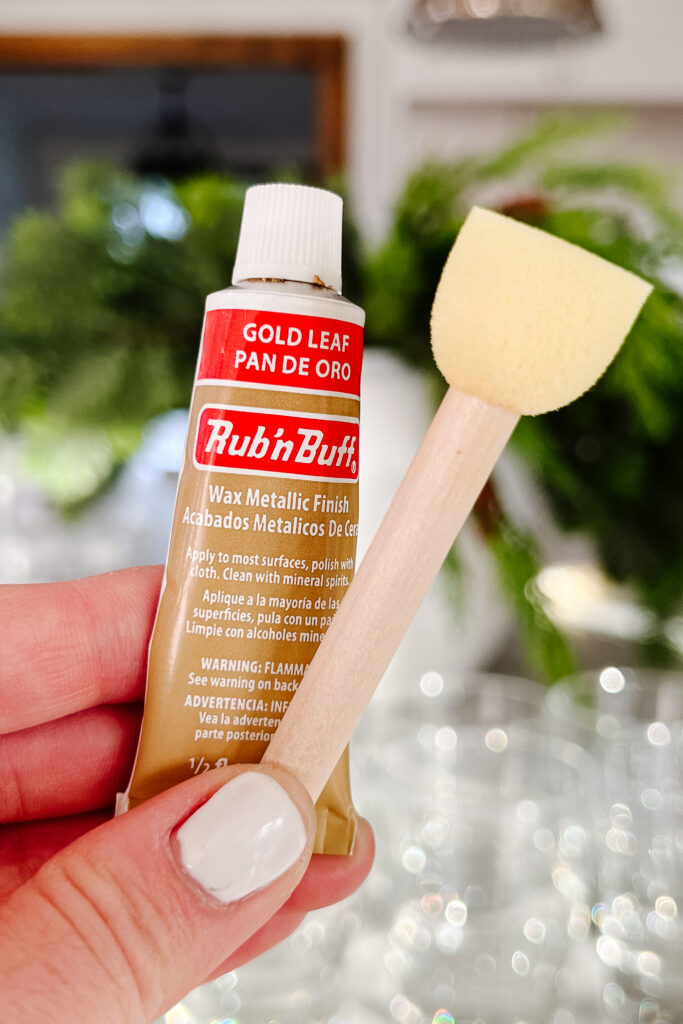
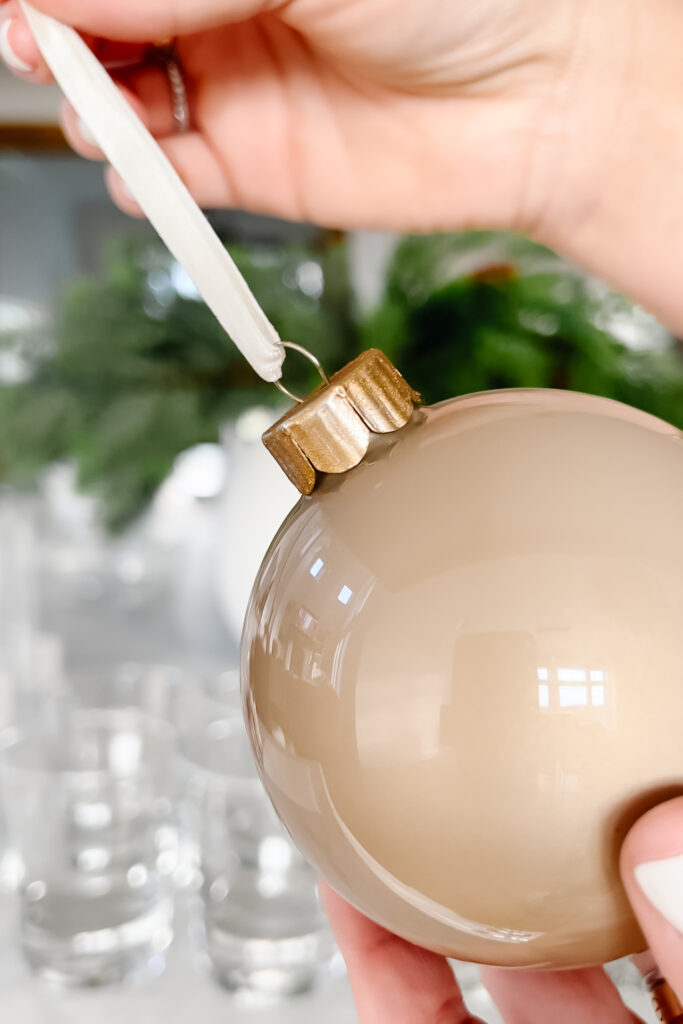
The ornaments I purchased came with a silver top. I used Rub’n Buff to create more of a vintage look. The color I used was Gold Leaf.
When you’re finished, re-attach the top of the ornament and thread through a piece of velvet ribbon. Be sure the the interior paint is complete dry before re-attaching the top (usually takes 24 hours after draining out the excess paint)




Leave a Reply