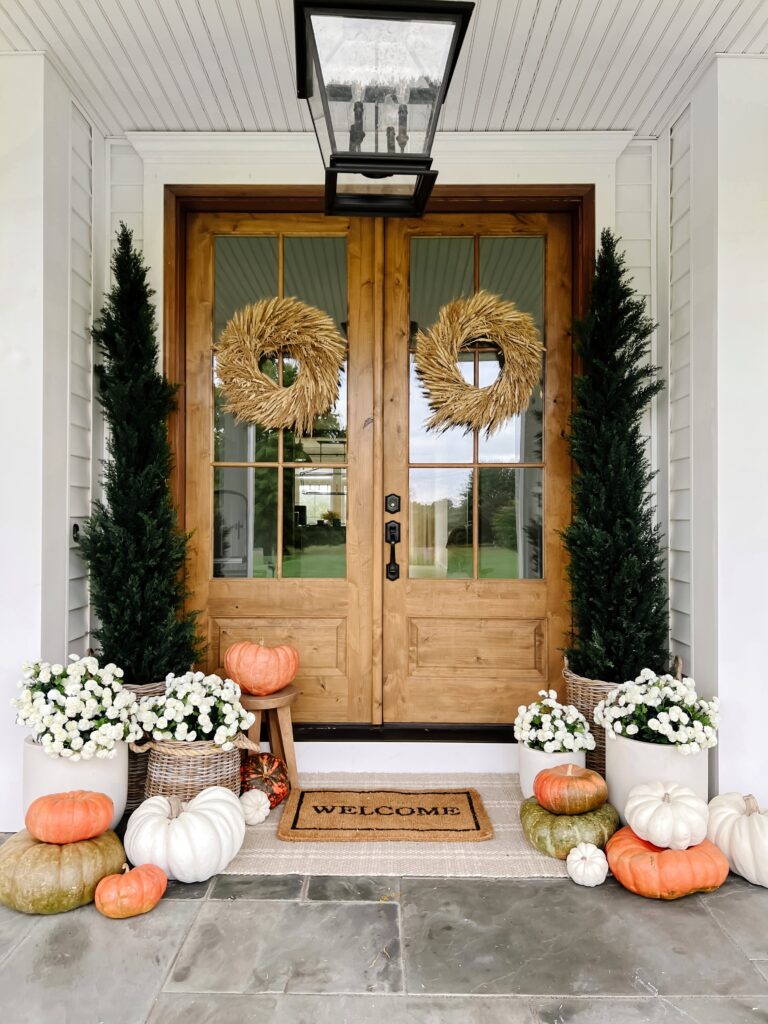
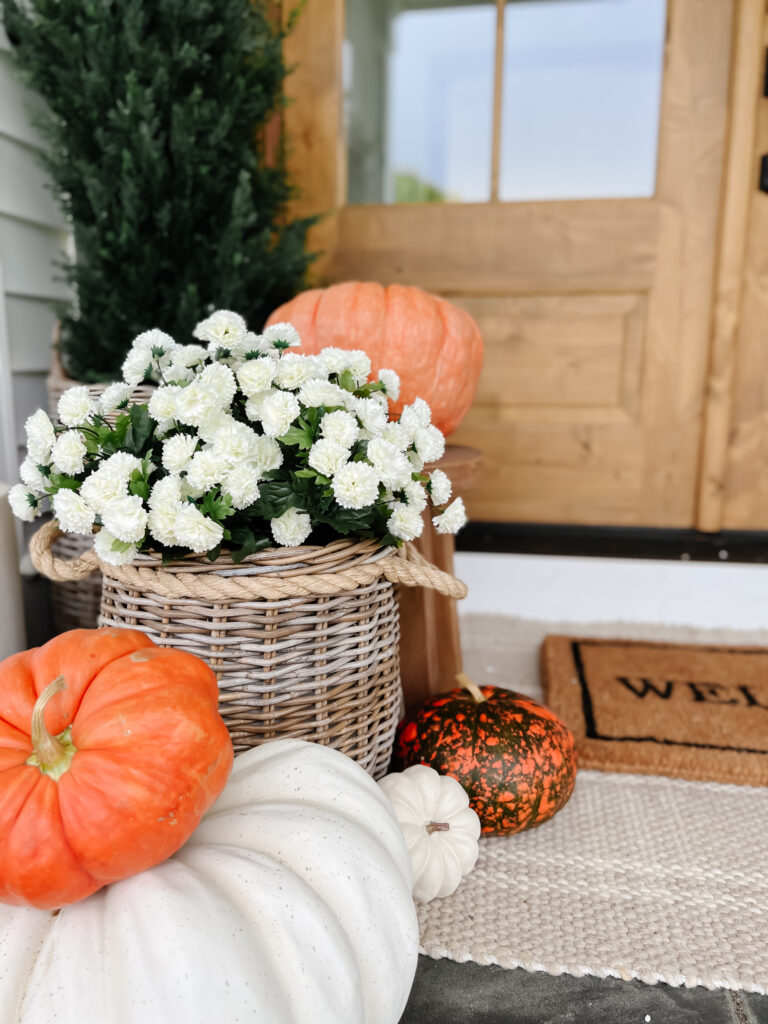
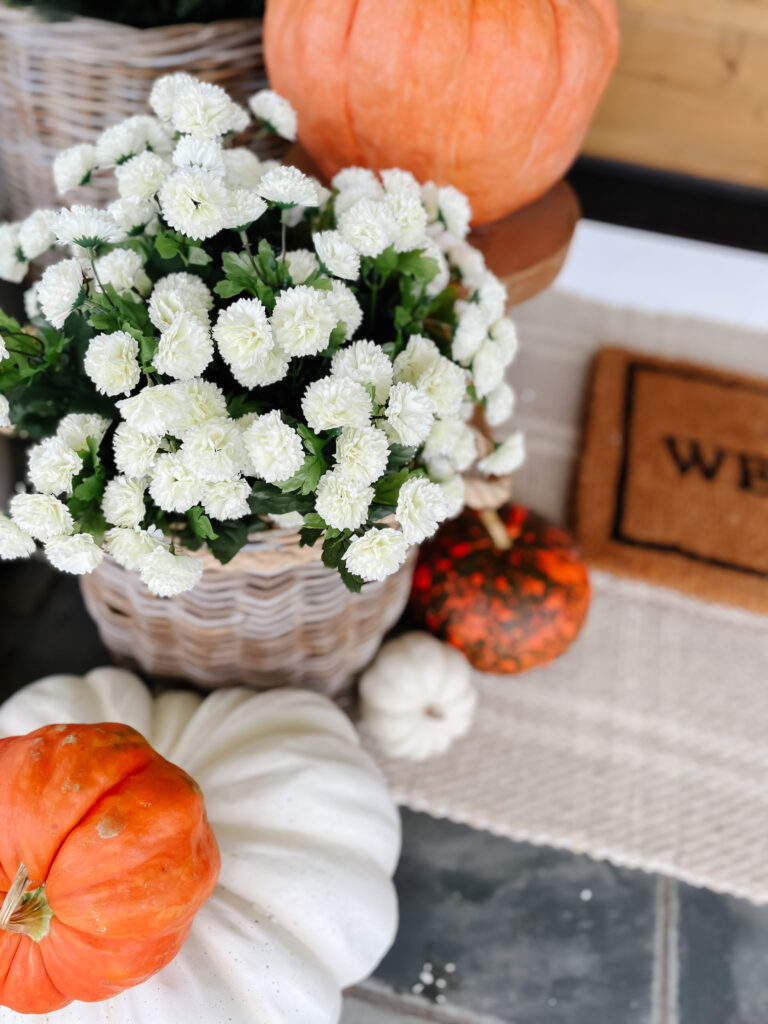
This year I challenged myself with finding realistic looking faux mums for my fall front porch decor. After years of struggling to keep my mums alive, I was more than ready for a faux alternative! I’m so excited to say that I found the best FAUX MUMS for fall! These stunning stems are pricey but SO realistic looking. If you’re willing to make the upfront investment, these faux mum stems will save you a lot of trouble trying to keep your mums alive in the sessions to come. Imagine having beautifully bloomed mums all season long with zero maintenance along the way – YES PLEASE! I plan on storing my during the off season and using them year after year. Keep scrolling to see how I arranged my faux mum stems in planters on my front porch this season.
FAUX MUMS
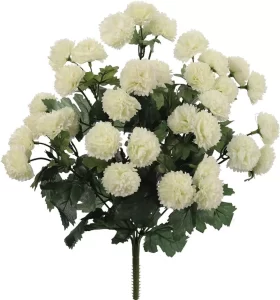
These mums are sold as individual stems (as shown in the stock photo below.) Each stem is nice and full, including 11 sprays with a total of 33 blooms. How many stems you need will depend on the size of your planter. Keep scrolling for details on how I arranged mine!
– CLICK/TAP TO SHOP –
HOW TO ASSEMBLE
Here’s a step by step tutorial on how assemble the stems in your fall planters. If you prefer a video tutorial, I have one posted HERE on my Instagram.
1. PURCHASE FOAM BASE
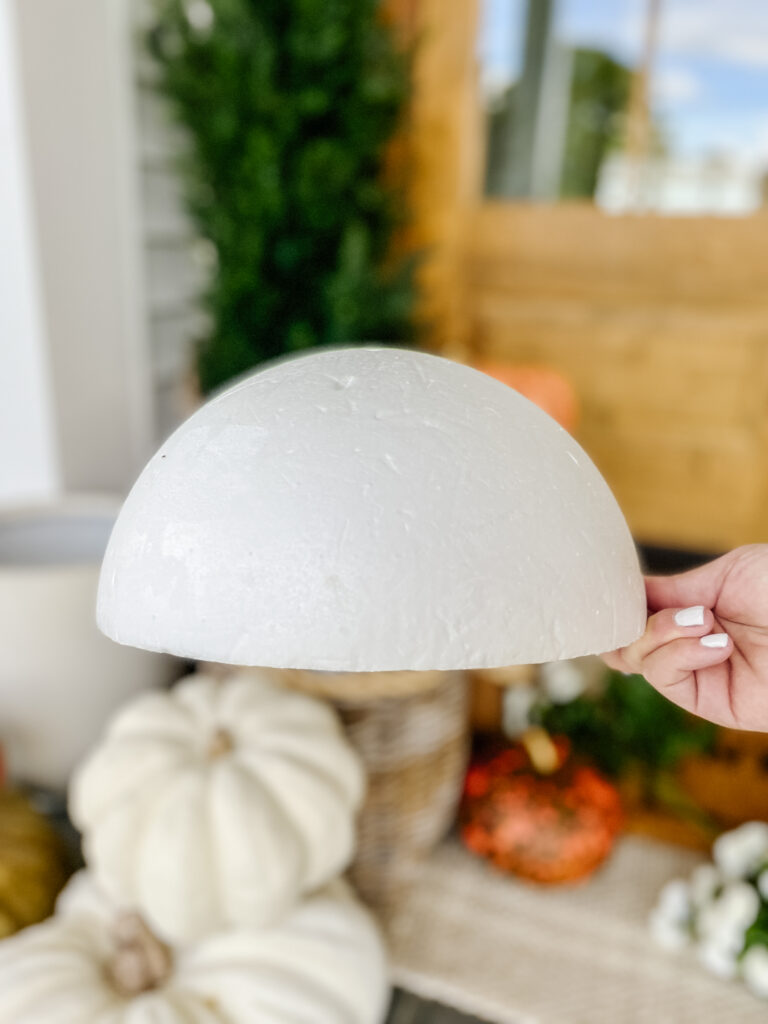
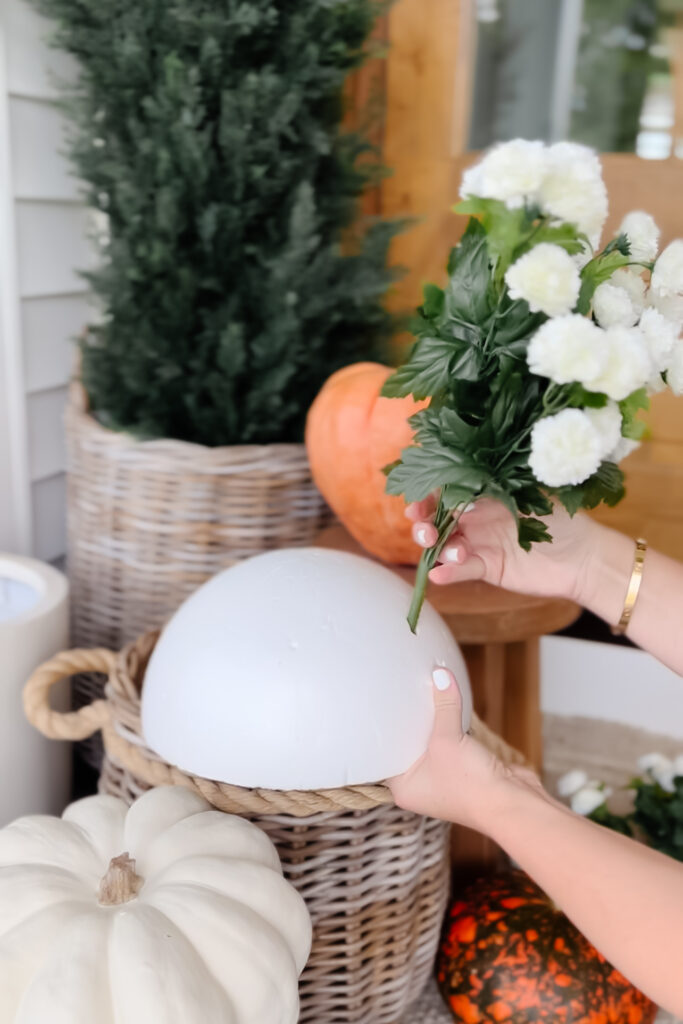
The first thing you’ll need to create your faux mum planter is foam. I purchased these hallow half spheres to help create that globular shape that mums are known for. They come in several sizes, so choose something a few inches smaller than your planter. My planter is 15″H x 14″W and I used the 9.9″ half sphere.
– CLICK/TAP TO SHOP –
2. PREP YOUR STEMS
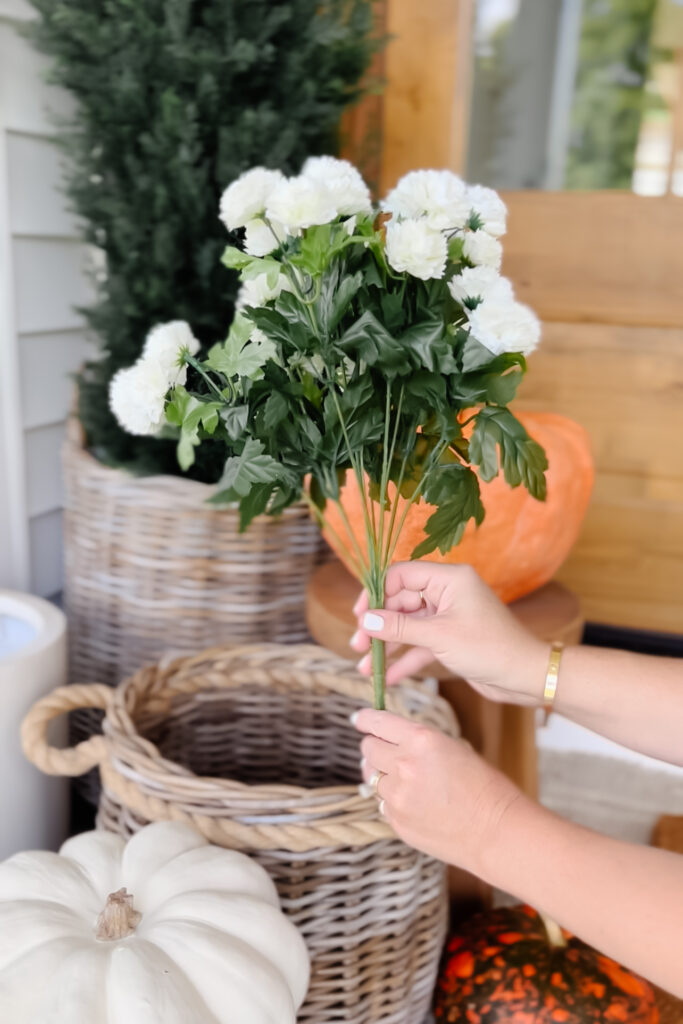
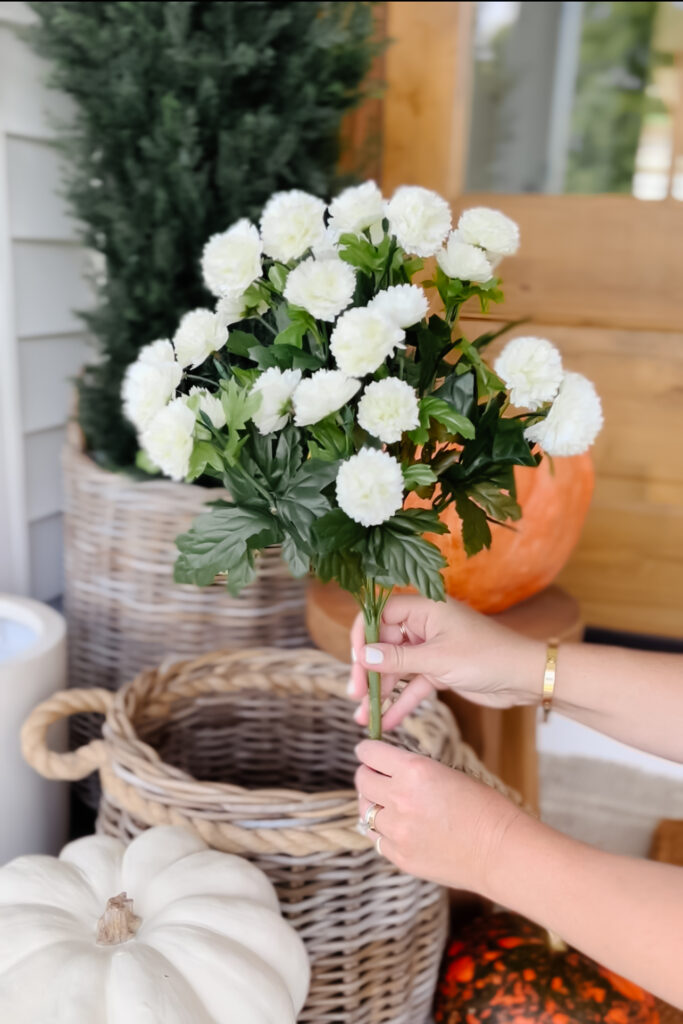
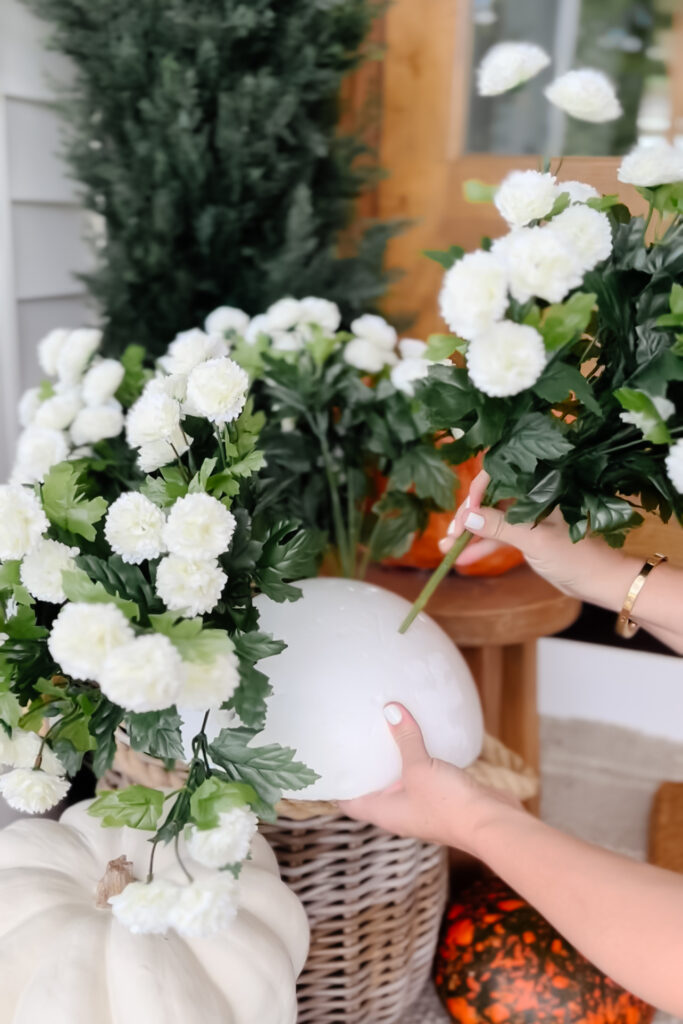
When you receive the stems they’ll be bunched up, so you’ll want to create some shape and fullness. Take each individual stem and gently spread the sprays. Spread them enough to create a fuller look (about double the fullness), without separating them too much. The closer the blooms are together, the more real they’ll look!
TIP: When you’re spreading the sprays, move the taller blooms all on one side (as seen in the first photo below), with all the shorter blooms on the opposite side (as shown in second photos below.) This is going to help with the overall shape of your arrangement.
3. ASSEMBLE YOUR ARRANGEMENT
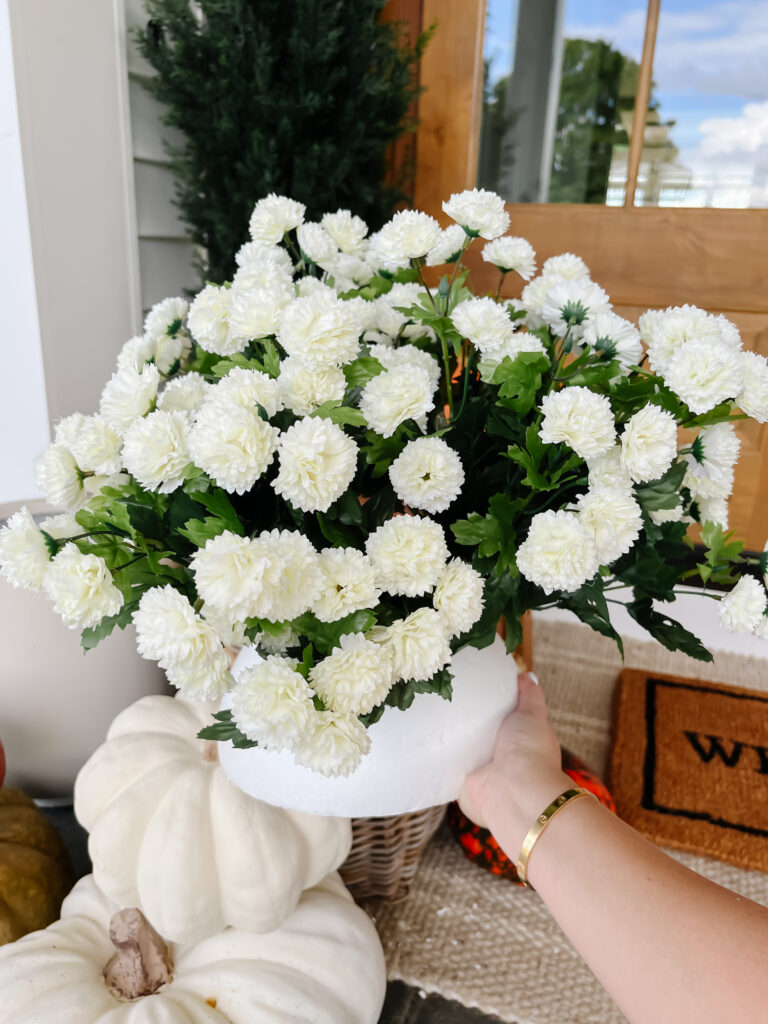
Add stems to the foam sphere to create your faux mum plant. The amount of stems you’ll need will depend on the size of your planter. This is a 15″ wide planter and I used 4 stems. I could have gotten away with using 3 stems if I spread the blooms further apart, but I personally prefer them closer together.
To create your arrangement, position each spray so that the side with taller blooms is closest to the center of the foam sphere. the side with the smaller blooms should be turned to the outer edge of the arrantement. Reference my INSTAGRAM VIDEO for a more detailed tutorial.
4. ADD TO PLANTER
Once the stems are positioned in your foam, you can gently bend and move around the sprays to create the desired shape and fill in any gaps. Then place the foam sphere in your planter. If you have a tall planter you’ll want to add something (like additional foam) to give your arrangement some height.
ENJOY! Once your faux mums are arranged in your planters, you’re done for the season!!! No need to water or struggle to keep alive. You’ll have fully bloomed, beautiful mums all season long. And the best part, you can use them year after year!
PLANTERS
– CLICK/TAP TO SHOP –
These concrete pots come in 3 sizes!
WREATHS
My wreaths are old but found these two similar options below!
– CLICK/TAP TO SHOP –
DOORMATS
– CLICK/TAP TO SHOP –
TREES
I have 8ft doors and chose the 8ft trees. These faux cedar trees are so realistic and come in a variety of sizes – all linked below. Just scroll and click/tap to shop!
– CLICK/TAP TO SHOP –
8FT TREE (these are the size I have!)
4FT TREE
LIKE THIS POST? PIN IT!
SAVE IT ON PINTEREST BY CLICKING THE ‘SAVE’ BUTTON ON ONE OF THE PHOTOS BELOW!







Leave a Reply