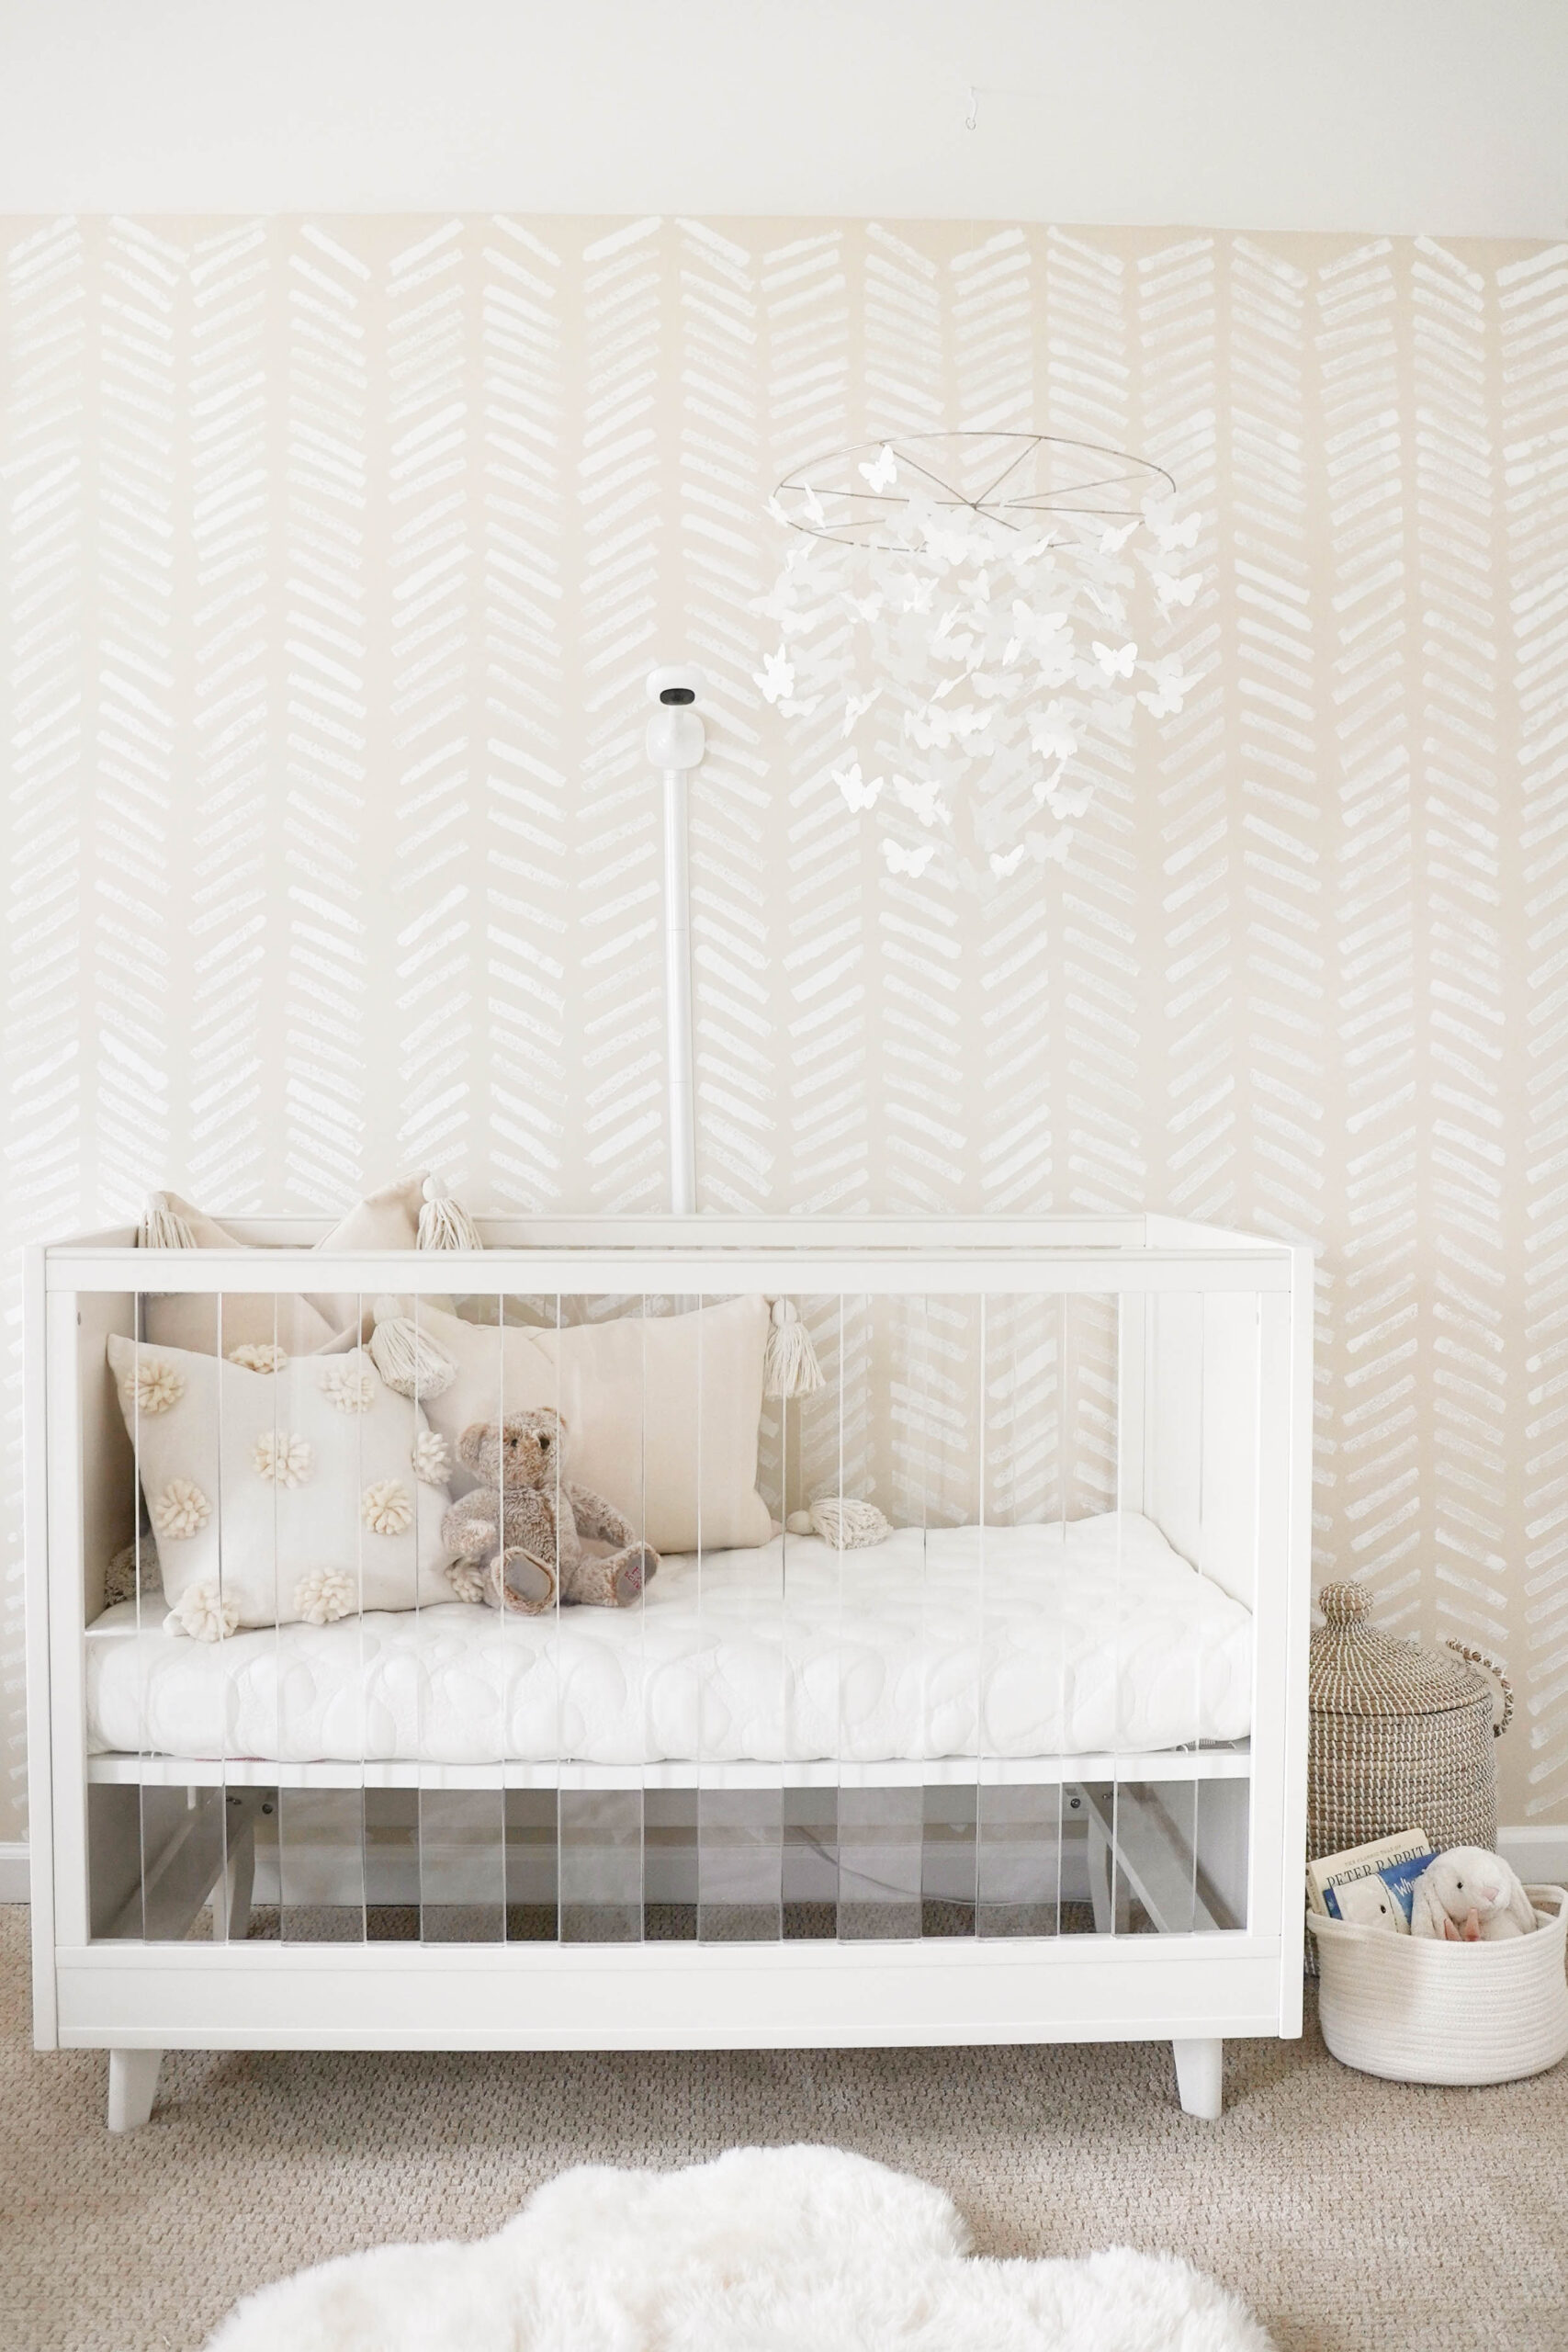
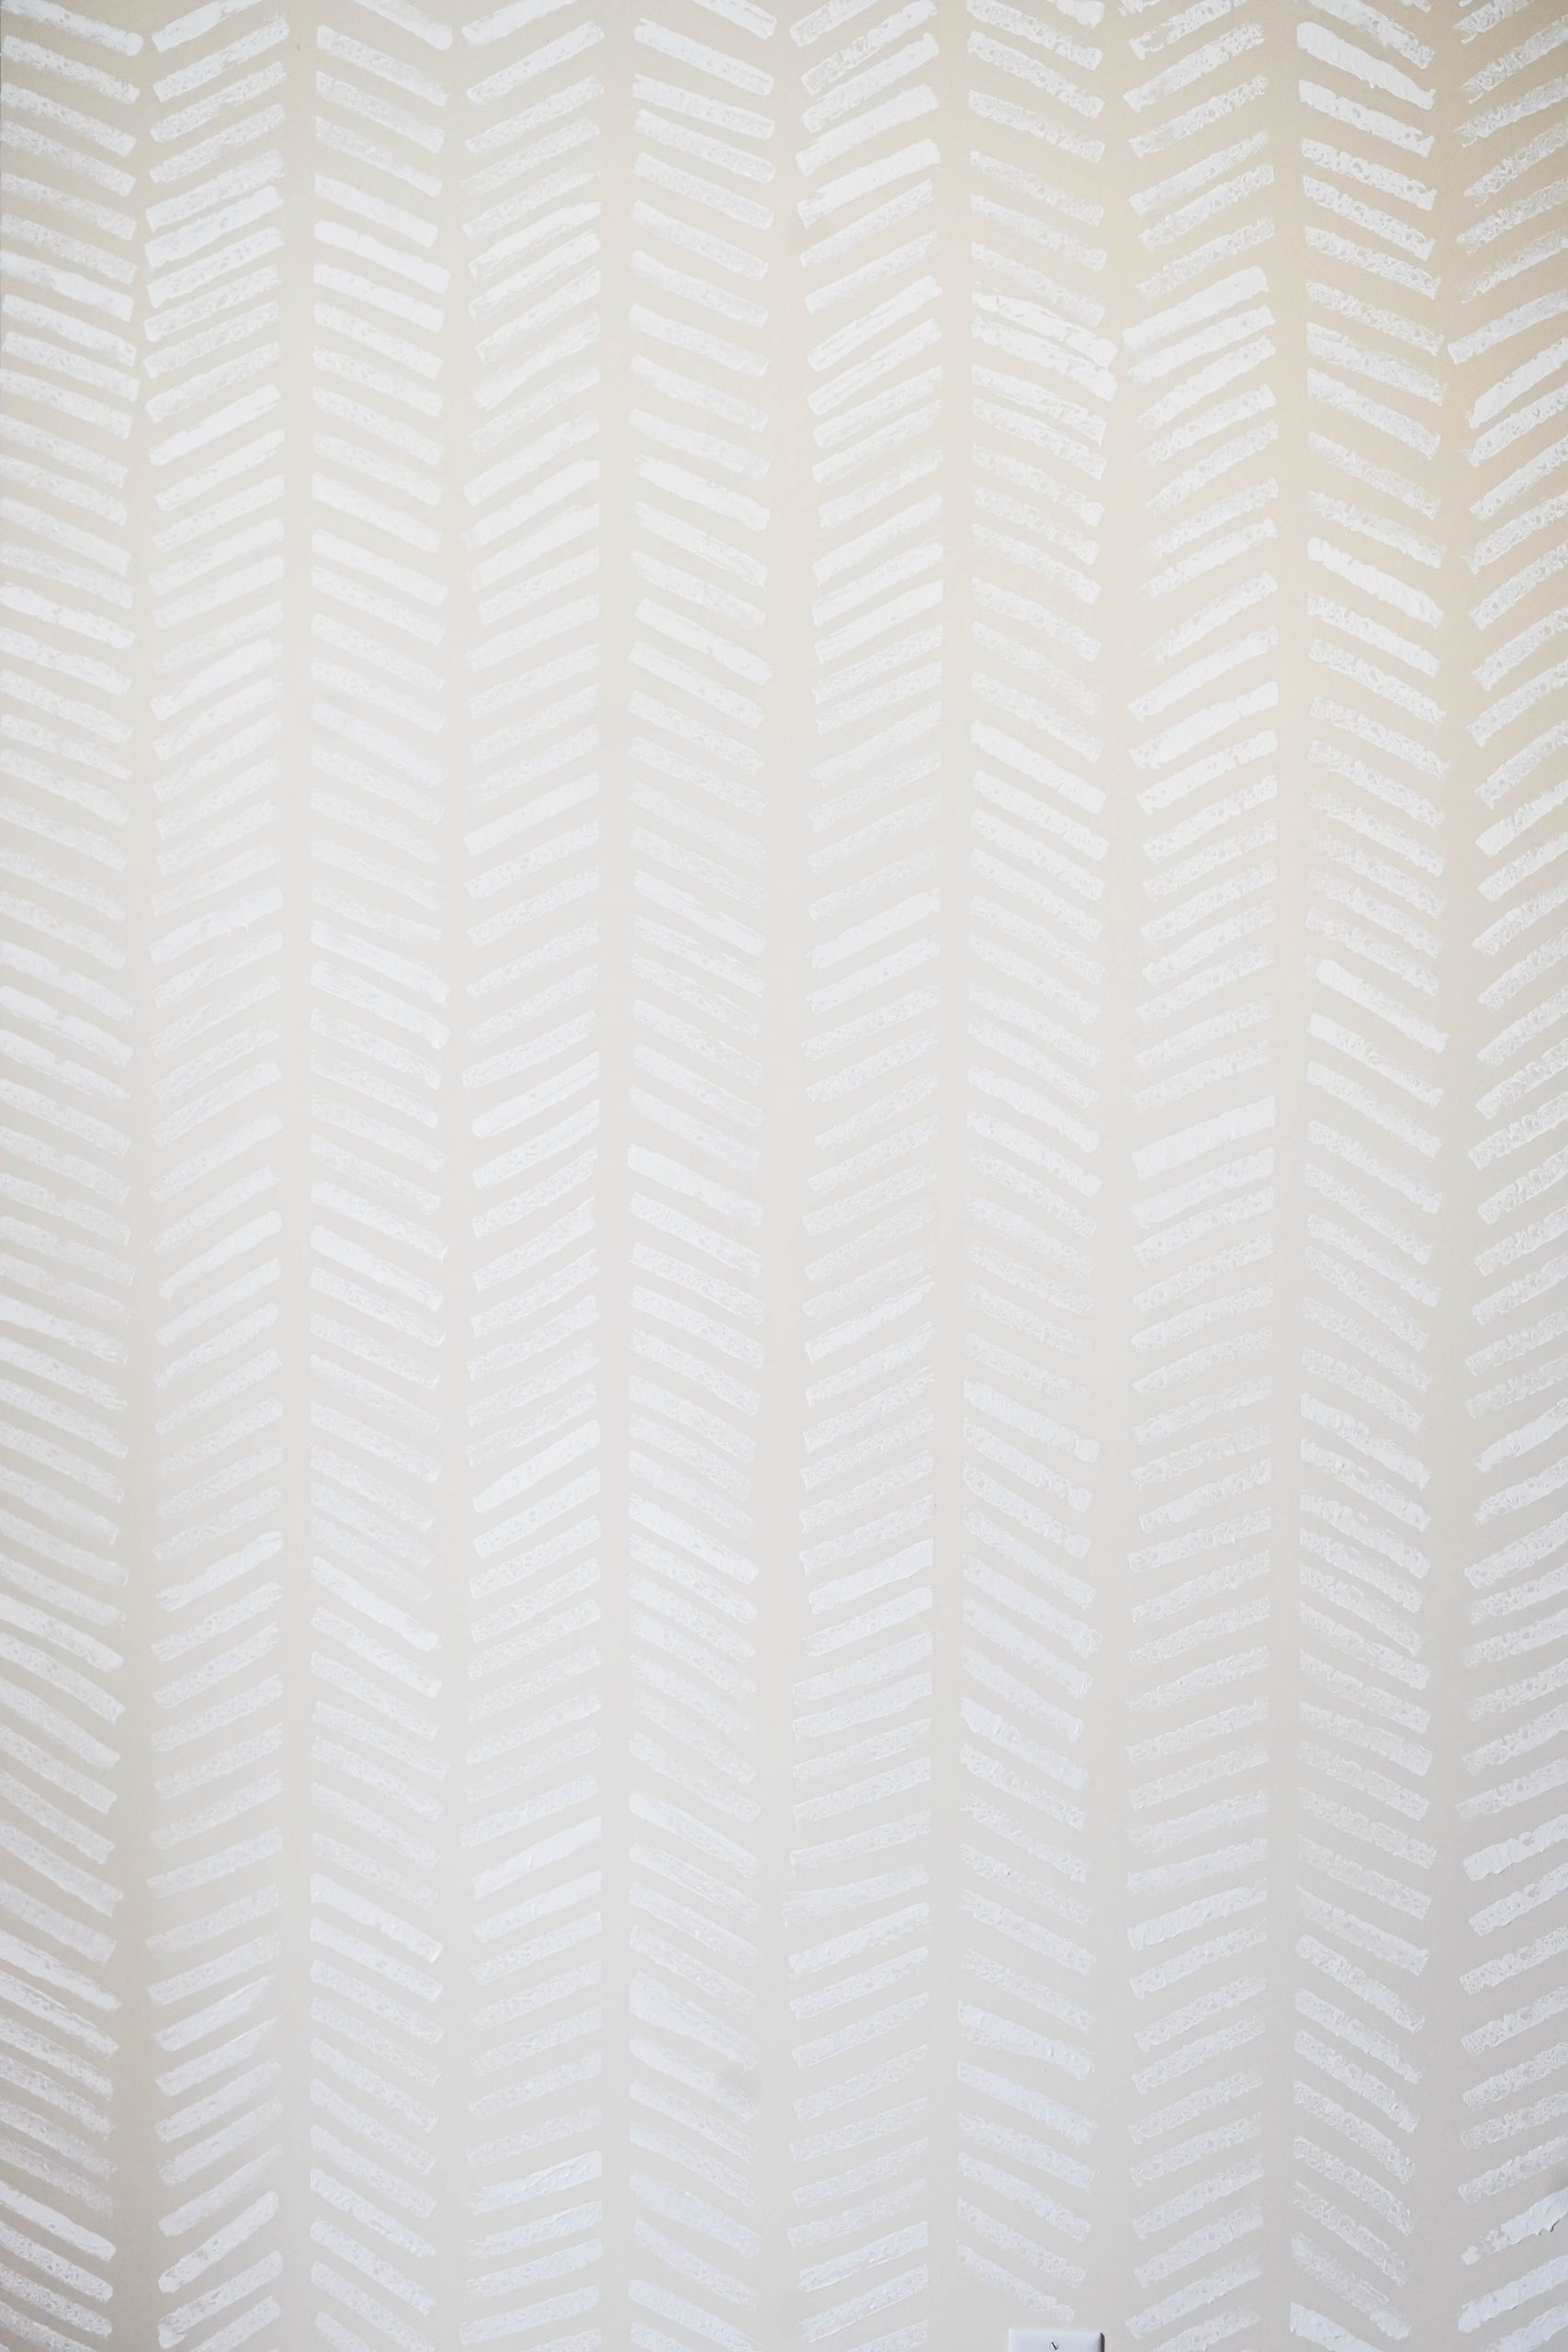
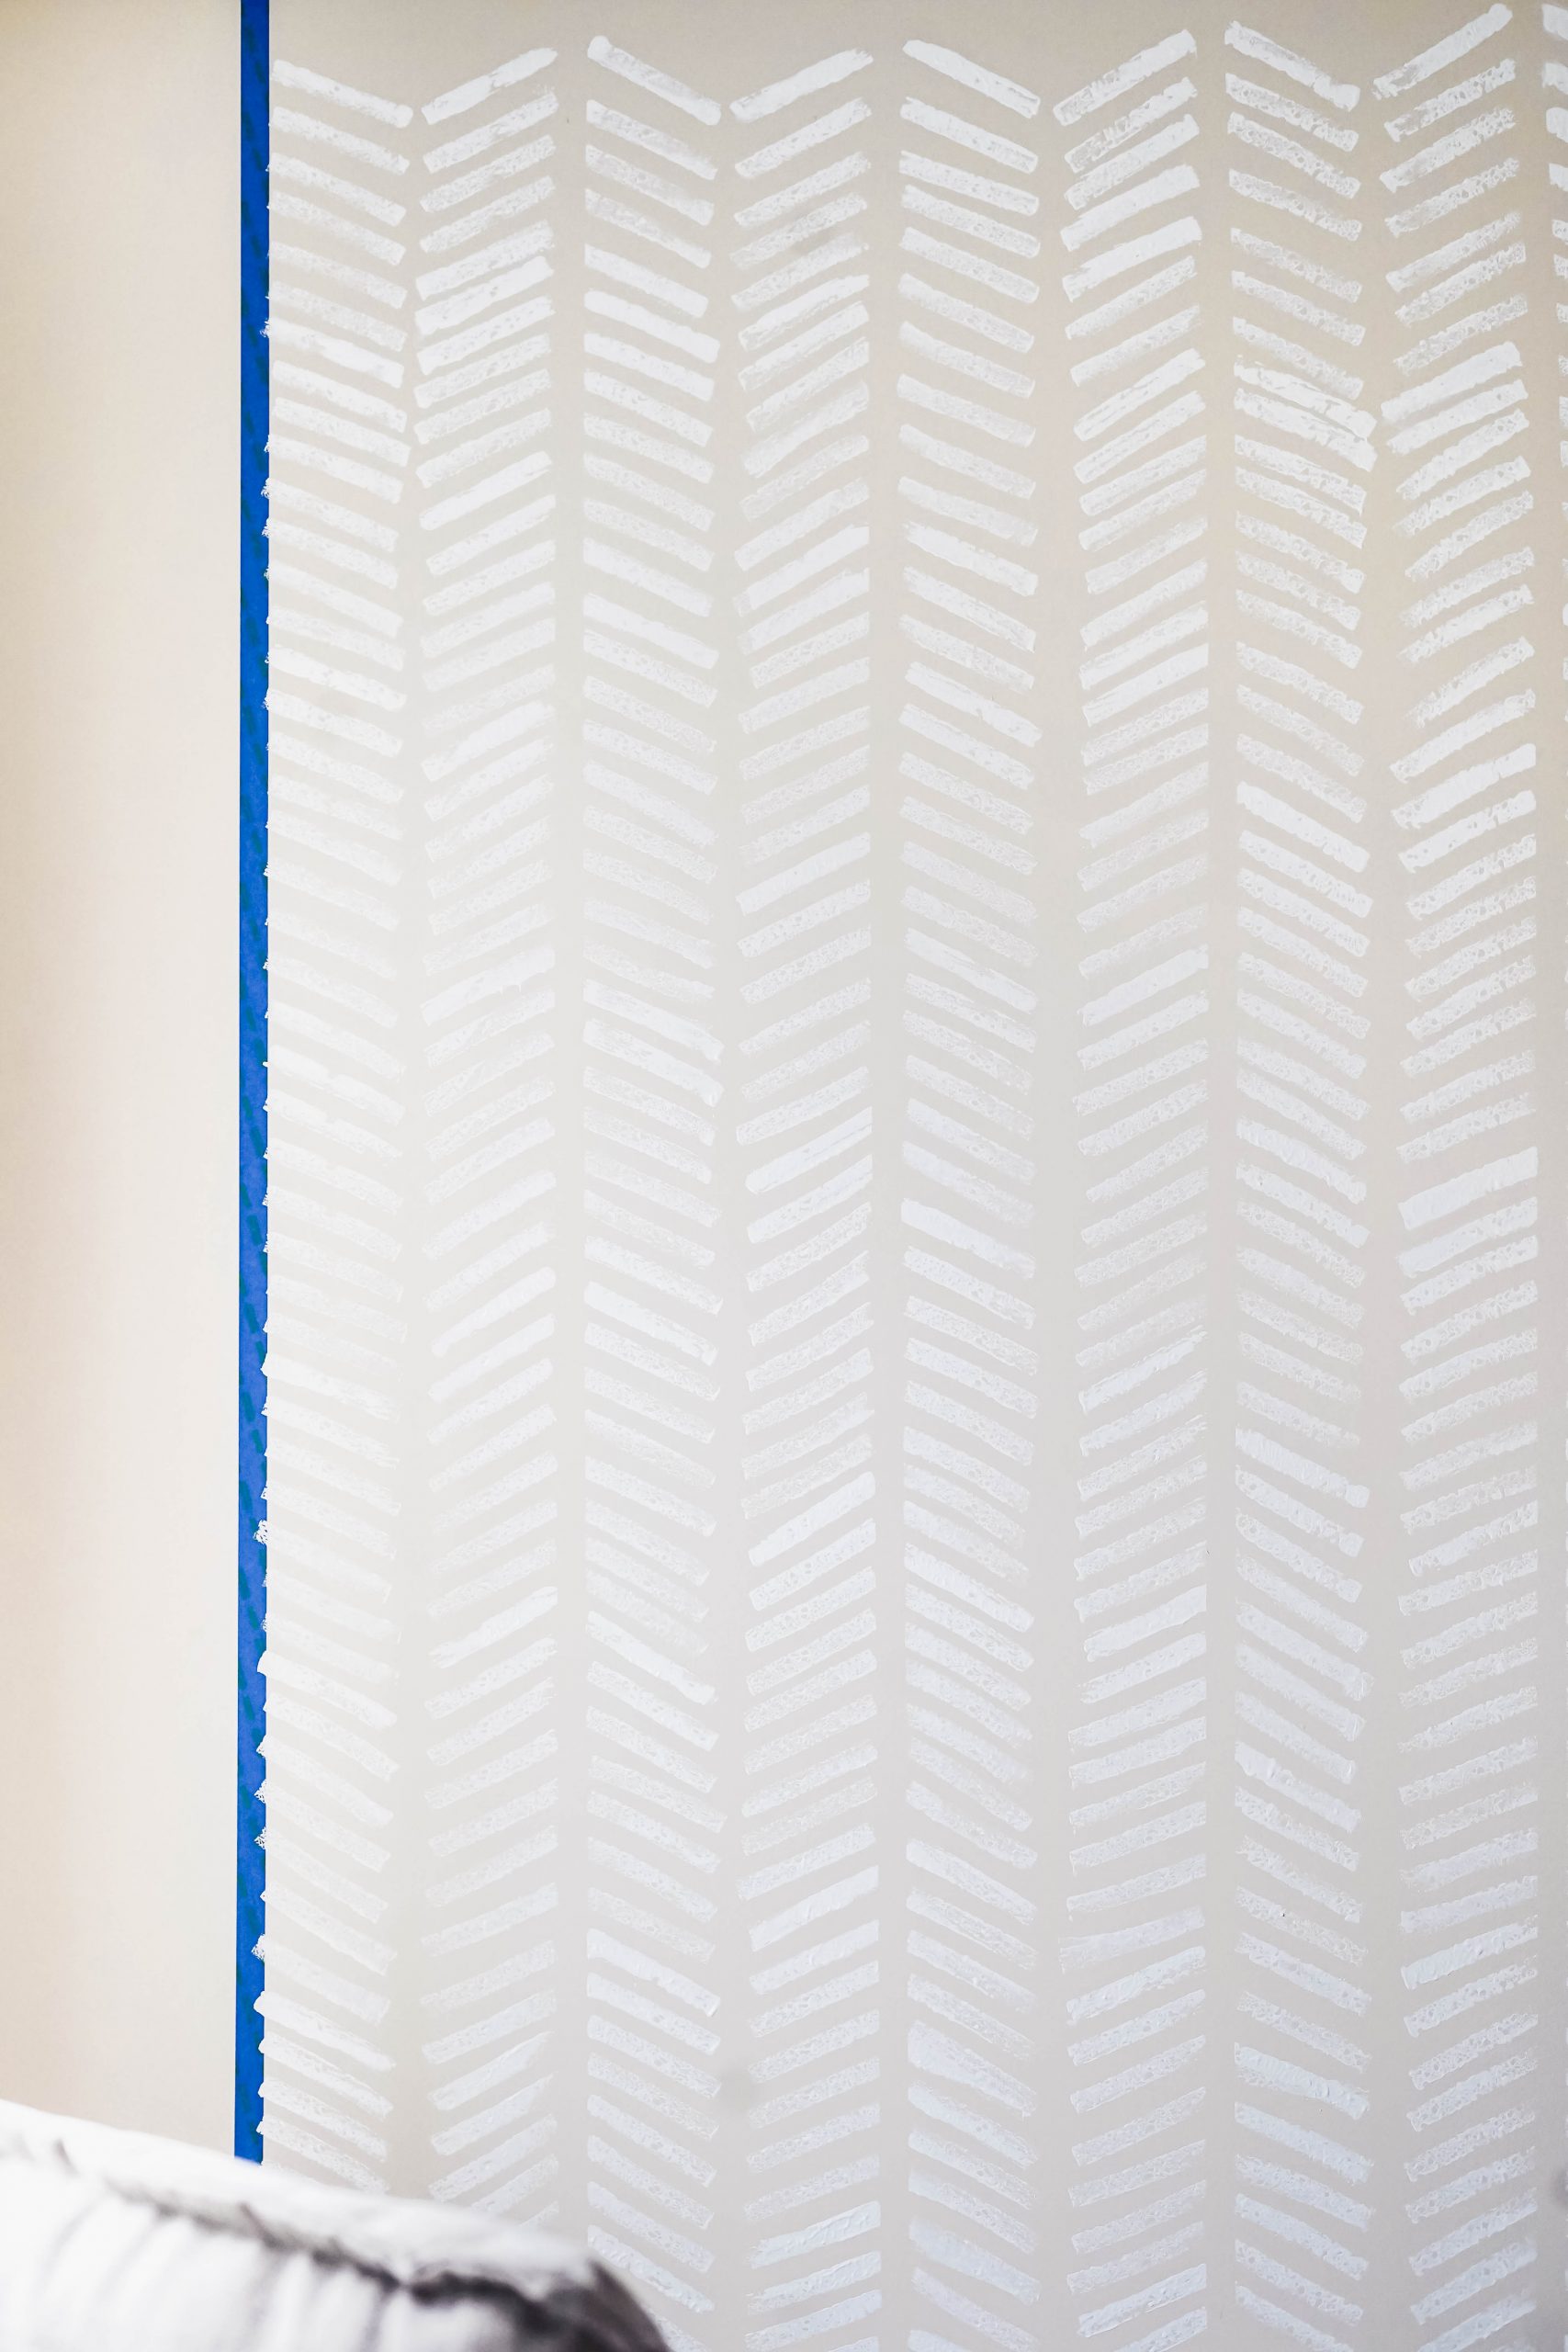
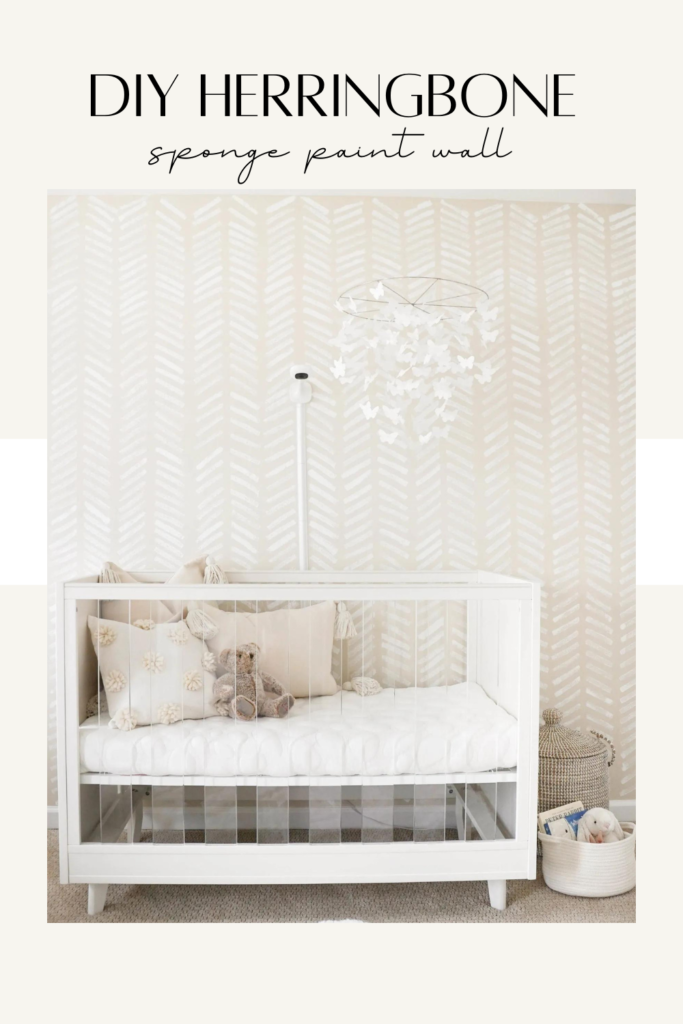
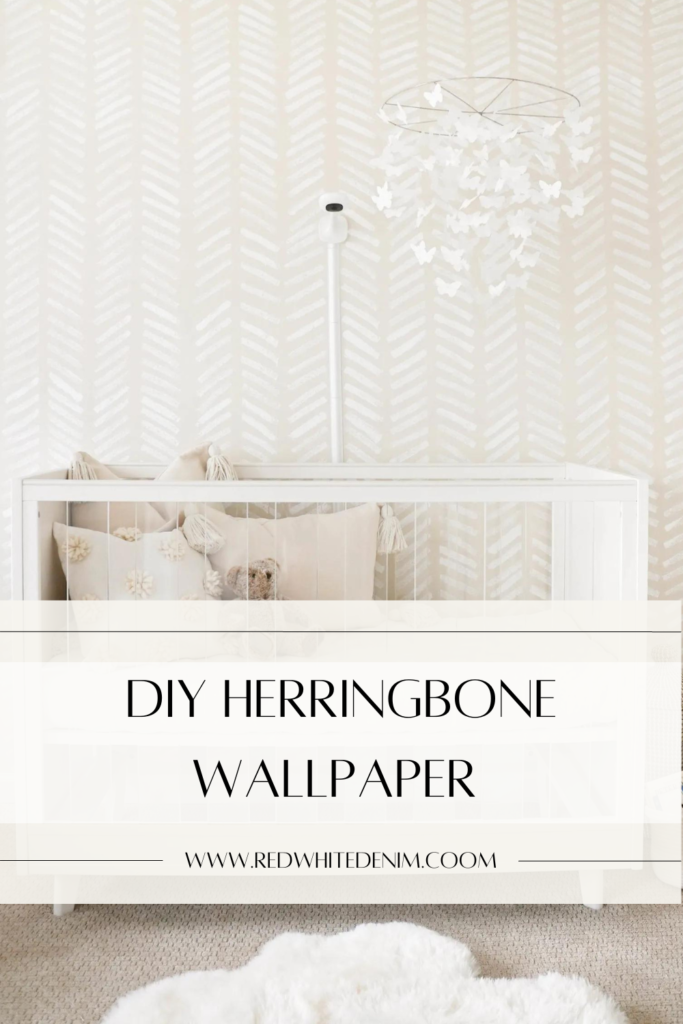
Ever since posting Emilia’s NEUTRAL GIRLS NURSERY REVEAL, I received so many inquires about her “wallpaper.” We wanted to add an accent wall in Emilias room in a fun and playful pattern. Rather than using wallpaper, I decided to try a DIY sponge paint technique to apply a herringbone pattern to this wall. It turned even better than I had hoped! It was so easy and affordable, all you need is paint, painters tape and a few kitchen sponges.
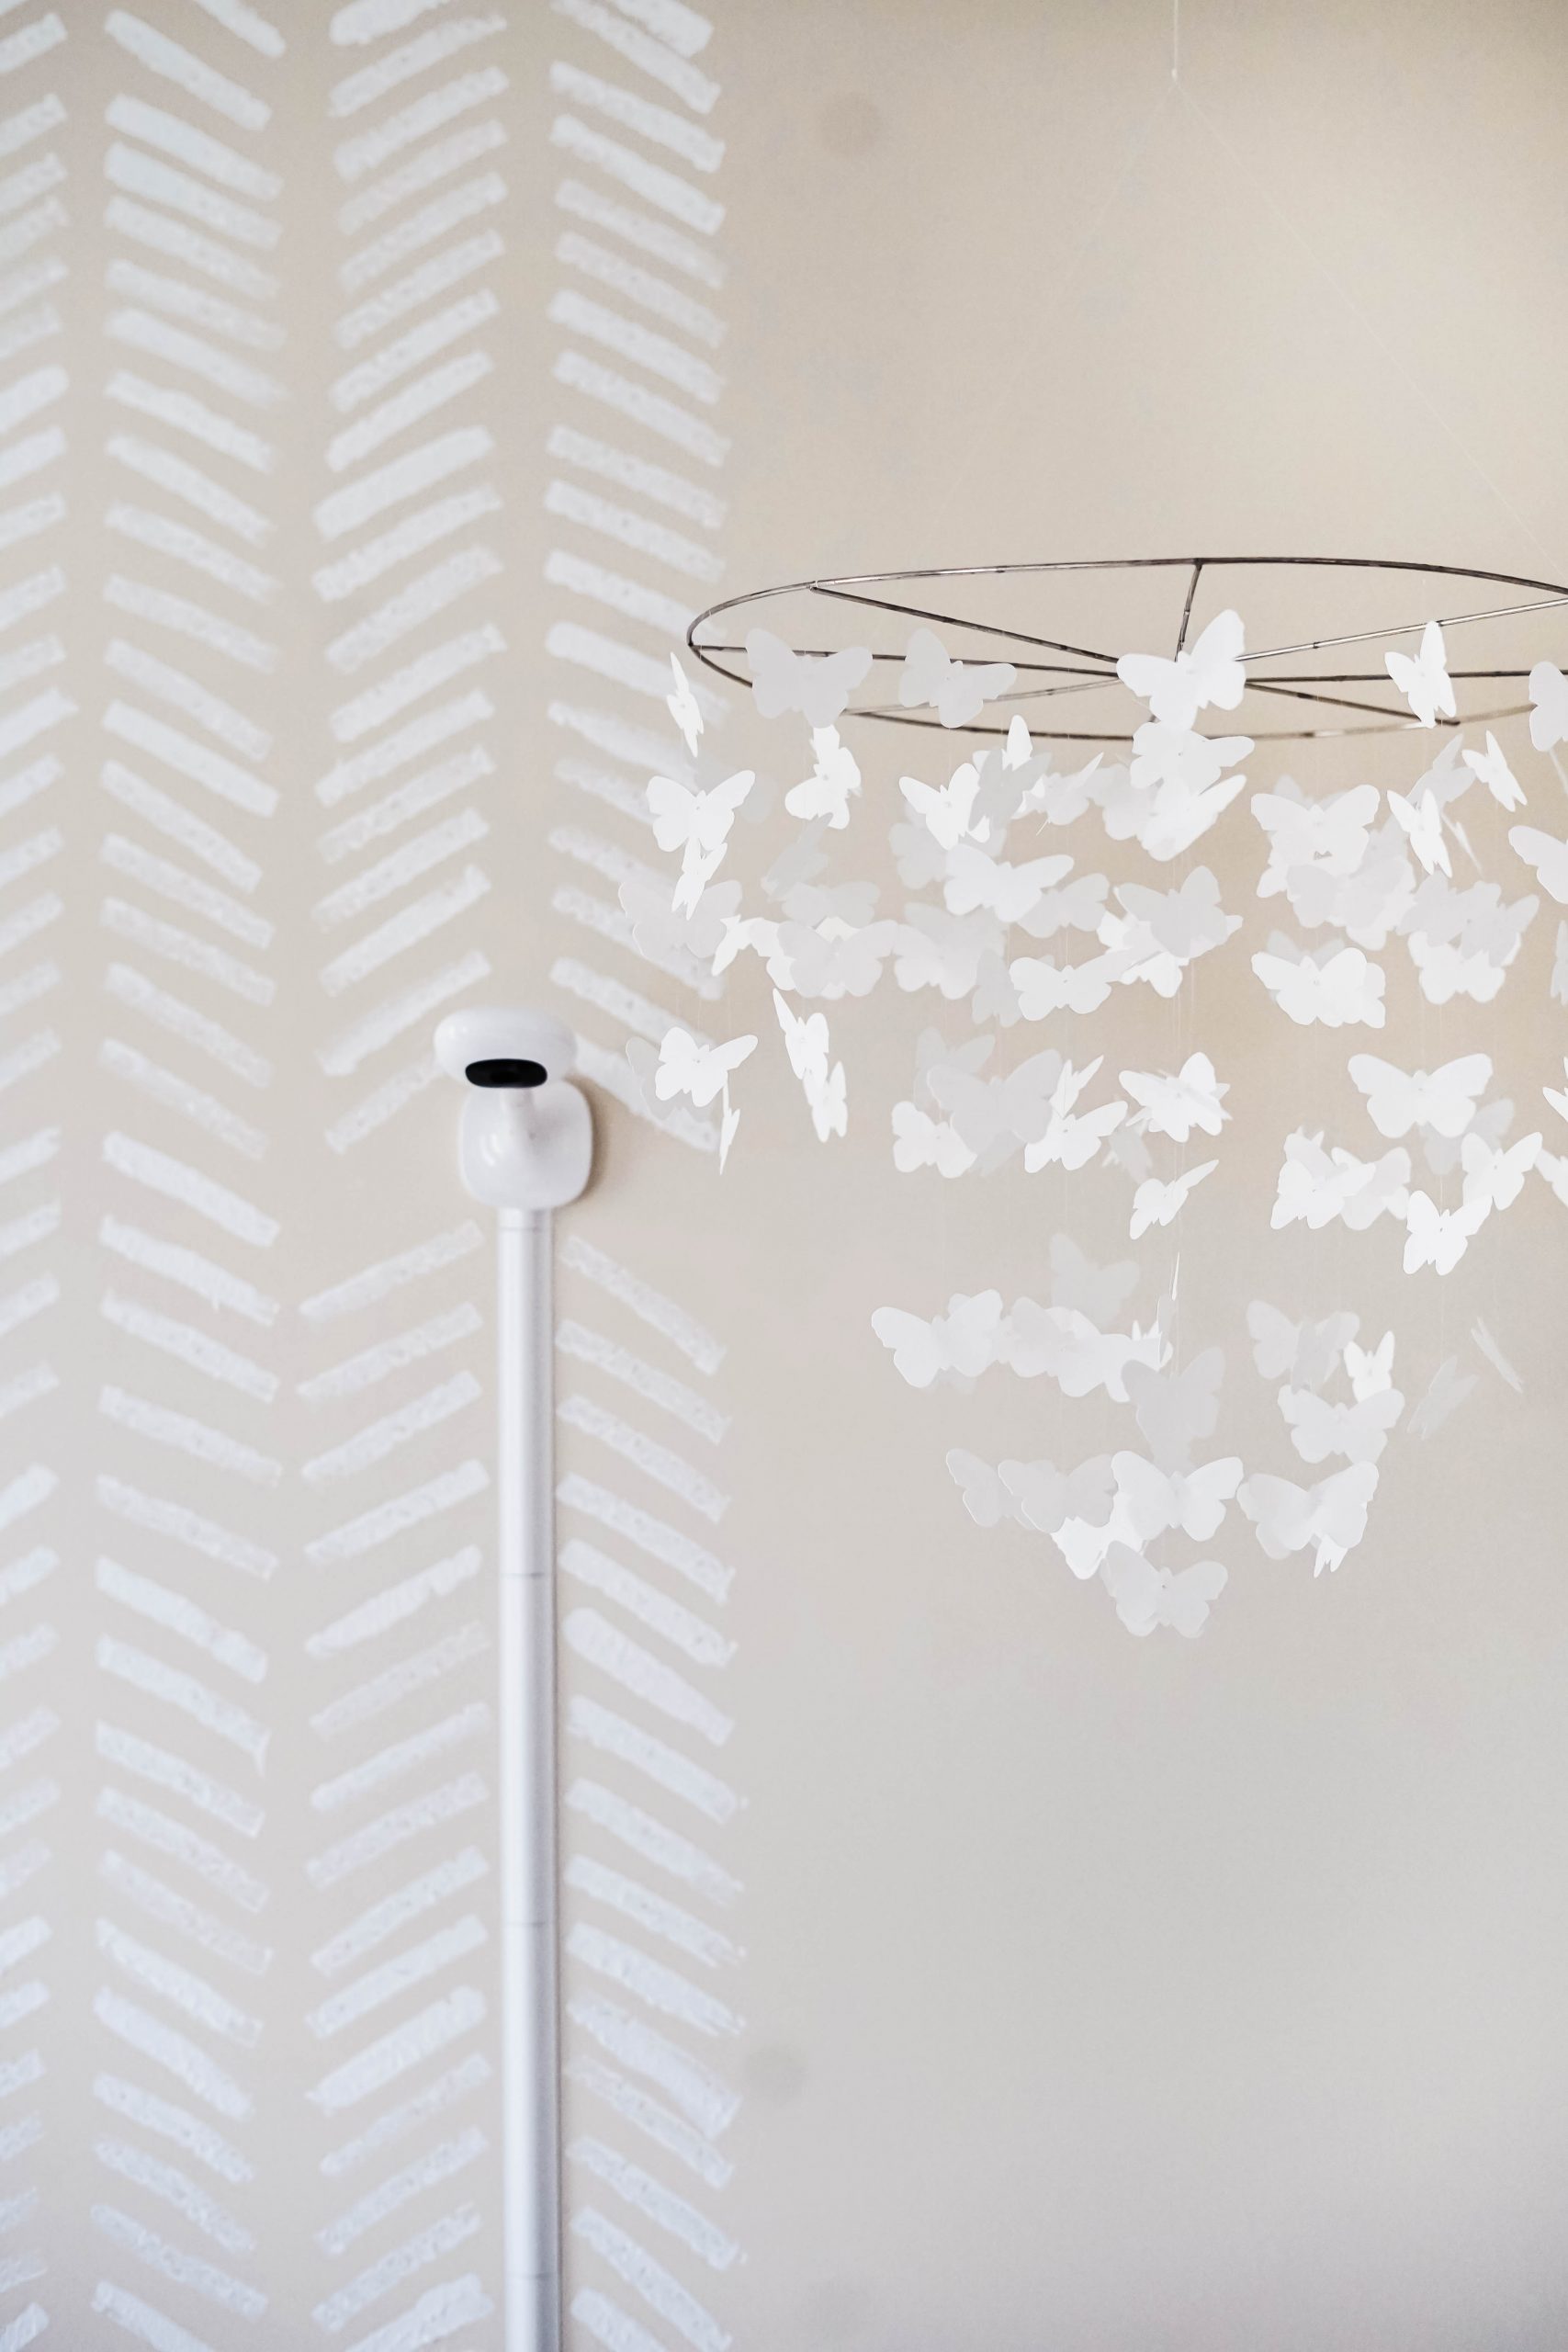
The base paint color we used is Benjamin Moore Natural Wicker. The herringbone sponge painted pattern is Benjamin Moore Chantilly Lace. The other three walls in the room are painted in BM Chantilly Lace as well.
HERRINGBONE SPONGE PAINT WALL
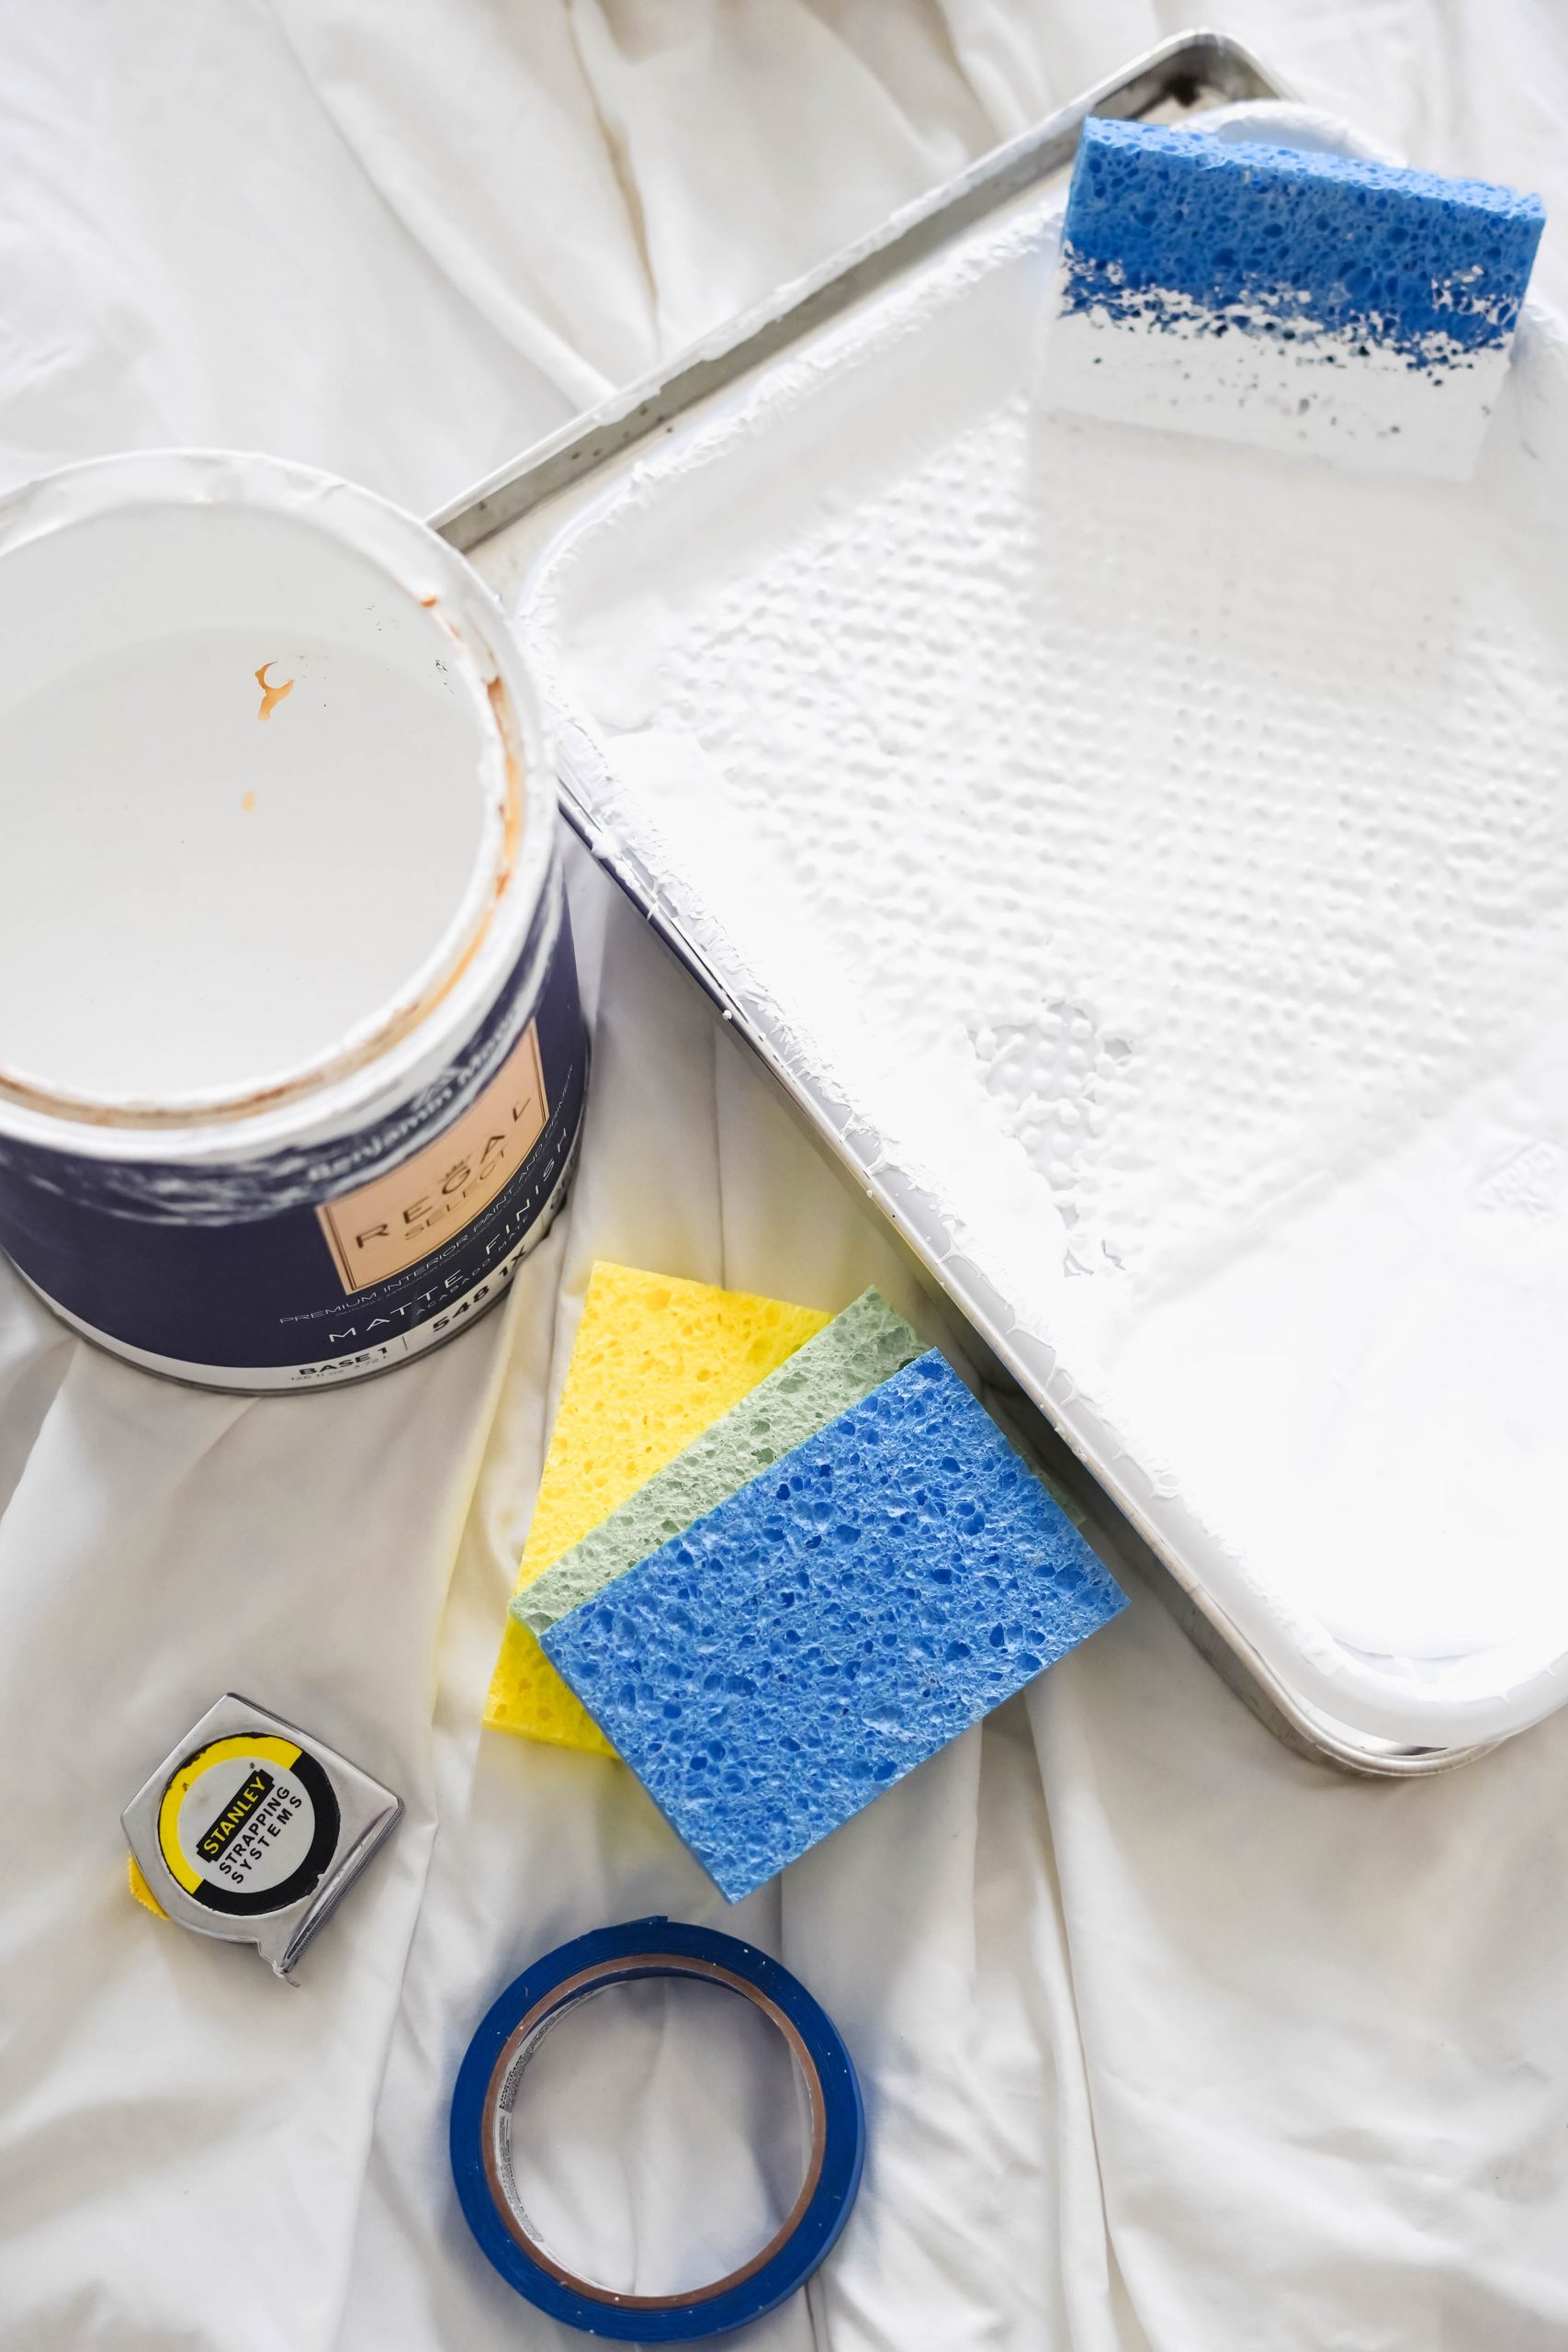
SUPPLIES
- Rectangular Sponges (I used 4 sponges for 1 wall)
- Painters Tape (1″)
- Steel Measuring Tape
- Paint (we used BM Natural Wicker as the base and BM Chantilly Lace for the sponge paint)
INSTRUCTIONS
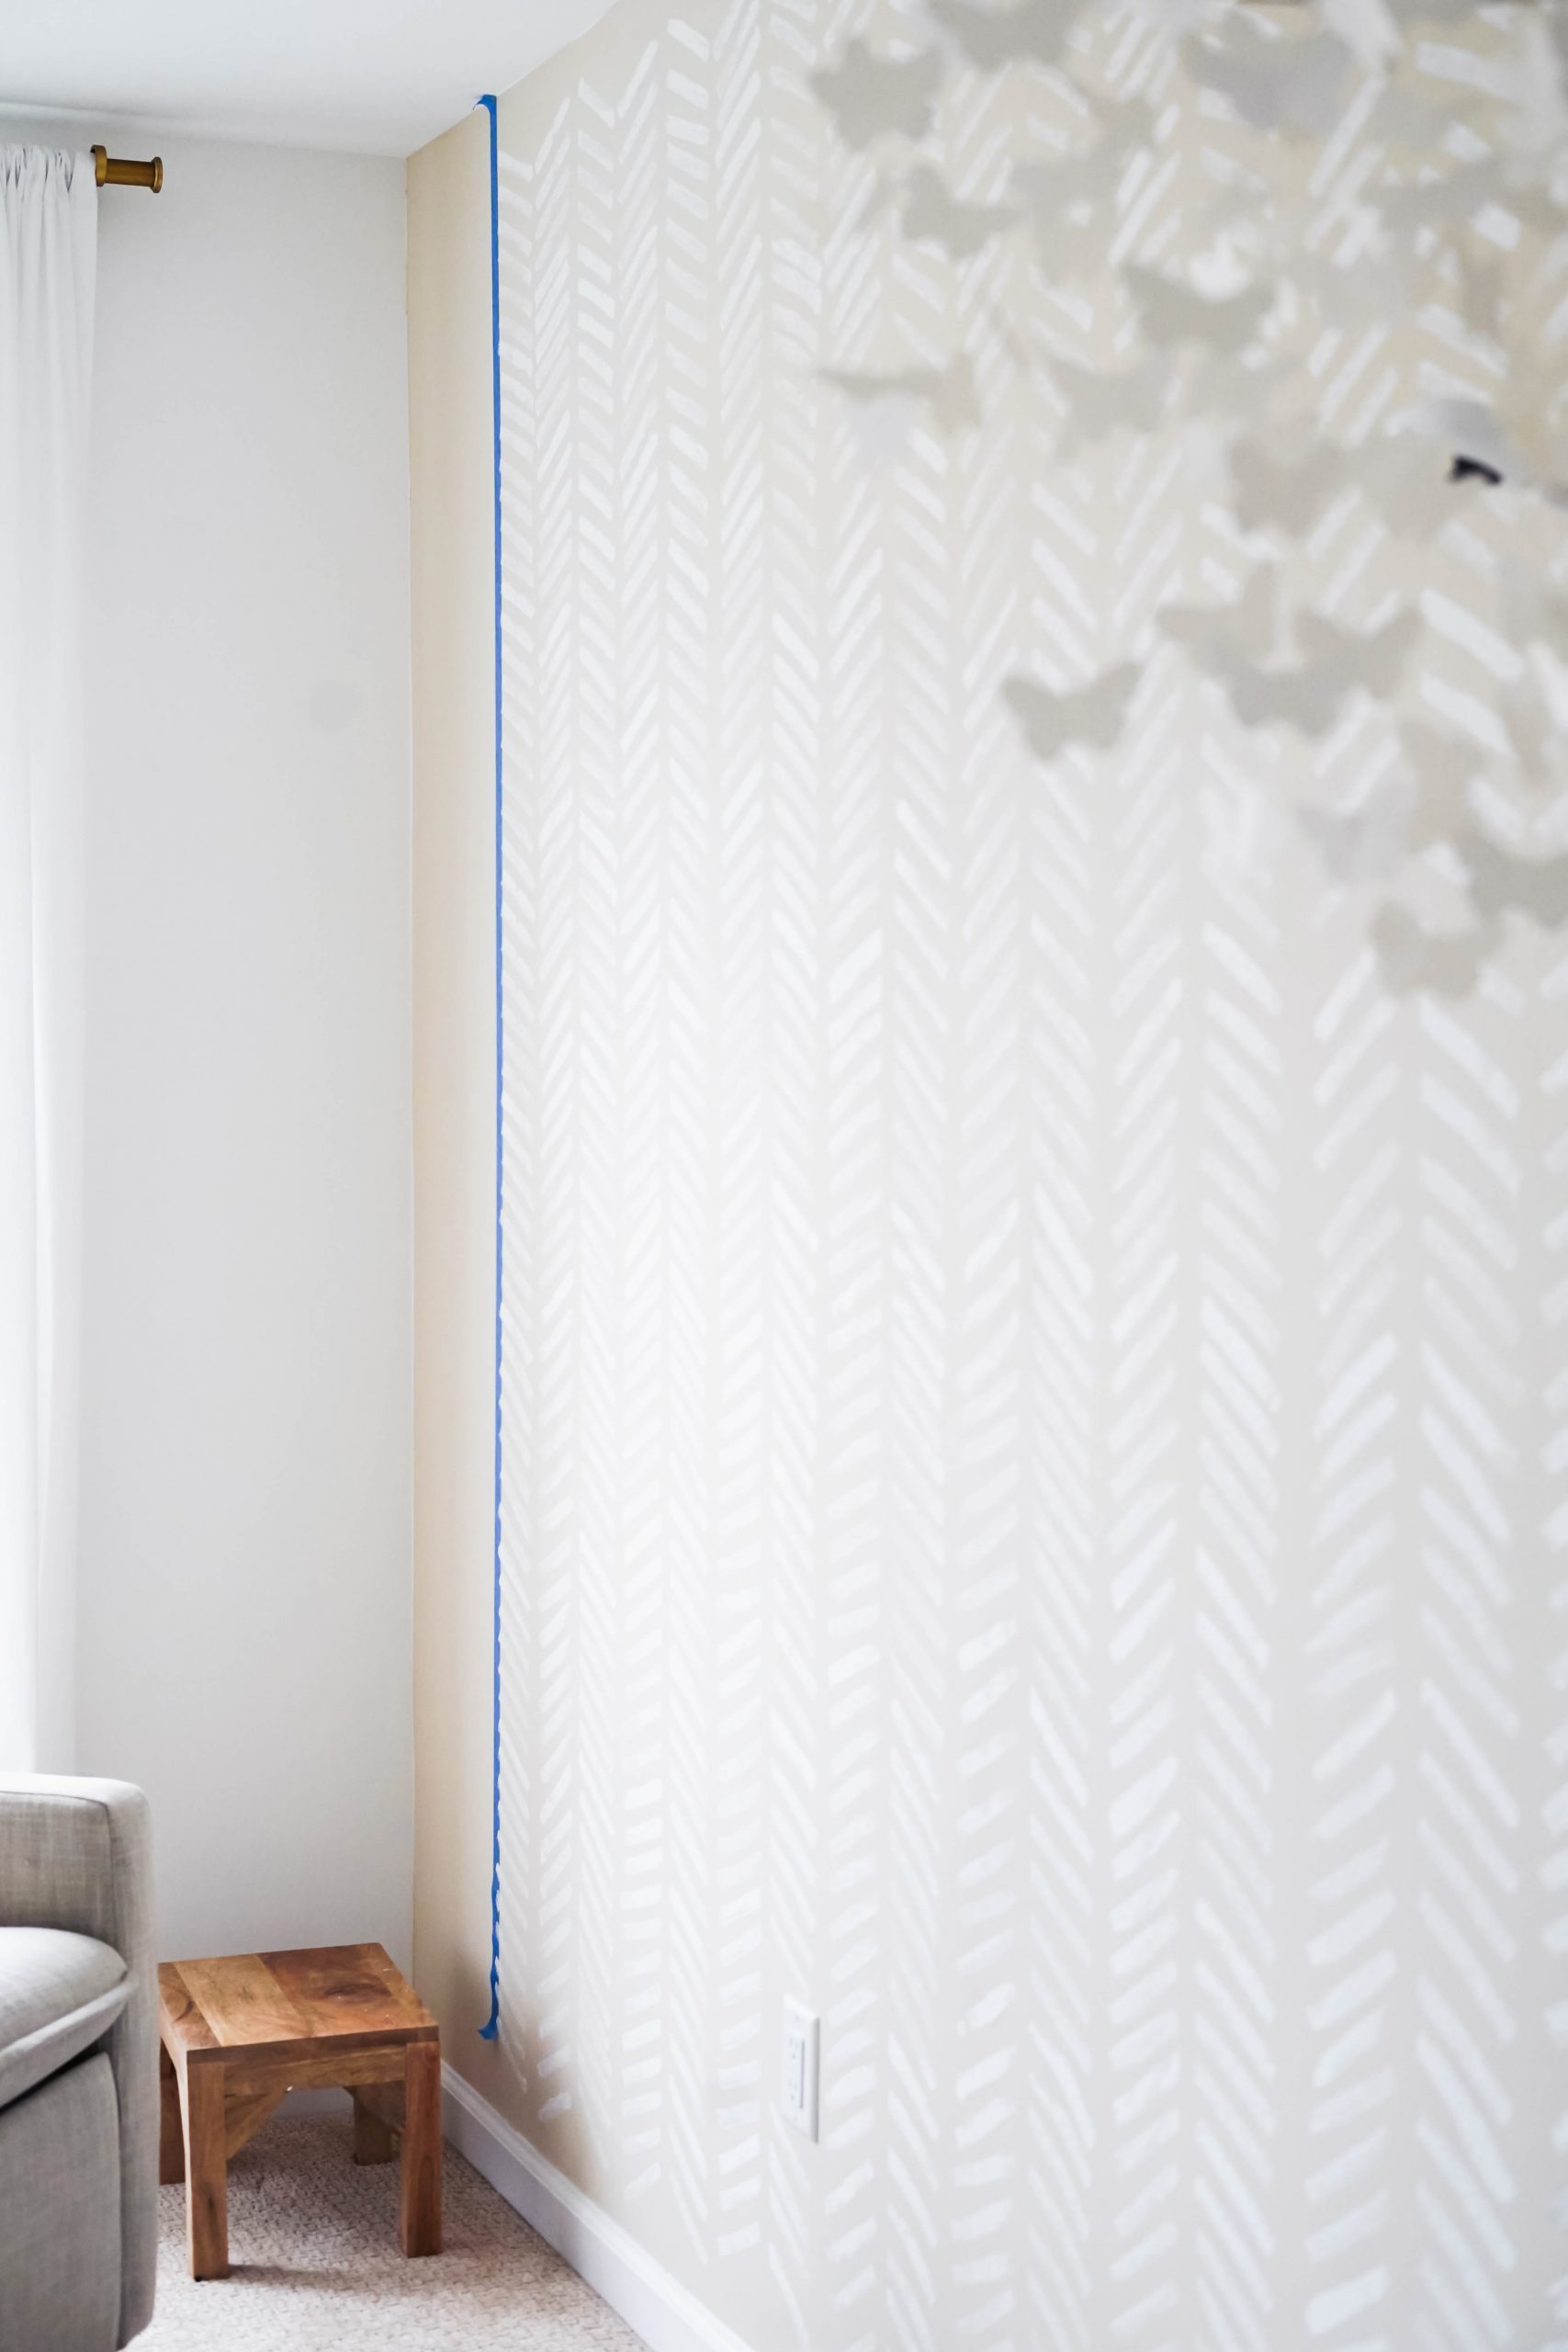
- Begin your first section of herringbone by locating the center of your wall. Apply painters tape in a straight line from the top to the bottom of the wall. This line of tape will be the center of your first section of herringbone.
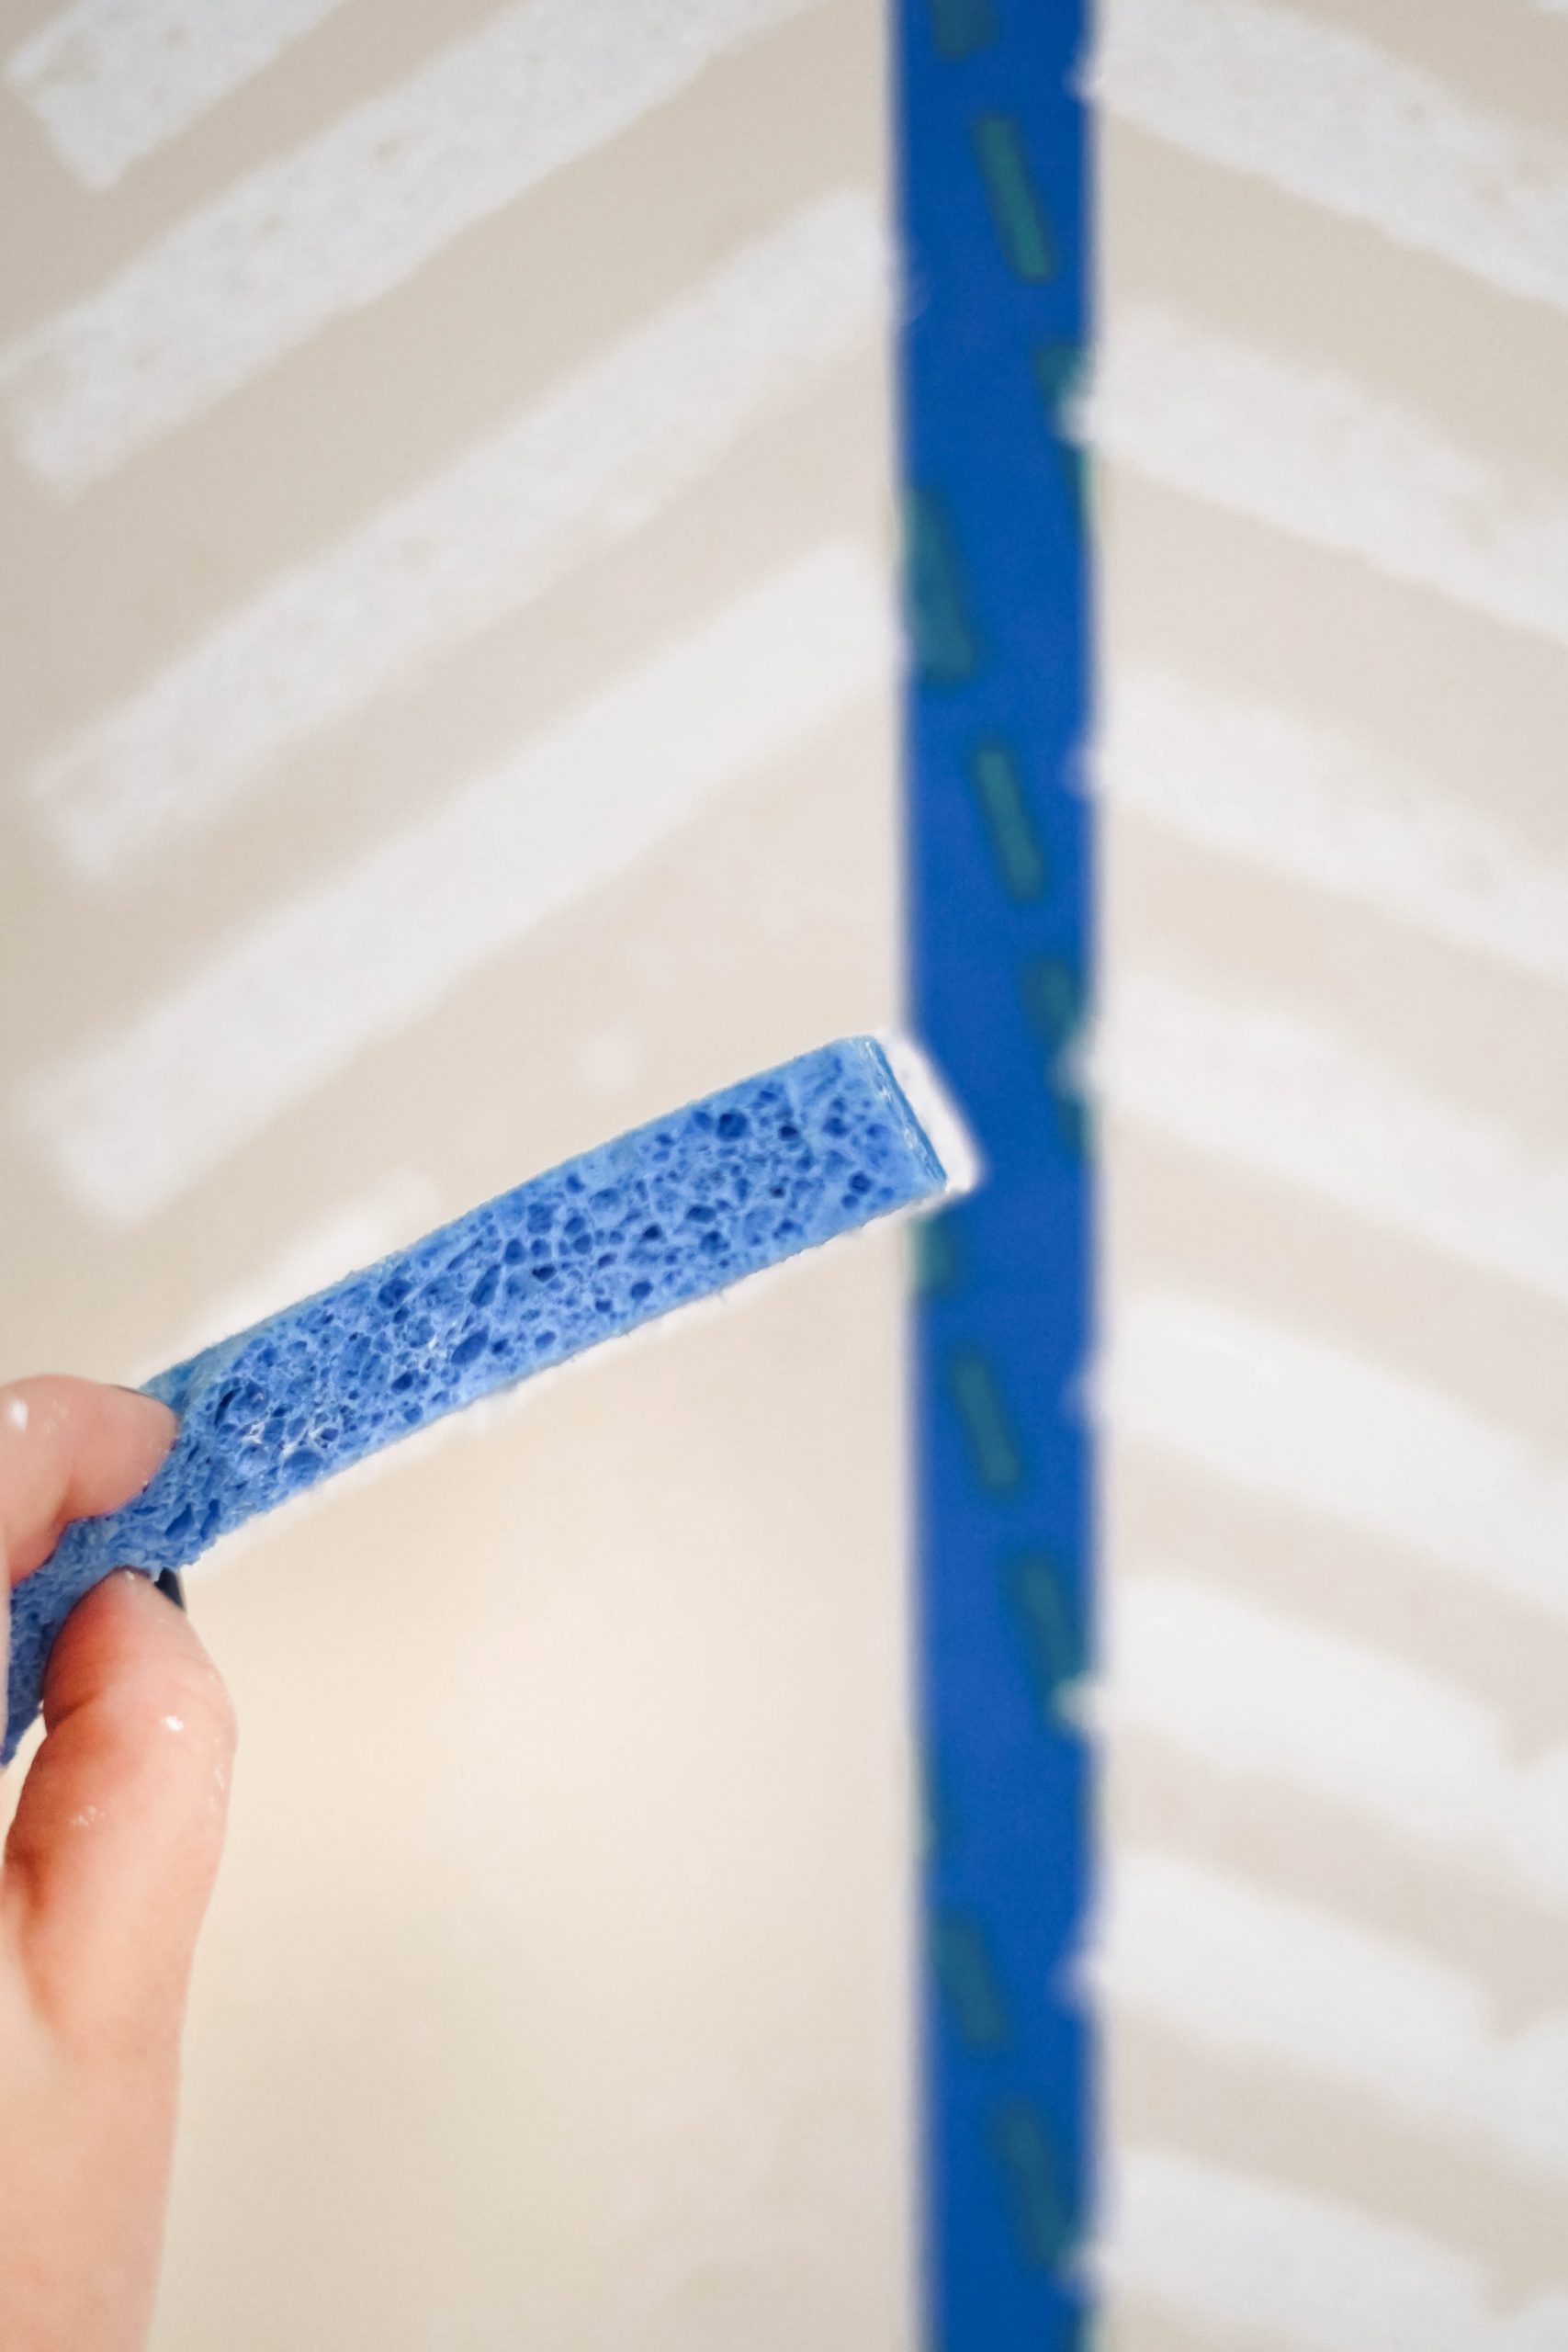
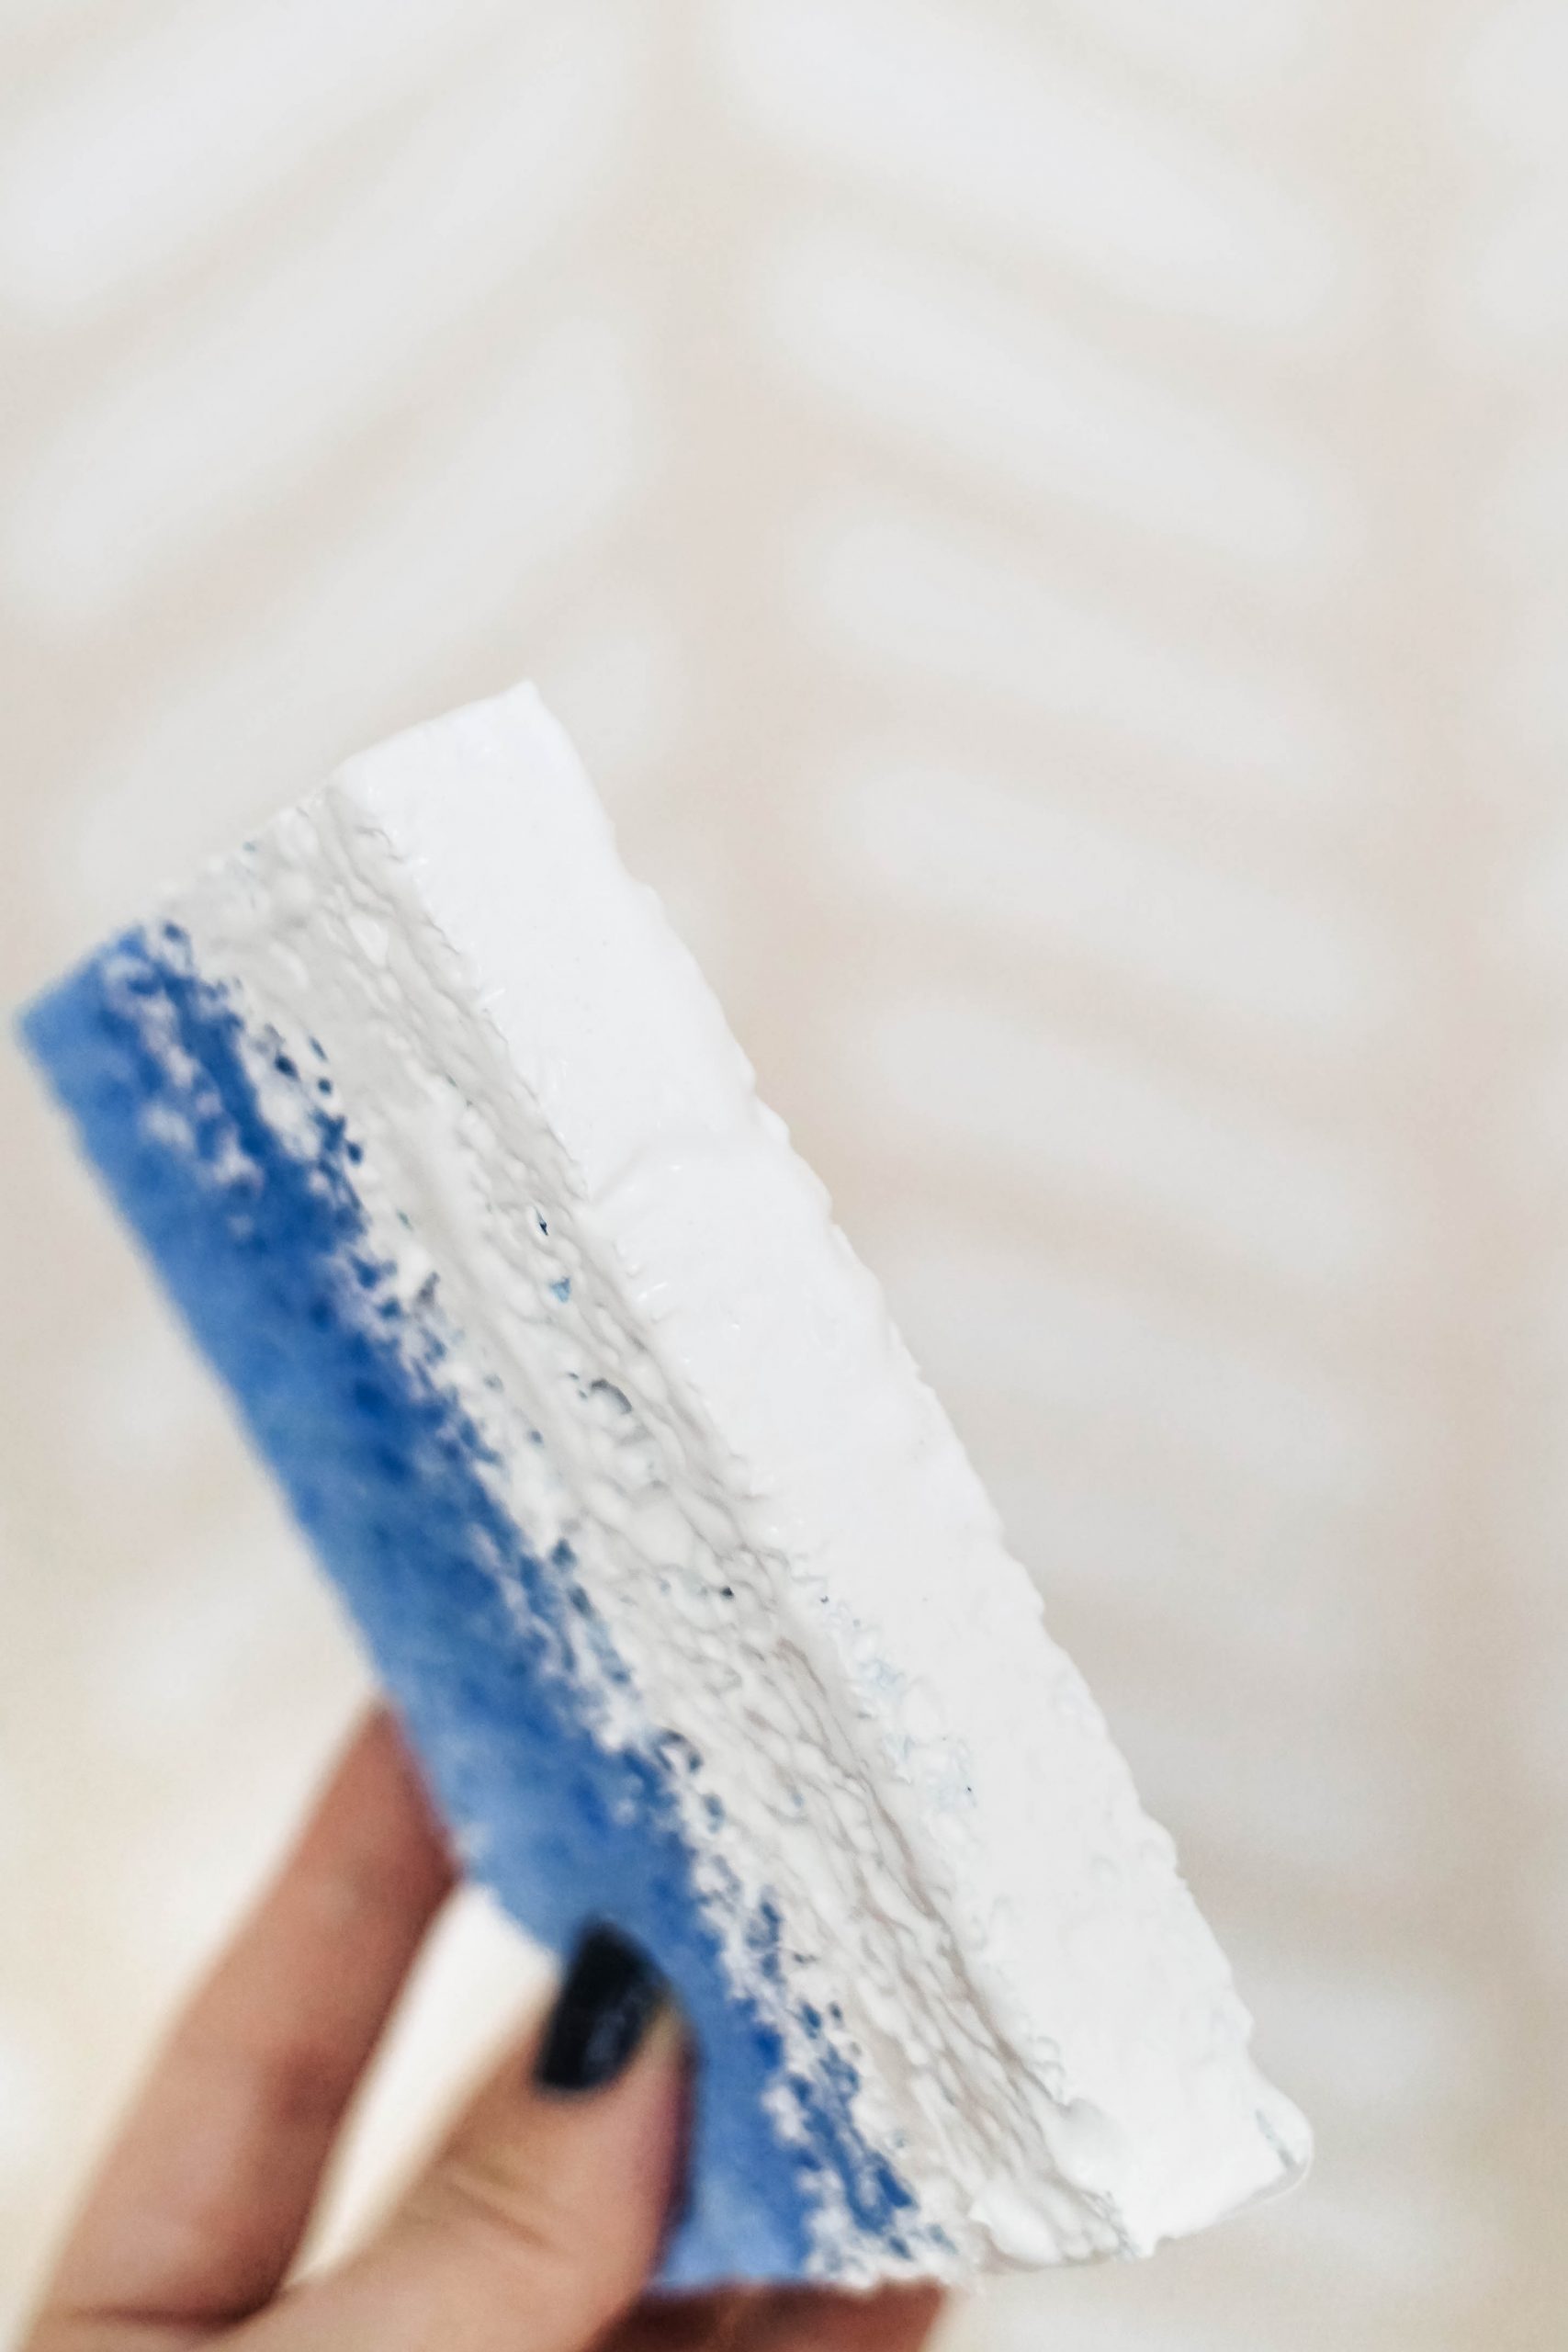
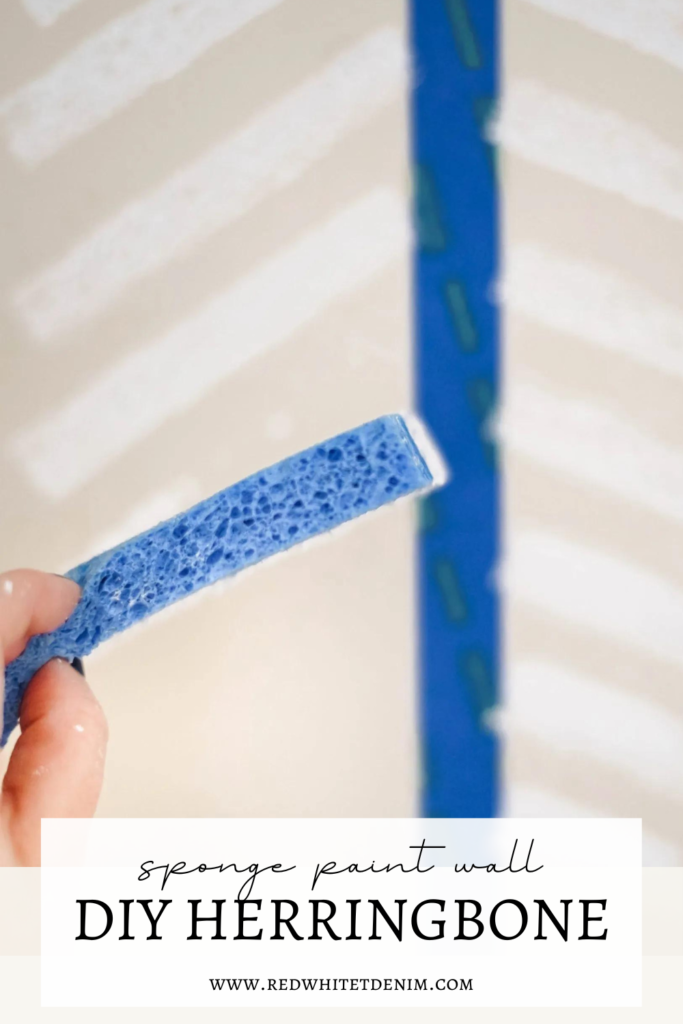
- Holding your sponge the long way and dip one edge in paint. Remove any access paint that may drip.
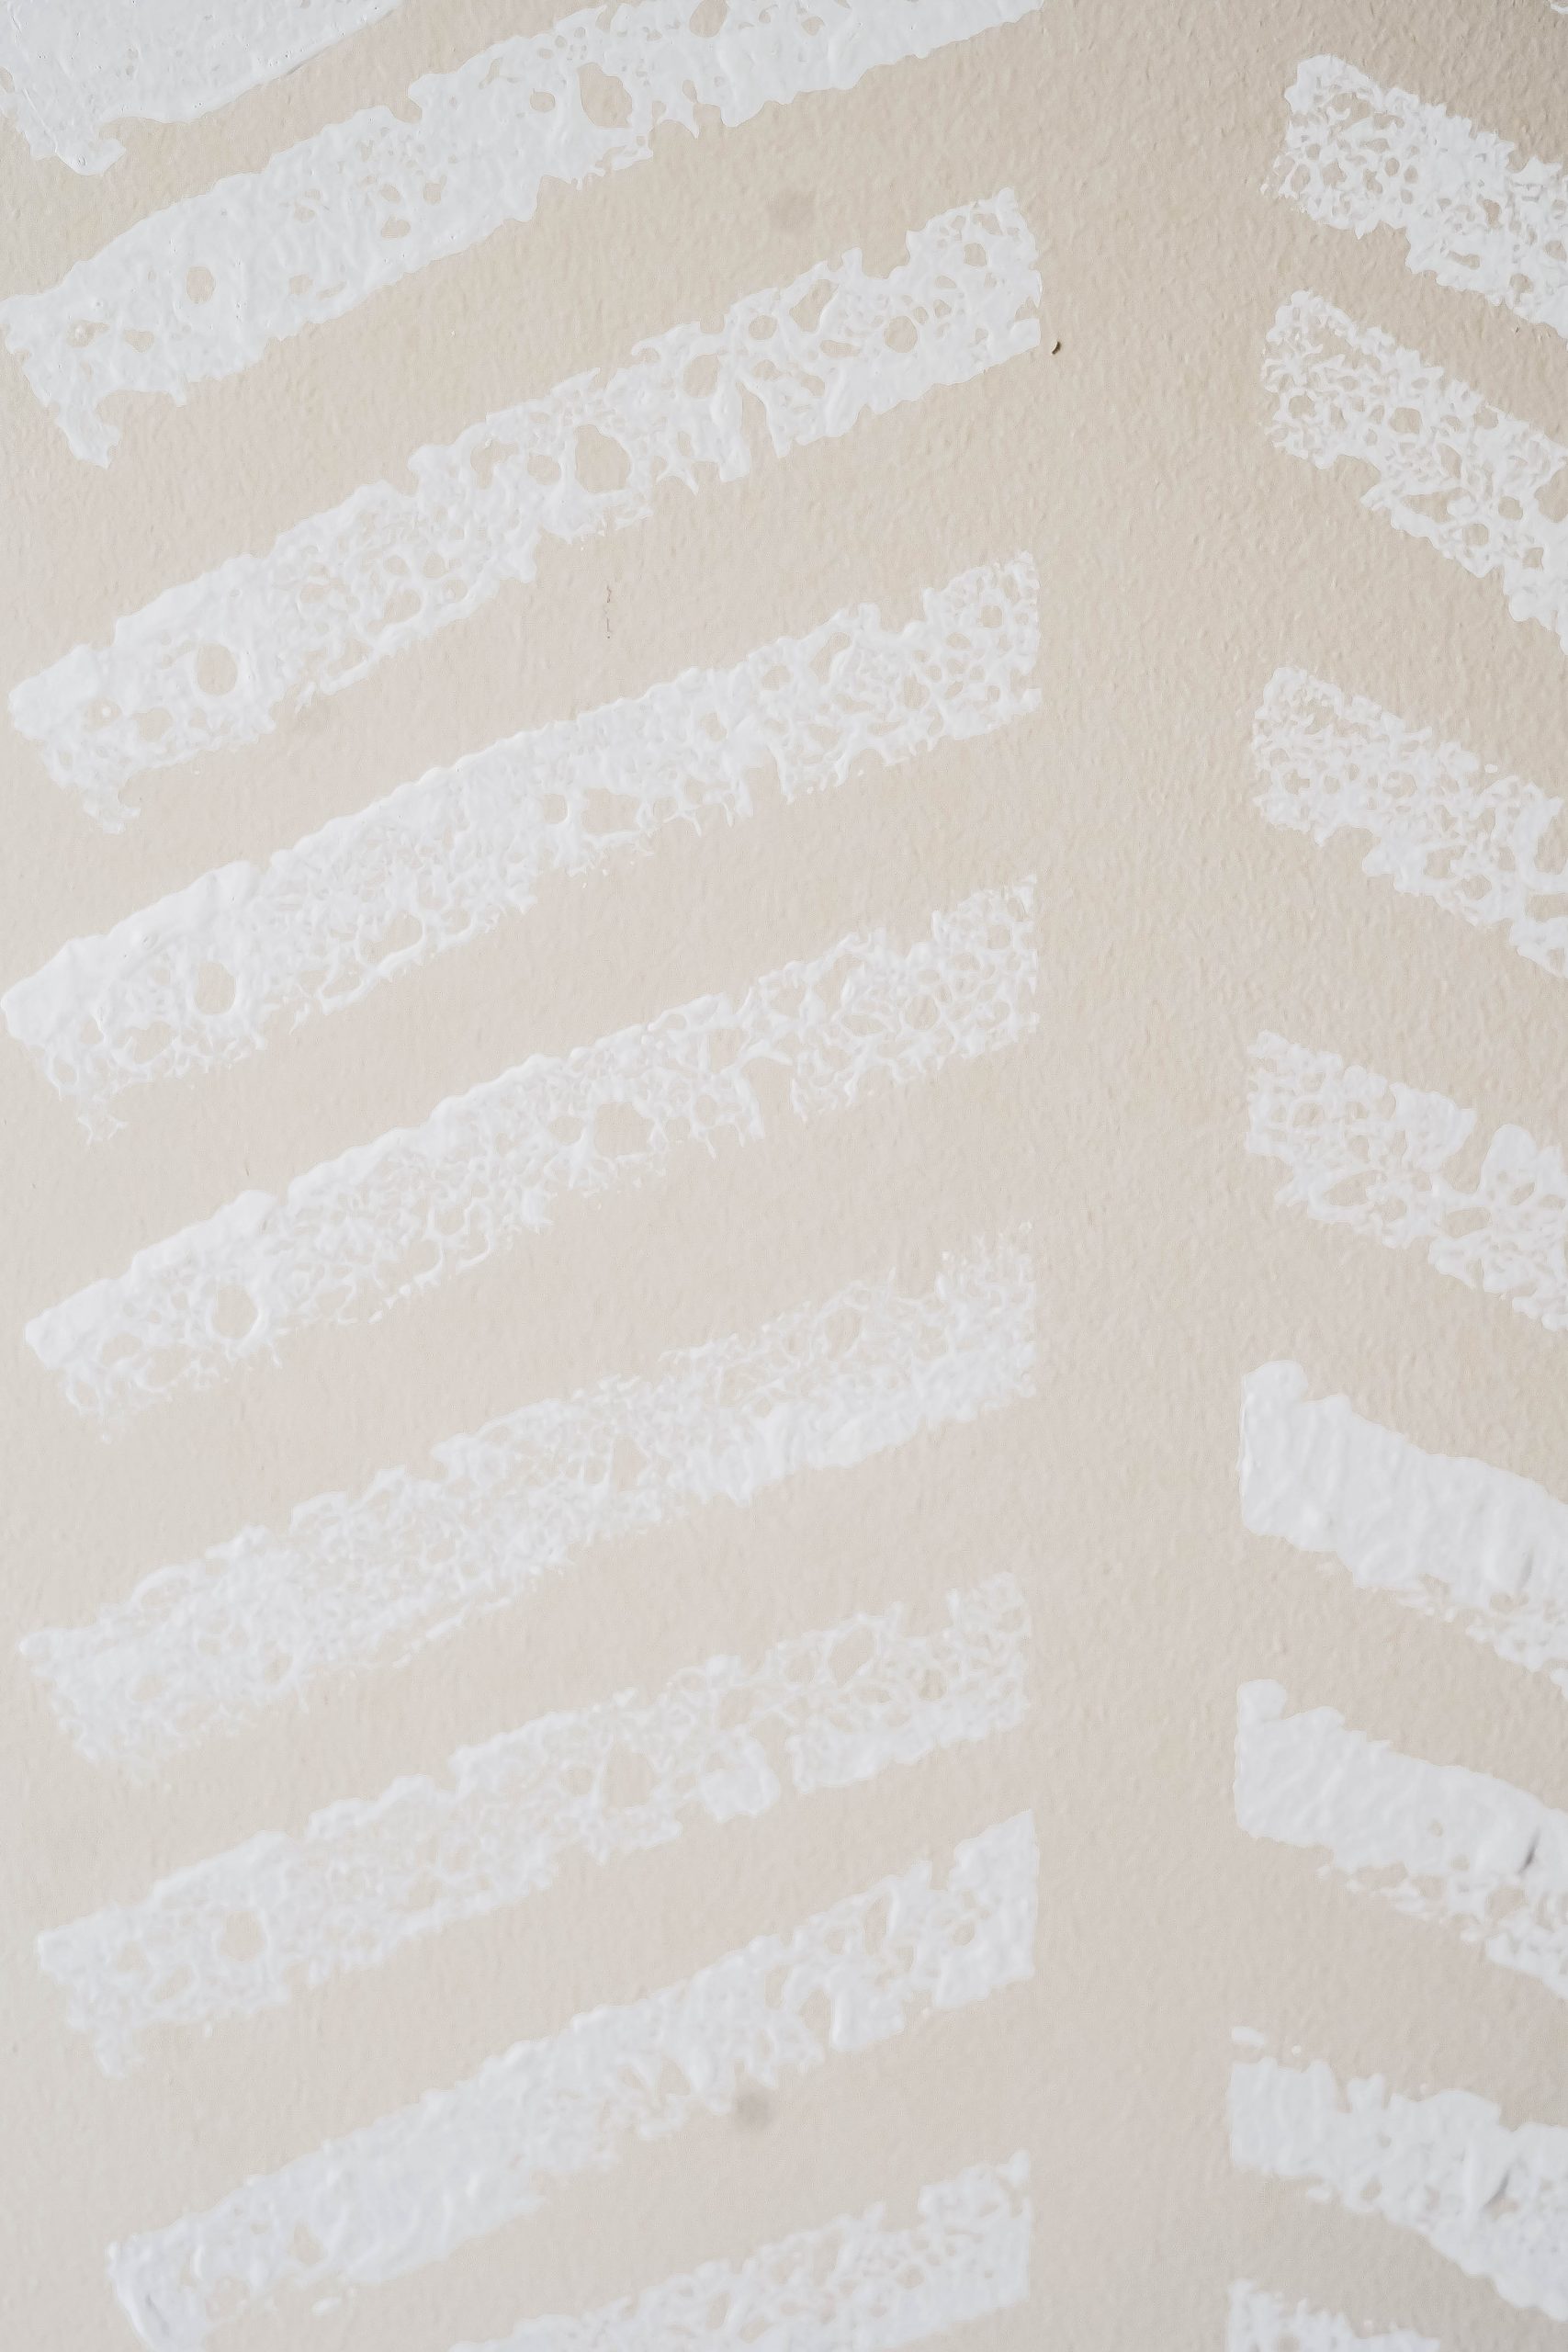
- Starting on the right side of the painters tape at the very top of the wall, apply your first line of paint on a diagonal. The top of the diagonal should be touching the painters tape. Shoot for a 45 degree angle (see video below)
- Continue applying diagonal lines about 1 inch apart, continuing all the way down to the bottom of the wall (you don’t need to be exact!)
- Repeat this step on the left side of the painters tape (to mirror your design on the right) to complete your herringbone pattern.
- Once the section is complete, remove the painters tape from the wall.
- Begin your second section of herringbone by measuring 10″ from the center of your first section (where the tape was) to where the center of your second herringbone section will be. Apply another line of tape at this marking (see my NEUTRAL NURSERY HIGHLIGHT on INSTAGRAM for some more detailed tutorial on this.) Repeat steps 2-6 to complete your second herringbone section.
- Repeat these steps until the entire wall/room is finished.
SEE MY TIPS + TRICKS BELOW!
DIY HERRINGBONE SPONGE PAINT WALL
TIPS
- Start your first herringbone section at the center of the wall and work your way out to each corner of the room.
- Always start your section from the top and work your way down.
- Buy multiple sponges. I went through 4 sponges for 1 wall. The sponge will soak up paint each time you dip it in the tray, eventually becoming too saturated to use. You’ll know it’s time to switch to a new sponge when the one you’re using is no longer stiff and and starts to flop.
- You’ll want a few extra sponges to cut into smaller pieces to use around outlet switches, corners, wall-mounted baby monitor, etc.
- Don’t stress about making your lines perfect…the finished product is meant to be imperfect!
For all the details on our nursery (furniture, decor and lighting) see my post NEUTRAL GIRLS NURSERY REVEAL.
LIKE THIS POST? PIN IT!
SAVE IT ON PINTEREST BY CLICKING THE ‘SAVE’ BUTTON ON ONE OF THE PHOTOS BELOW!


Leave a Reply